This week I finally dipped my toes — and fingers — into darkrooom printing. I have found this to be a really fascinating and rewarding experience. I’m now able to be part of the photography process from loading the film into cannisters, then into my camera, then developing the film, creating contact sheets, and printing my favorites. After moderate success with a few photos, I’m ready to share how it’s going and what to expect if you ever want to try this yourself.
The Enlarger
An enlarger isn’r required for artistic contact prints from 120 or sheet film, but for 35mm an enlarger is going to be necessary. The images are just too small at 24x36mm to have usable images. There are about 6 negatives in the space of a wallet-size photo. So the Enlarger is arguably the most expensive single item, but deals can be found. Being that they’re such simple devices and still produced today, it shouldn’t cost more than $150-$200. Check Craigslist, Facebook Market, and even eBay. I have the Bessler 23C series II (not to be confused with the 23CII). It was introduced in the 1960s and I’m sure mine is around that era. Other than being a bit creaky and dusty, it works without issues. It was $100.

These old 23C enlargers are practically bullet-proof and readily available
The Supplies
The next purchase will be supplies to make enlarging easier. Most enlargers for sale should come with at least one lens (probably a 50mm) but they are easy to procure super-cheap if you have to buy one. A print holder is almost optional, and DIY projects abound. I use white artists tape to mark out the area my enlarger covers and I can center my paper in it and tape it down. It seems to work, although I have ordered an actual negative holder.
I chose to buy a rolling utility cart from IKEA and mount my enlarger to it. I got this idea from a great Ted Forbes video on YouTube. This provided me with the mobility I need to move my dark lab into my bathroom. I’m able to keep all my supplies on the cart, from paper to chemicals and trays, even some spare film strips to test my fixing agent times. By using the cart, I was able to free up additional cupboard space in the kitchen and I’m not moving from one room to another to grab things I forgot anymore.

The Darkroom
The Darkroom is exactly how it sounds; a dark room with no light. I happen to have a bathroom with no windows and only one door. This makes blocking out light as simple as hanging a dark blanket over the outside door frame to ensure no residual light from the hallway leaks in around the door. Honestly, the development times are so short (12-15 seconds at f/16) I haven’t had any fogging when tiny bits of light seep in. Plus, the enlarger leaks out onto the walls, too.
Maybe I should work left to right instead…
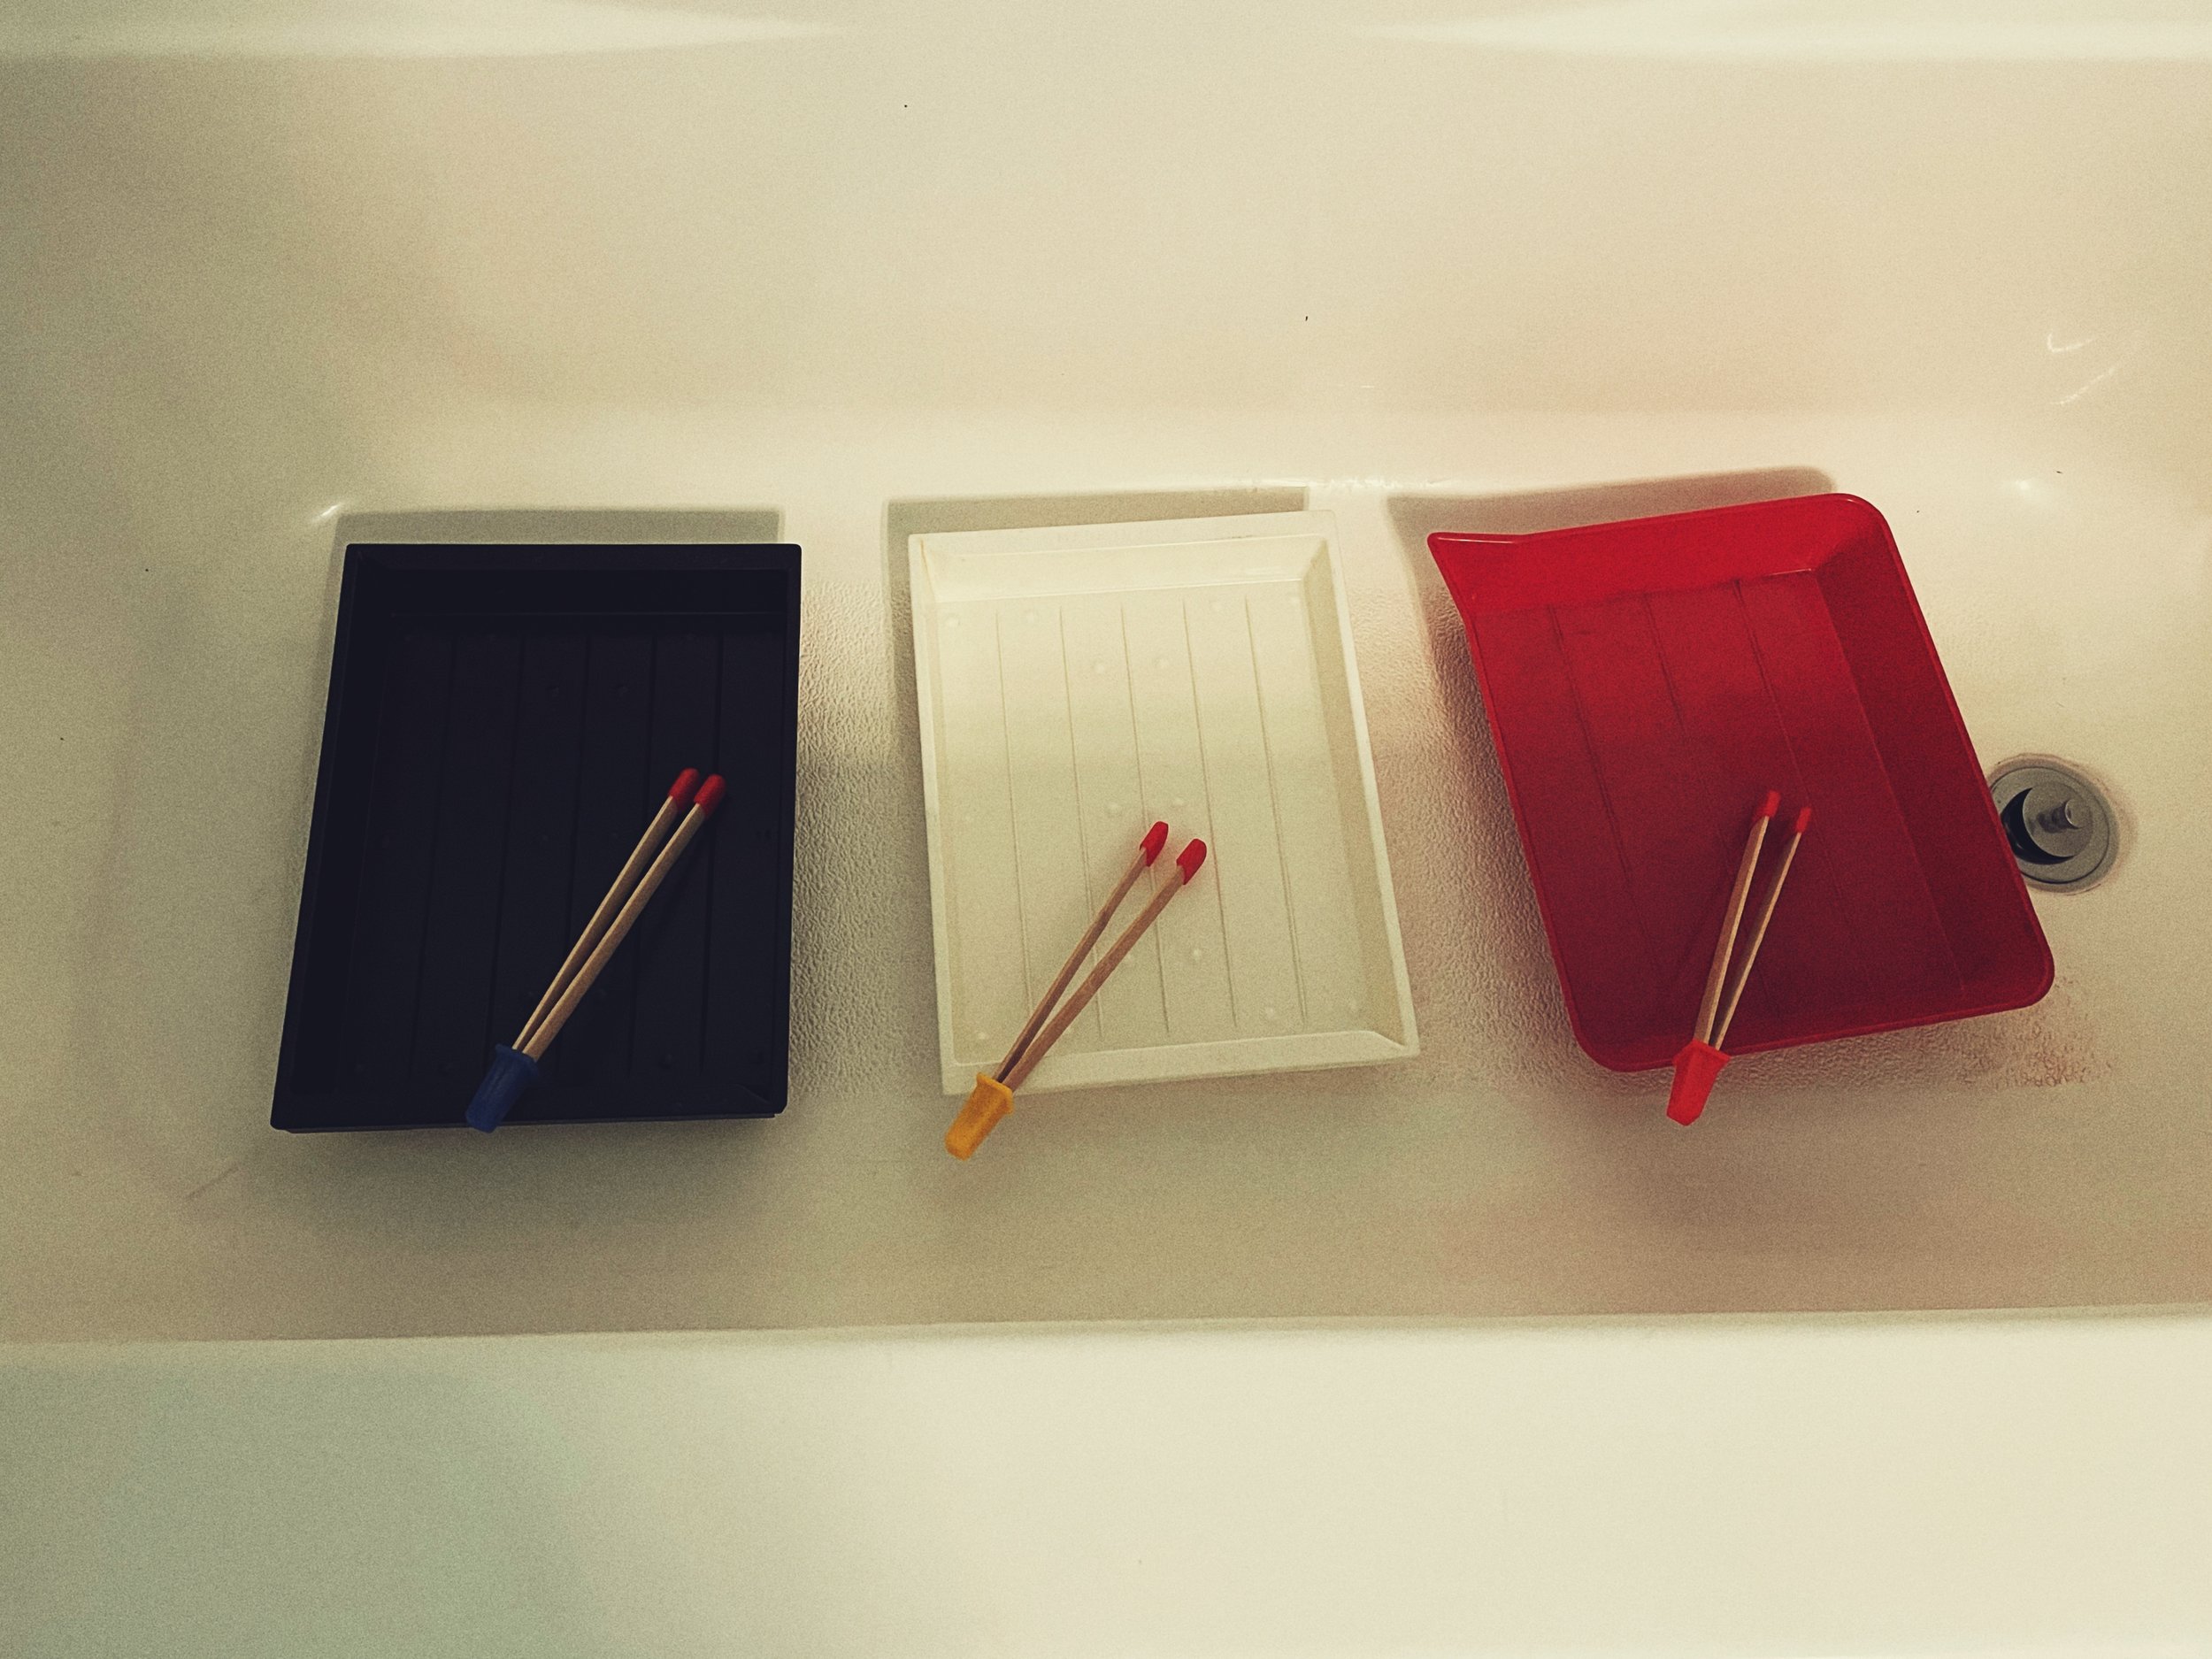
Chemicals are readily available at places like Adorama, B&H Photo, Freestyle Photo, or even a local photo supply shop. Yes, all this stuff is still made. Digital cameras didn’t make printing and analog photography disappear, it’s just a smaller crowd now. The minimum chemicals needed to print are a developer and a fixer. I use water for a stop bath but a real stop agent can be purchased if desired. Don’t forget the trays and tongs — three of each — and make sure not to cross the chemicals. A drop of fixer in the developer can ruin both developer and print. I kinda recommend different colored trays, but honestly under an amber light you can’t always tell what color is what – it all looks white or black. Just be sure to always follow the same process. I work from right to left — developer, stop, fixer, and I use Ilford Universal PQ for developer, and Ilford Rapid Fixer.

The Process
The actual process of printing is pretty straightforward and there are plenty of videos out there on the ‘Tube. Choose the negative, put it in the enlarger, stop down the lens to f/16, then flip the special preview switch on the lens. It effectively opens it wide for all the light. Grab a grain enlarger (optional) and make sure the focus is ultra sharp. Once ready to expose, flip the switch on the lens to print mode and turn off the enlarger. Switch on the red lamp, grab the paper out of the light-safe bag and put it shiny side up under the enlarger. Turn on the enlarger light and count a couple seconds then switch it off. Do this a couple of times, each time covering a section of the photo paper. This is creating an exposure guide and the result is a striped version of the photo.

Test image utilizing different exposure times
With the red light still on, drop the photo in the developer tray and make sure it’s completely submerged. Swish the water around with the tongs, and after about 40 – 60 seconds, the photo will start to appear. I tend to go to 90 seconds to get a bit more contrast, but your results may vary. Once the image is done developing, take it out of the developer tray and drop it in the stop tray for 30 to 60 seconds, agitating the water occasionally. This will stop the developer chemical process. After that, drop it in the fixer tray for 60-90 seconds, then take it to the sink and rinse it. The image is now “fixed” and safe to view in white light. I generally rinse my paper for 60-120 seconds in water and hang it to dry in the shower. The end result is a print from a negative from a camera. It doesn’t get more complete than this, and it’s extremely satisfying seeing the print come to life in the developer trays.

Well, there were some scratches on the negative. I tried several times to get rid of them but no luck. More on that, below.
Final Thoughts and Takeaways
After doing this, I have a few take-aways. First, I need more room than a standard bathroom. I’m a chunky munky, so squeezing past my cart to flip on lights or rinse paper is really inconvenient. Additionally, ventilation is sub-par. It gets hot and stinky in the room. I have an exhaust fan, but covering the door to block out light while heating the room with lightbulbs means a lot of sweating. I also think good planning is important. There’s a book called The Checlist Manifesto – How to Get Things Right by Atul Gawande and it’s worth reading for anyone endeavoring to do darkroom printing at home. Lists are lifesavers and prevent doubt. Also, take extra good care of negatives. I failed to do that and no amount of compressed air can make scratches not show up on an enlarger. Sure, these things are easy to fix in Lightroom or Photoshop, but not so easy in the Darkroom. Lastly, dust is the enemy. Keep a can of compressed air or a small dust puffer close by. Each negative should be hit with air on both sides, and even the enlarger lens should be dusted prior to loading new negatives.
I’ve really enjoyed this process and I highly recommend it if you shoot film and want to control the print medium and size. Plus, it is a work of your own hands. If you buy bulk film, load it with your own bulk loader into canisters you salvage from previous rolls, go choose the subject and make the photo, develop it in your own kitchen or bathroom, then print in your own darkroom, you’ve been part of the entire process!

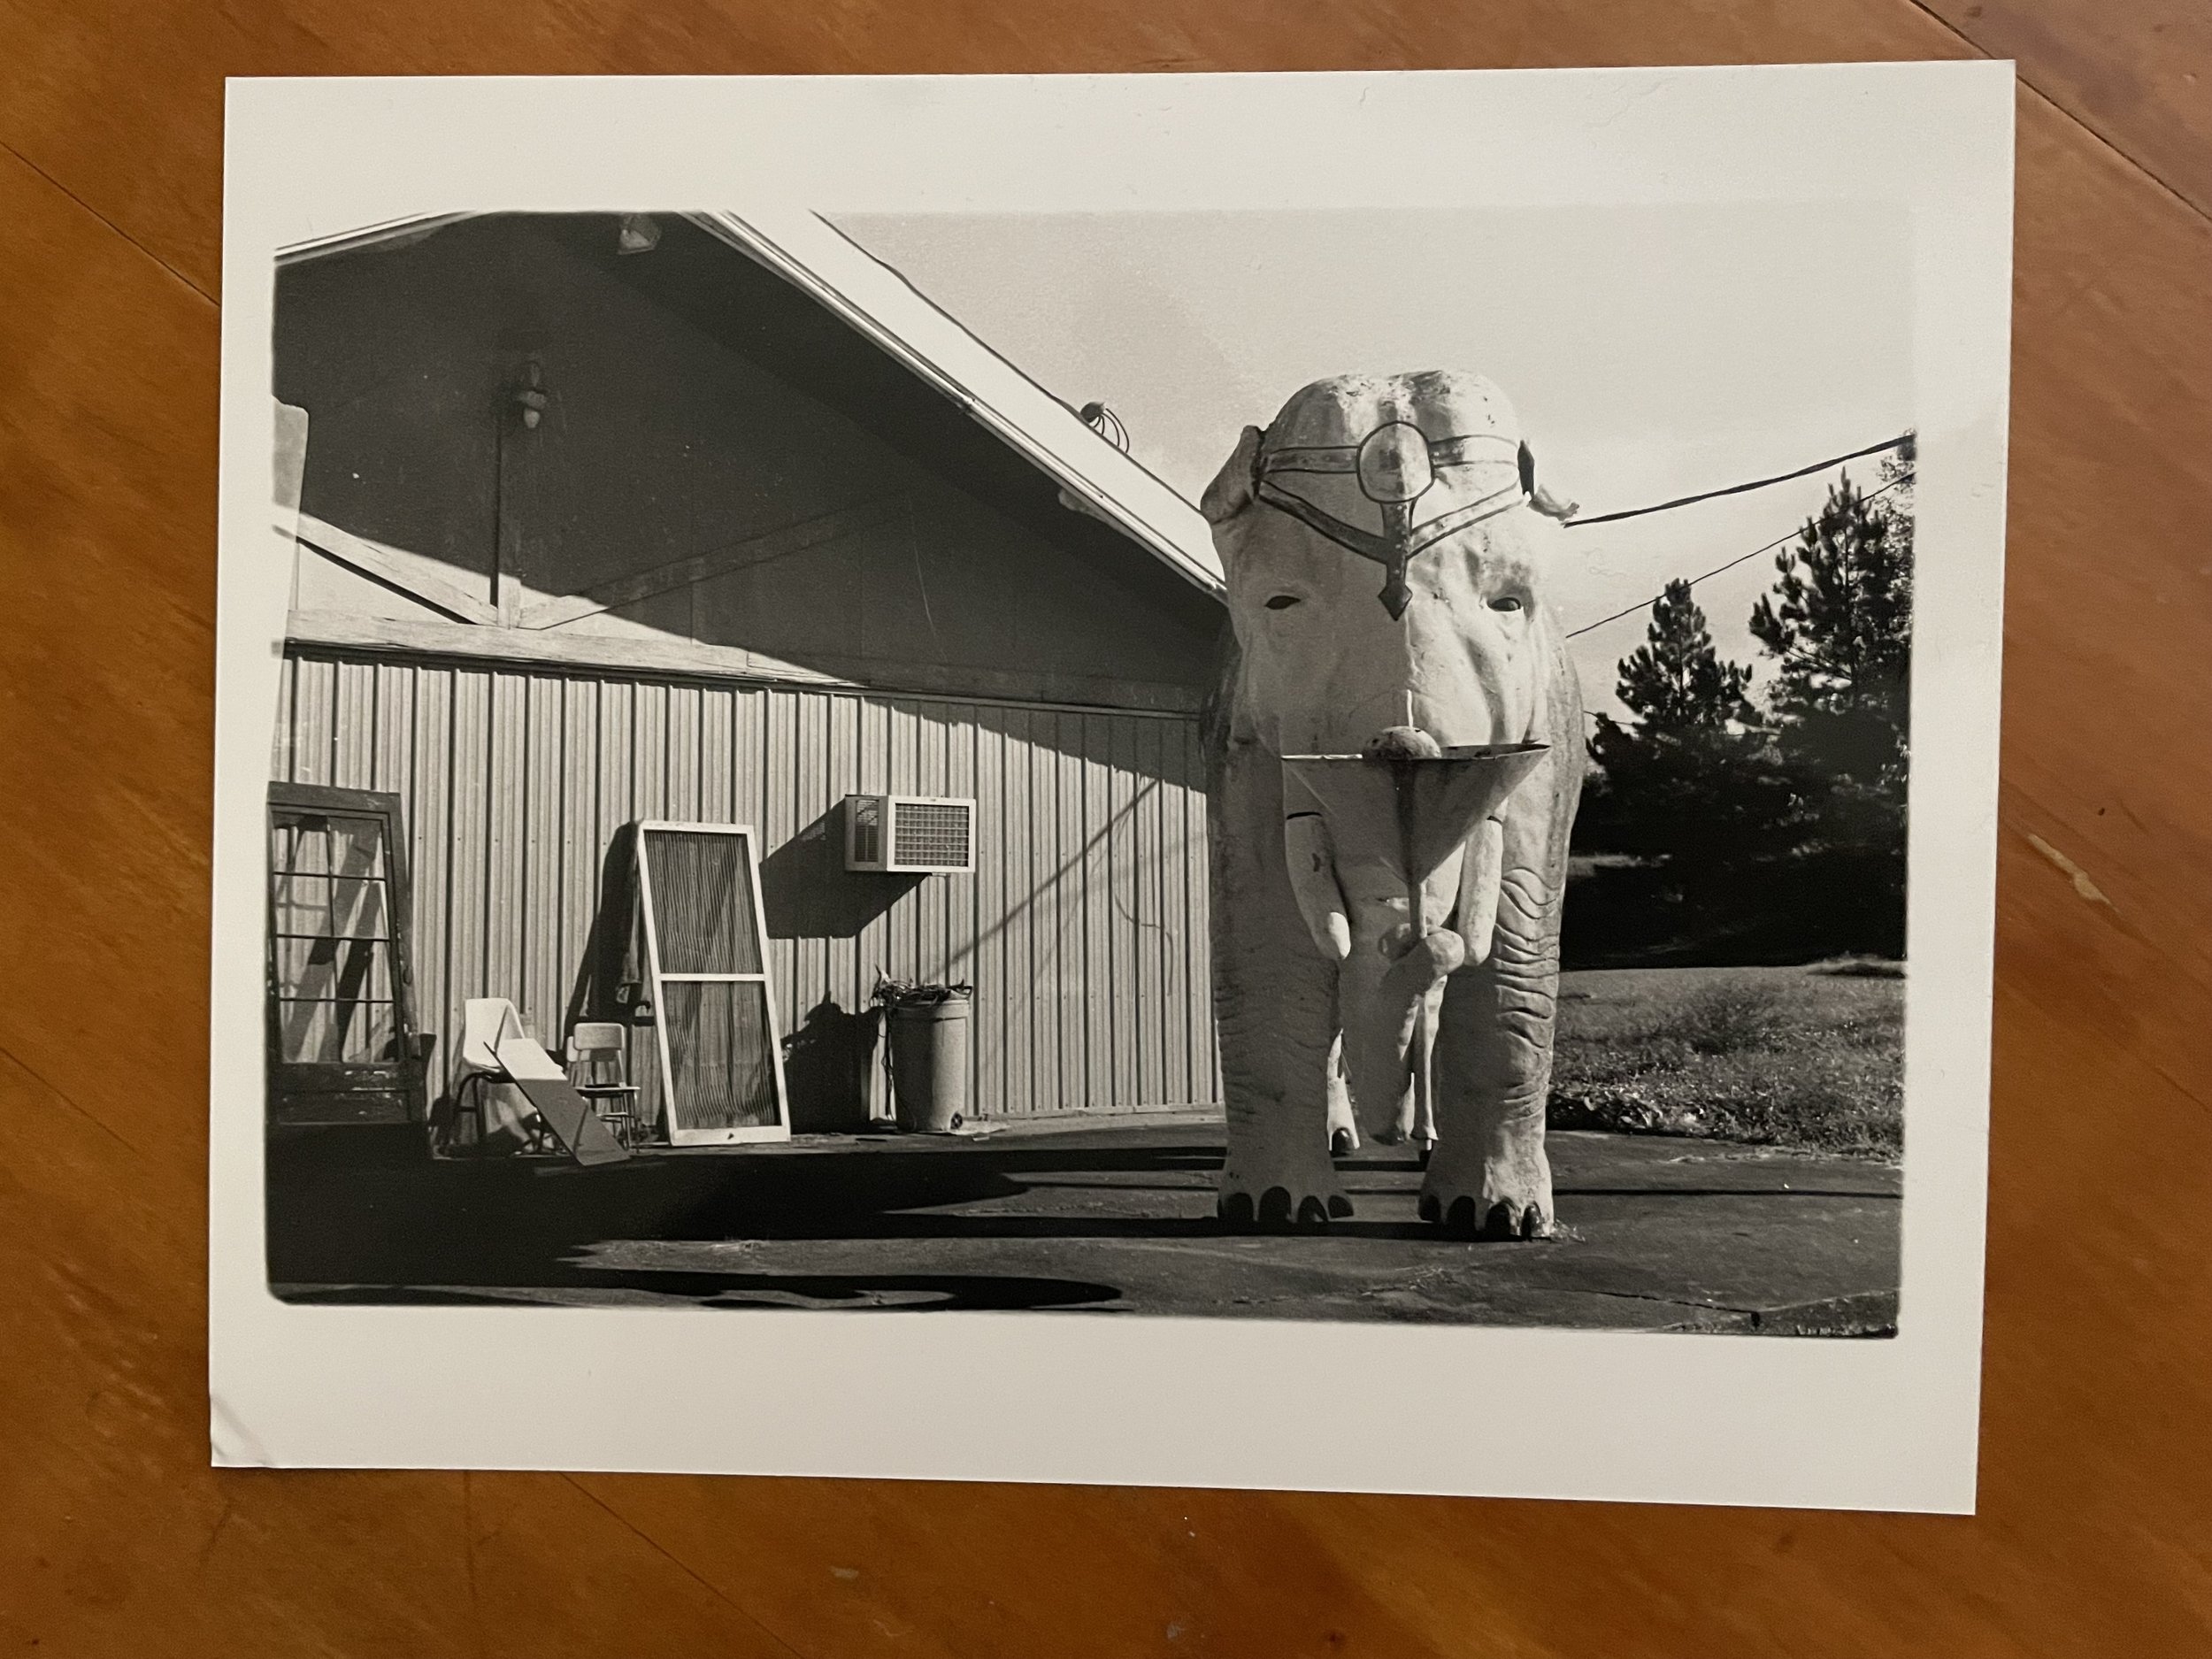
Kentucky? Elephant…

No Trespassing!!