
Occasionally my thrifty shopping gets the best of me, and I end up with a dud camera. This is especially true on purchases from auction sites where the item is untested or part of an estate sale*. I am a sucker for these sales, although I have found myself recently with an abundance of restraint. After my latest foray into camera repair, I may once-and-for-all be cured of convincing myself I am fully capable of resurrecting a broken camera. One might think this is a simple operation since I am talking about old film cameras. There are no batteries, no sensors, no screen, and hardly any buttons. One would be wrong. With each tiny screw removed comes the sinking feeling that is best described by a quote from Forest Whitaker in Arrival, “Why does this feel worse?”
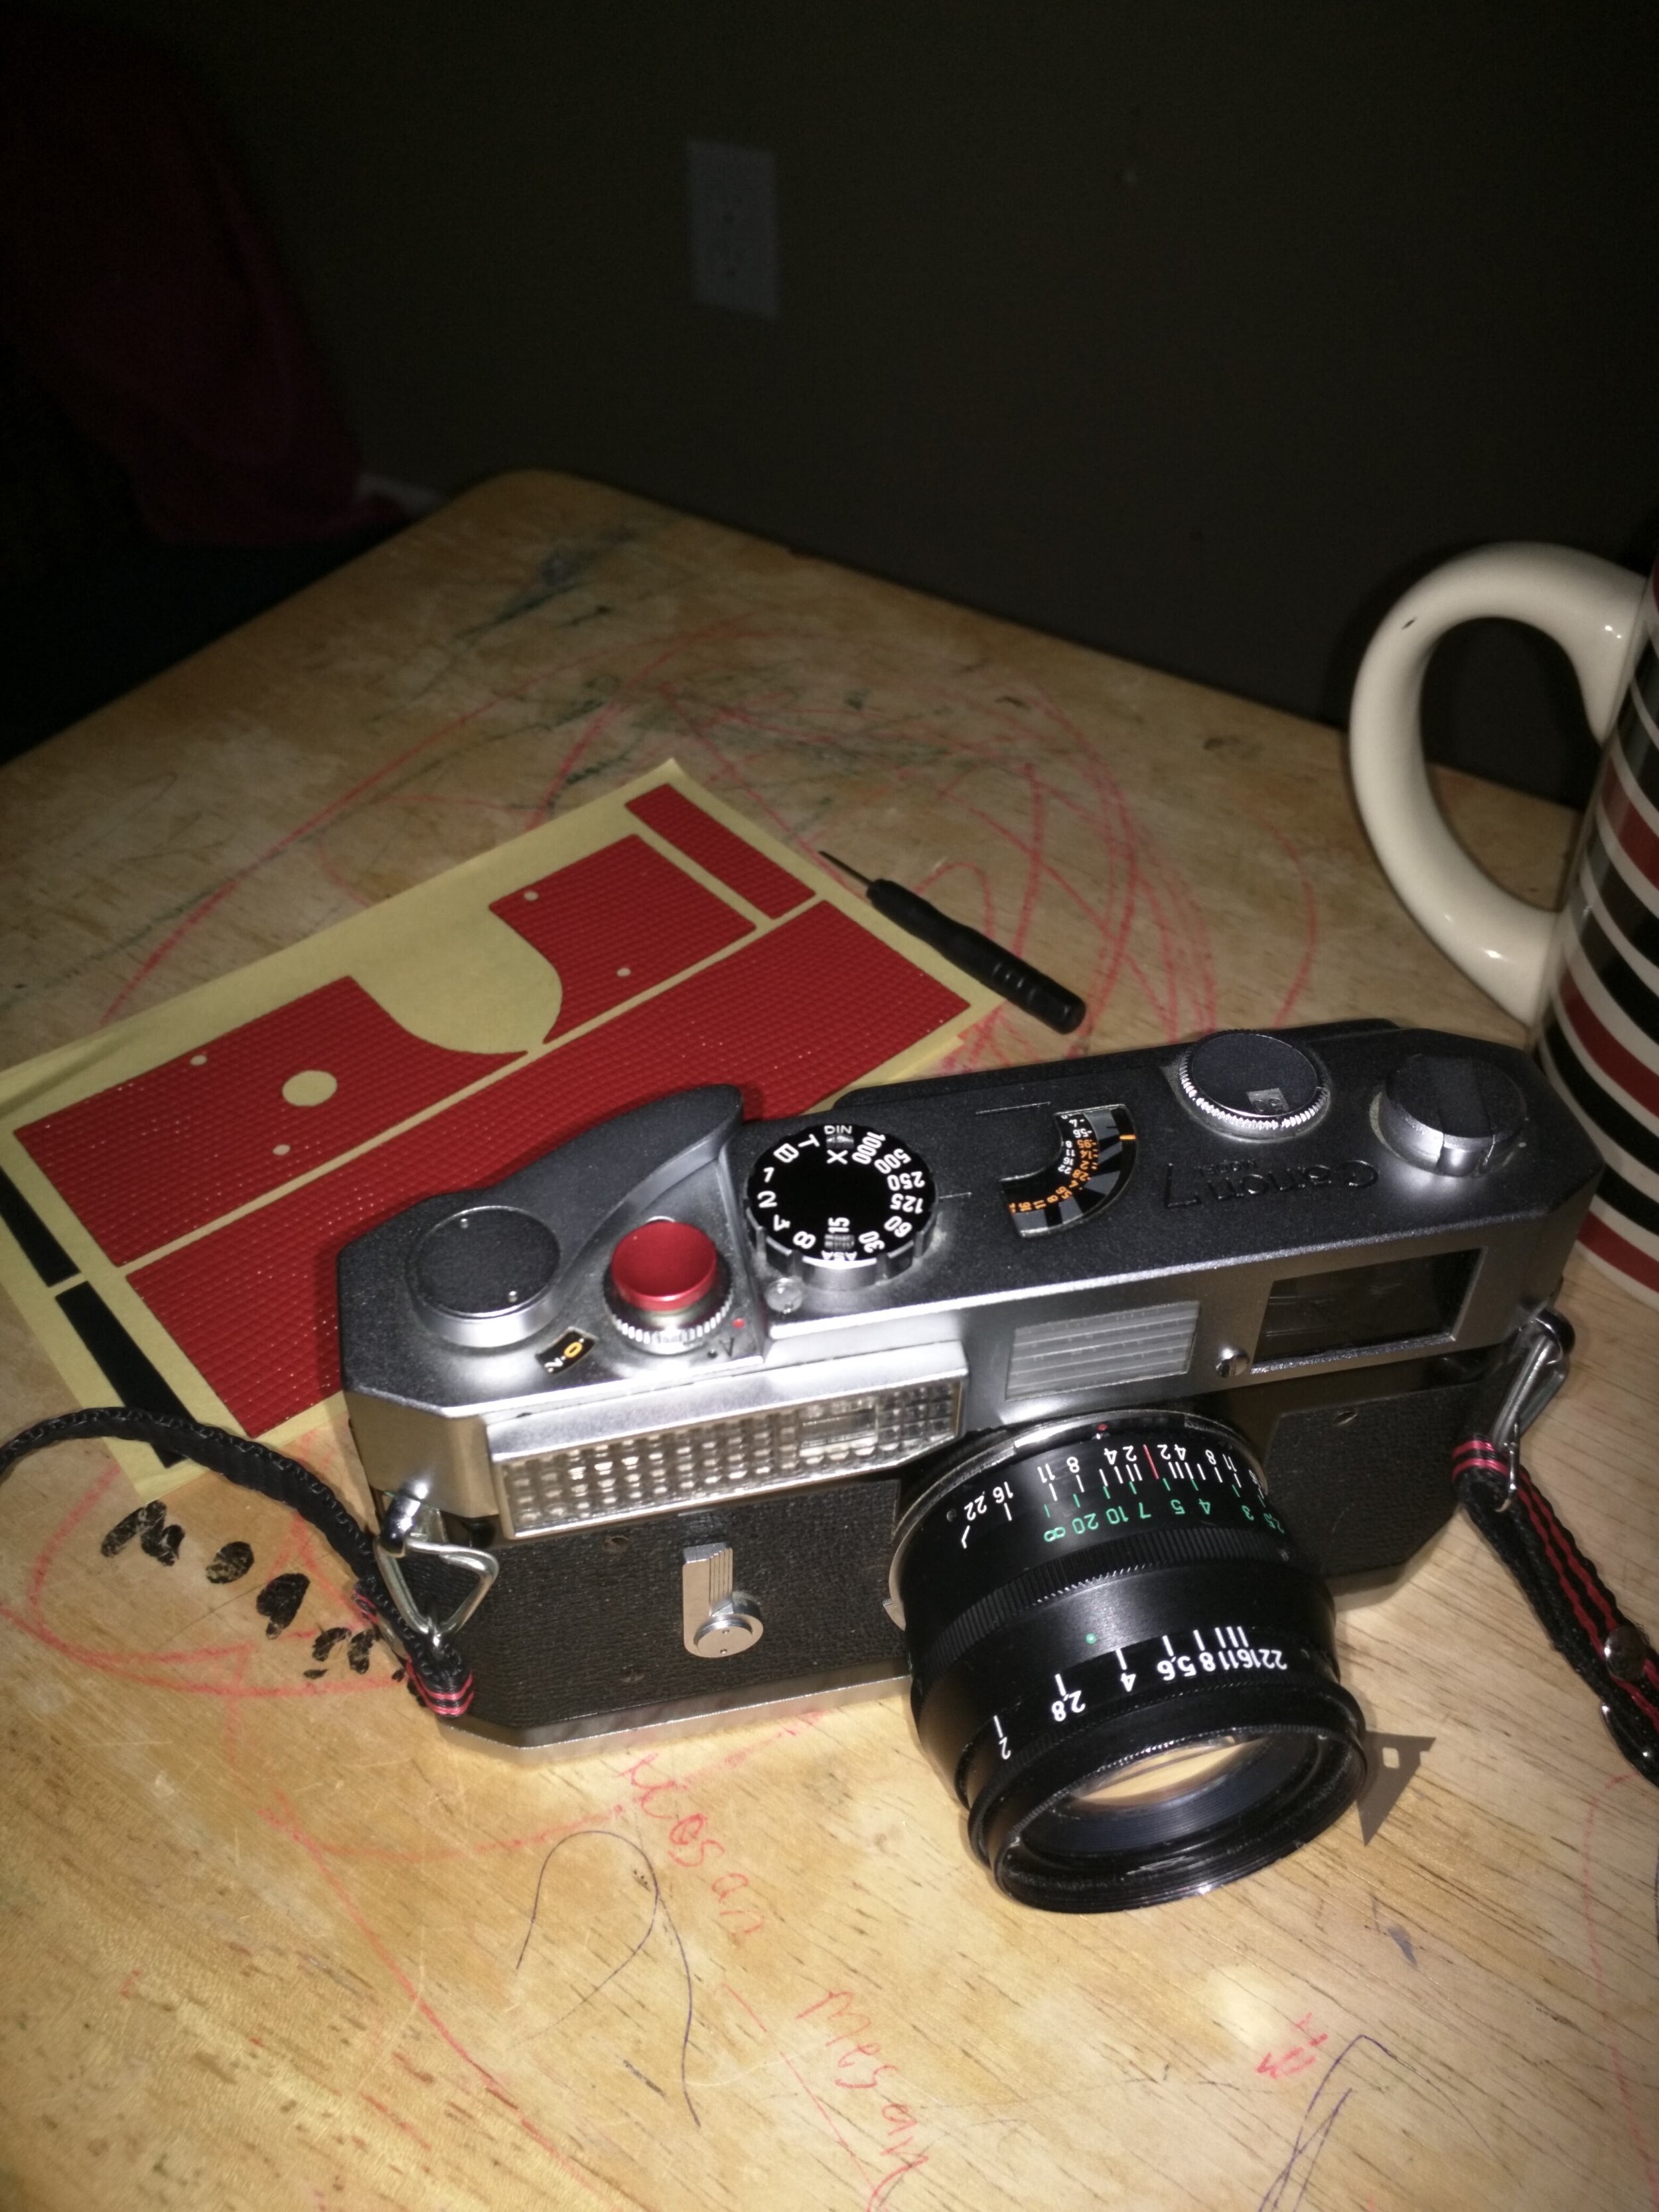 The answer, my friends, is because it is worse. Inside this dark, gummy, dusty Pandora’s Box is a series of springs made from wire the thickness of a bug’s eyelash, gears hewn from the softest powdered earth, leather bellows made from a cow with sensitive skin, and glass that is well-suited to the cultivation and collection of spores, molds, and fungus. Furthermore, this horrible adventure of your own making is accompanied, at best, by a technical manual typed out sometime in the decades before you were born, or at worst, bits and pieces of camera forum posts that date back to the decade you switched from film to digital.
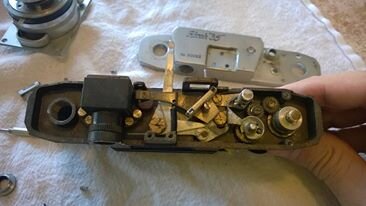 So you are probably asking yourself why the hell anybody would subject themselves to the twisted dark arts of camera repair ? First, it can only be called ‘repair’ if the camera actually works better than it did before you opened it. This is more likely the exception, not the rule. Second, nobody does this for fun, or they do it because completely wrapping their head in leather and breathing through pinched straws while being whipped by a menacing ex-convict wasn’t actually “doing it” for them anymore. Then there is me. I do it to save face. I have found myself in more than one occasion holding a beautiful, pristine, non-functional camera in exhasperation, thinking “Shit.” But then my primitive brain kicks in and grunts “Quitting already, bruh?” and I tackle the project with all the enthusiasm of Dexter when he’s got some alone-time with the bad guy.My first attempt at fixing a camera was a basic “CLA,” or “Clean, Lube, Adjust.” For nearly every camera I buy I do this. It requires a few Q-tips, Isopropyl Alcohol, Lighter Fluid, and a soft cloth. In extreme circumstances it might even require a spritz of lithium grease to get things moving again. Overall, this is the easiest and least-scary operation.
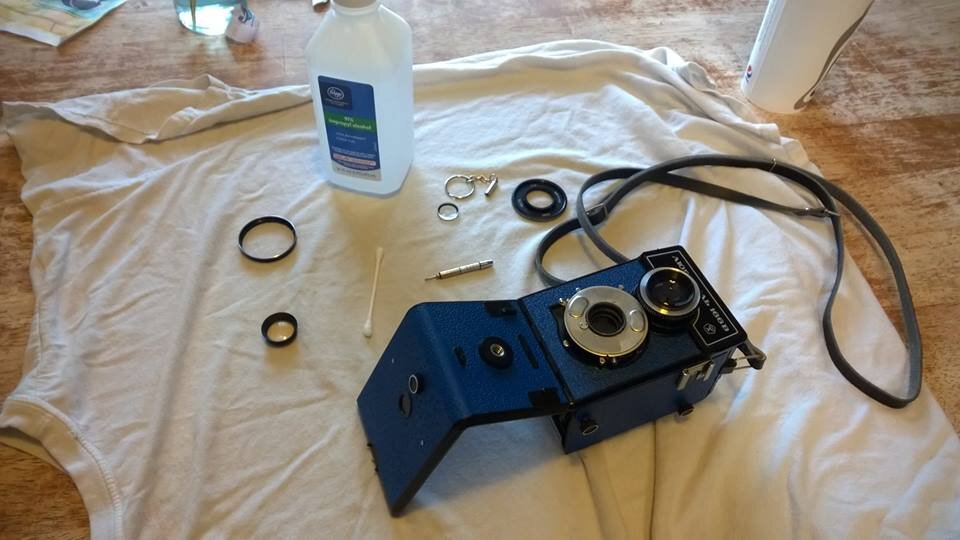 Next up would be a lens alignment. I have only done this once, on my LOMO Lubitel 166B. I received the camera after waiting a couple weeks for it to float in from the Ukraine, and unfortunately, the middle lens element had become dislodged. I had exactly zero clue what I was doing, but after some careful searching of the Interwebs, I sucked it up and took a screwdriver and some tweezers to the poor camera. I successfully glued* the lens back in place, and now had to reassemble it and align both top and bottom lenses — TLRs can be tricky. It was at this point that I found a new use for scotch tape: ground glass emulation.My next patient was a Ricoh 35 that I had picked up for $9.95 on eBay. It actually worked, but it was really stiff. It hadn’t been used in probably 40 years. This one actually required that I remove the top of the camera and clean things up to get the action functioning smoothly again. Cleaning started with alcohol to get the surface dust off, but I eventually had to move to lighter fluid — the kind used in Zippos. It is made of naptha, and works as a gentle detergent for breaking down the gummy junk from decades of non-use. It is functioning normally, although it really needs a shot of lithium grease to get it back to square.In-between all this tom-foolery, I built two cameras from scratch out of kits I had purchased on aforementioned Interwebs, and I was getting a bit too big for my britches. Enter the Canon AF35ML with a corroded battery compartment. Now, if you have ever seen the AF35ML, you would be thinking “why would you buy a crappy plastic camera from the 80s???” You would be right to ask. Nothing good happened in the 80s except Metallica, but this camera was an exception. Inside its injection-molded plastic carcass is a beautiful 38mm f/1.9 lens. Finding a fast aperture on a point-and-shoot is like finding a smoking hot Arwen riding a unicorn offering to lead you to a pot of gold. Plus it is just a cool looking camera.
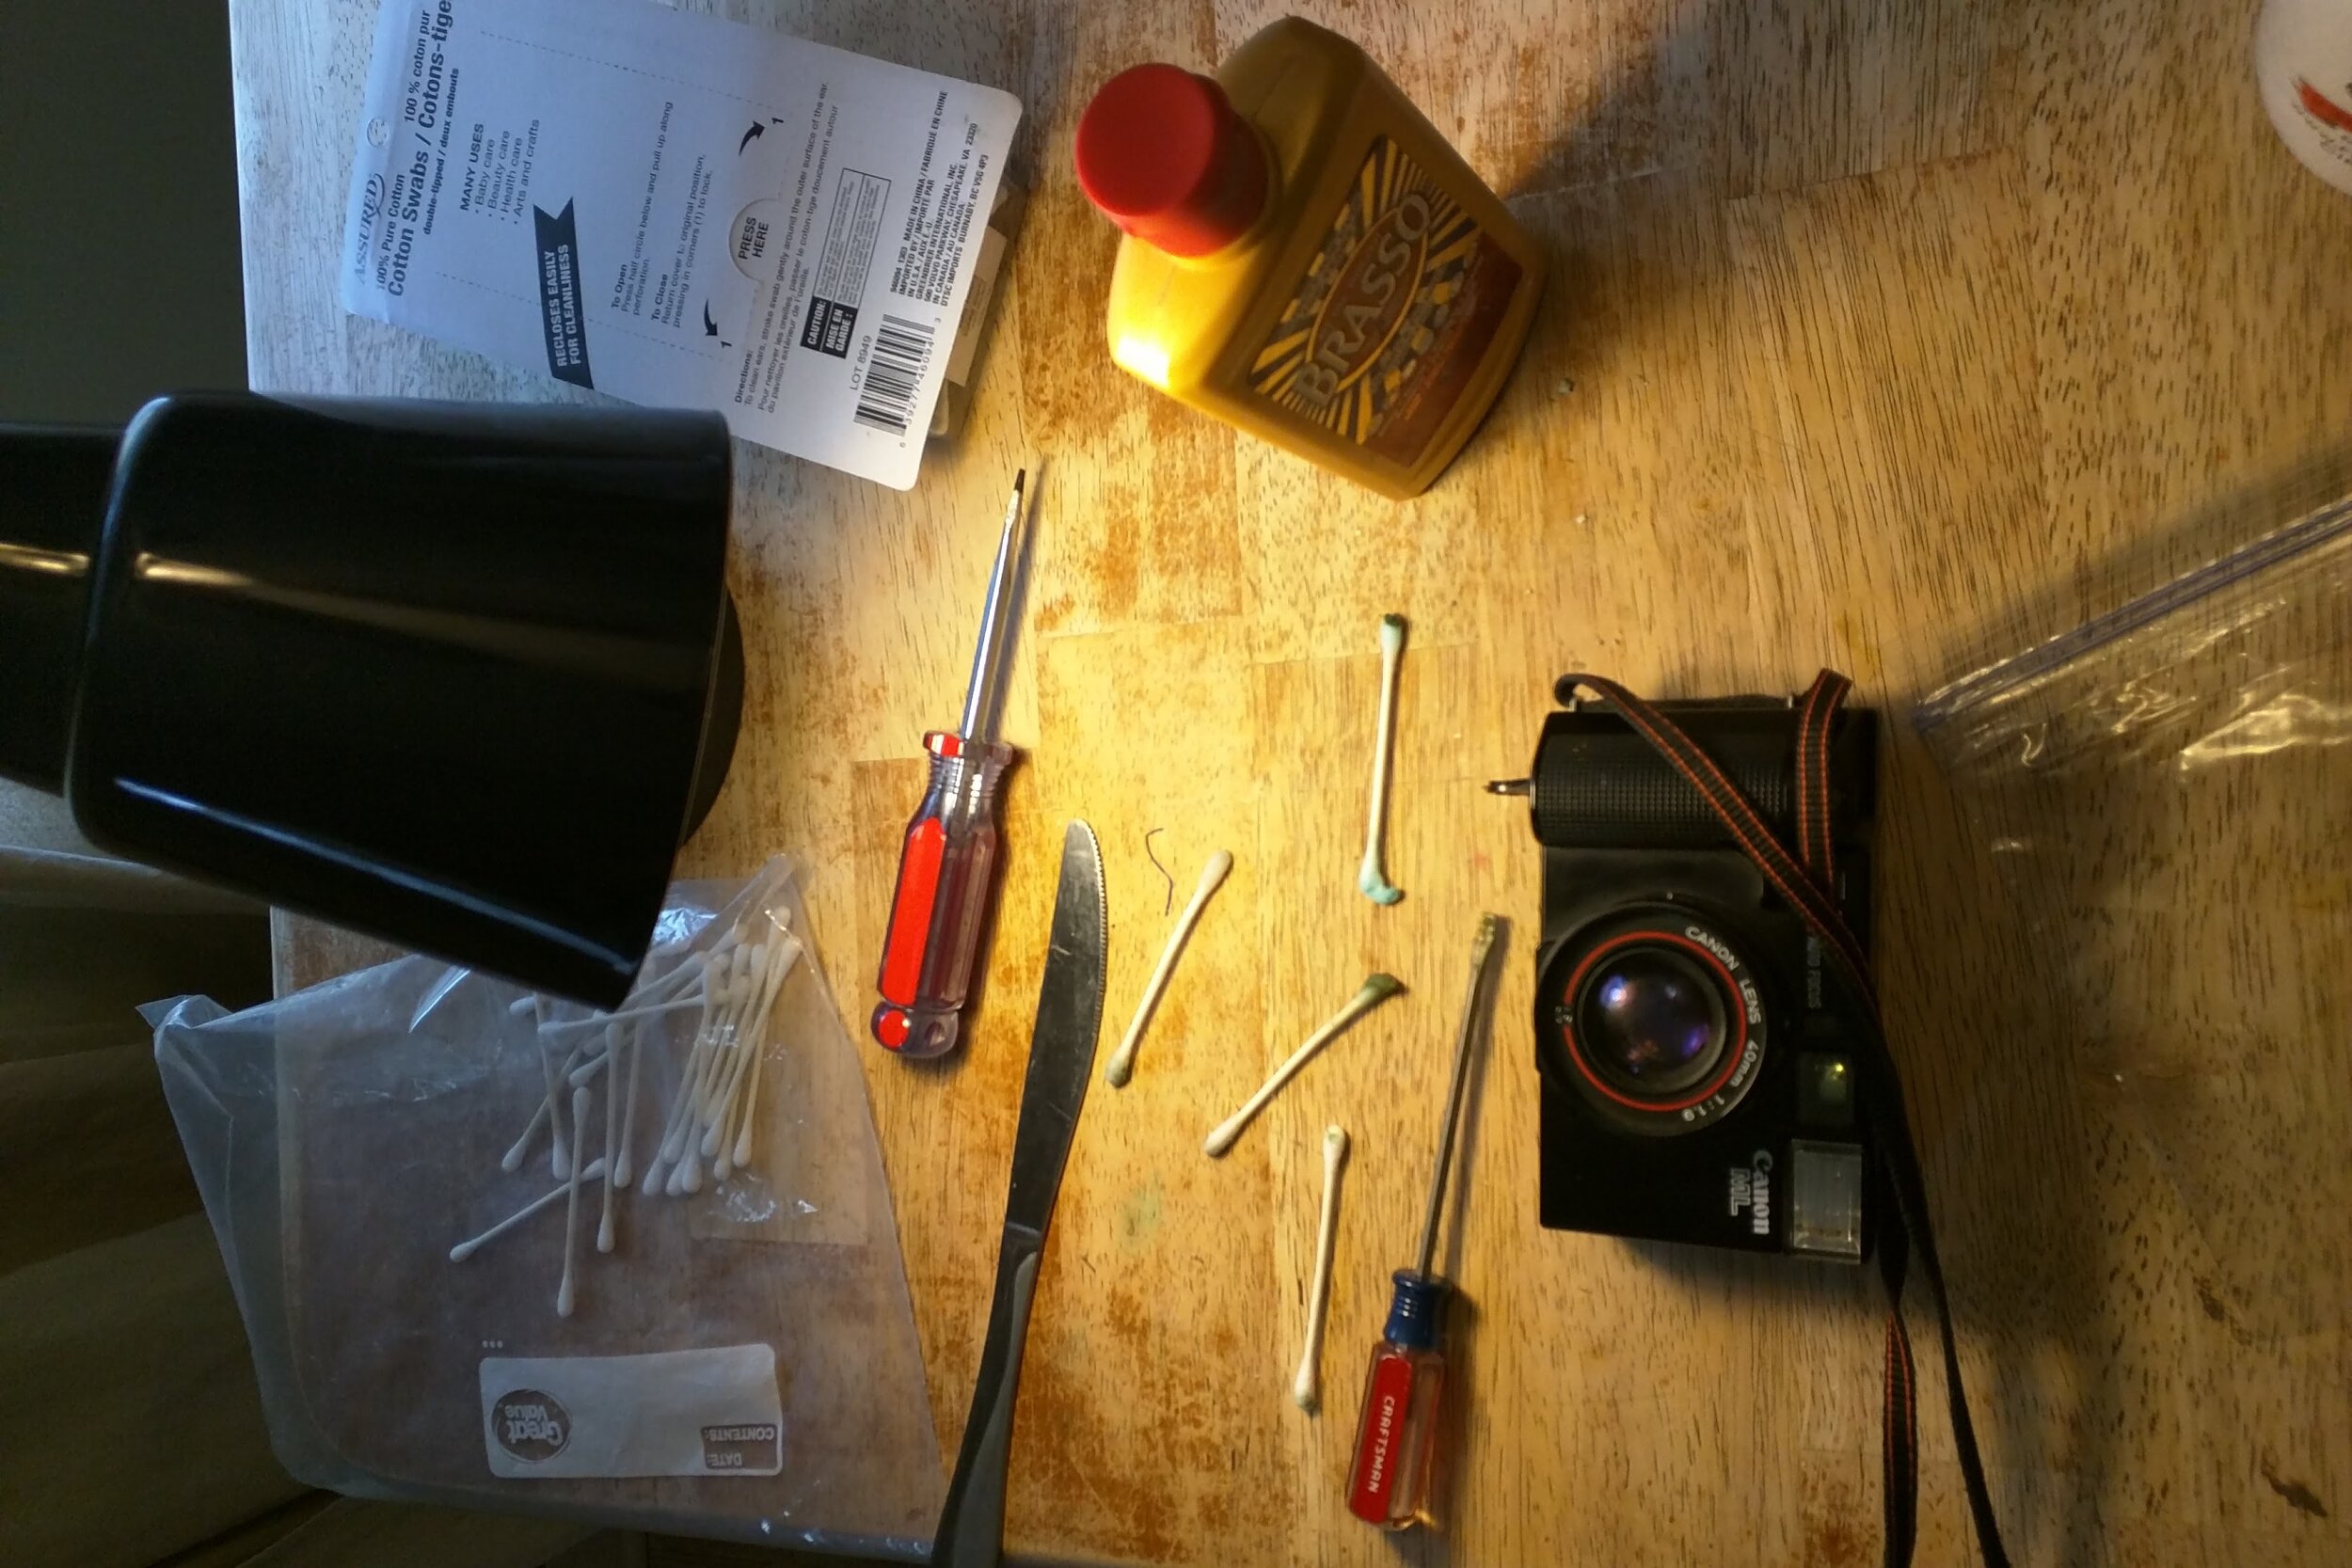
 Once it arrived, I set straight to work. I grabbed some needle-nosed pliers, a tiny flat-head screwdriver, some Q-tips, and a cup of white vinegar. Upon opening the battery cover, I could see that sometime back around 1989 a set of batteries exploded inside it, oozing out all their electro-chemical goo into the battery compartment. So, determined to resurrect this $16 find, I started gently working away at it with the vinegar. It took nearly an hour and a half of delicate excavation, but I had it as clean as the day it was made. As a last bit of confirmation, I pointed a flashlight at the back of the compartment and I saw it: a flattened battery contact. So as gingerly as I could, I took my needle-nosed pliers and bent the… dammit, I broke it off.So as calmly as I could, I put the screwdriver down and stepped away from the camera. The camera is now on the display shelf, far away from the danger of an amateur with hand tools, and I’m safely in the comfort of my easy chair, hands smelling of developer, as I type this out and wait for a roll of film to develop.*estate sales on auction sites are most likely not by estate sale people, but by lazy sellers unwilling to test any of the junk they found at the thrift store.
Starting a Camera Collection - Aragon's Eye
[…] and good internals will cost you between $150 – $250. Hell, even when I got the cheap thing, one of the lenses had fallen out! Research would have saved me some […]