

I’m frigging grumpy, so here is a new post about my mean, green Holga that smells like whiskey and feet because the previous owner tried his hand at gluing stickers back into the inside of my camera. What an ass. But I digress. I didn’t feel like spending twenty bucks on a 3D printed solution or wait for some injection-molded converter from Hong Kong, so I decided to get creative. I have affectionately named this Holga, Olive Oil.
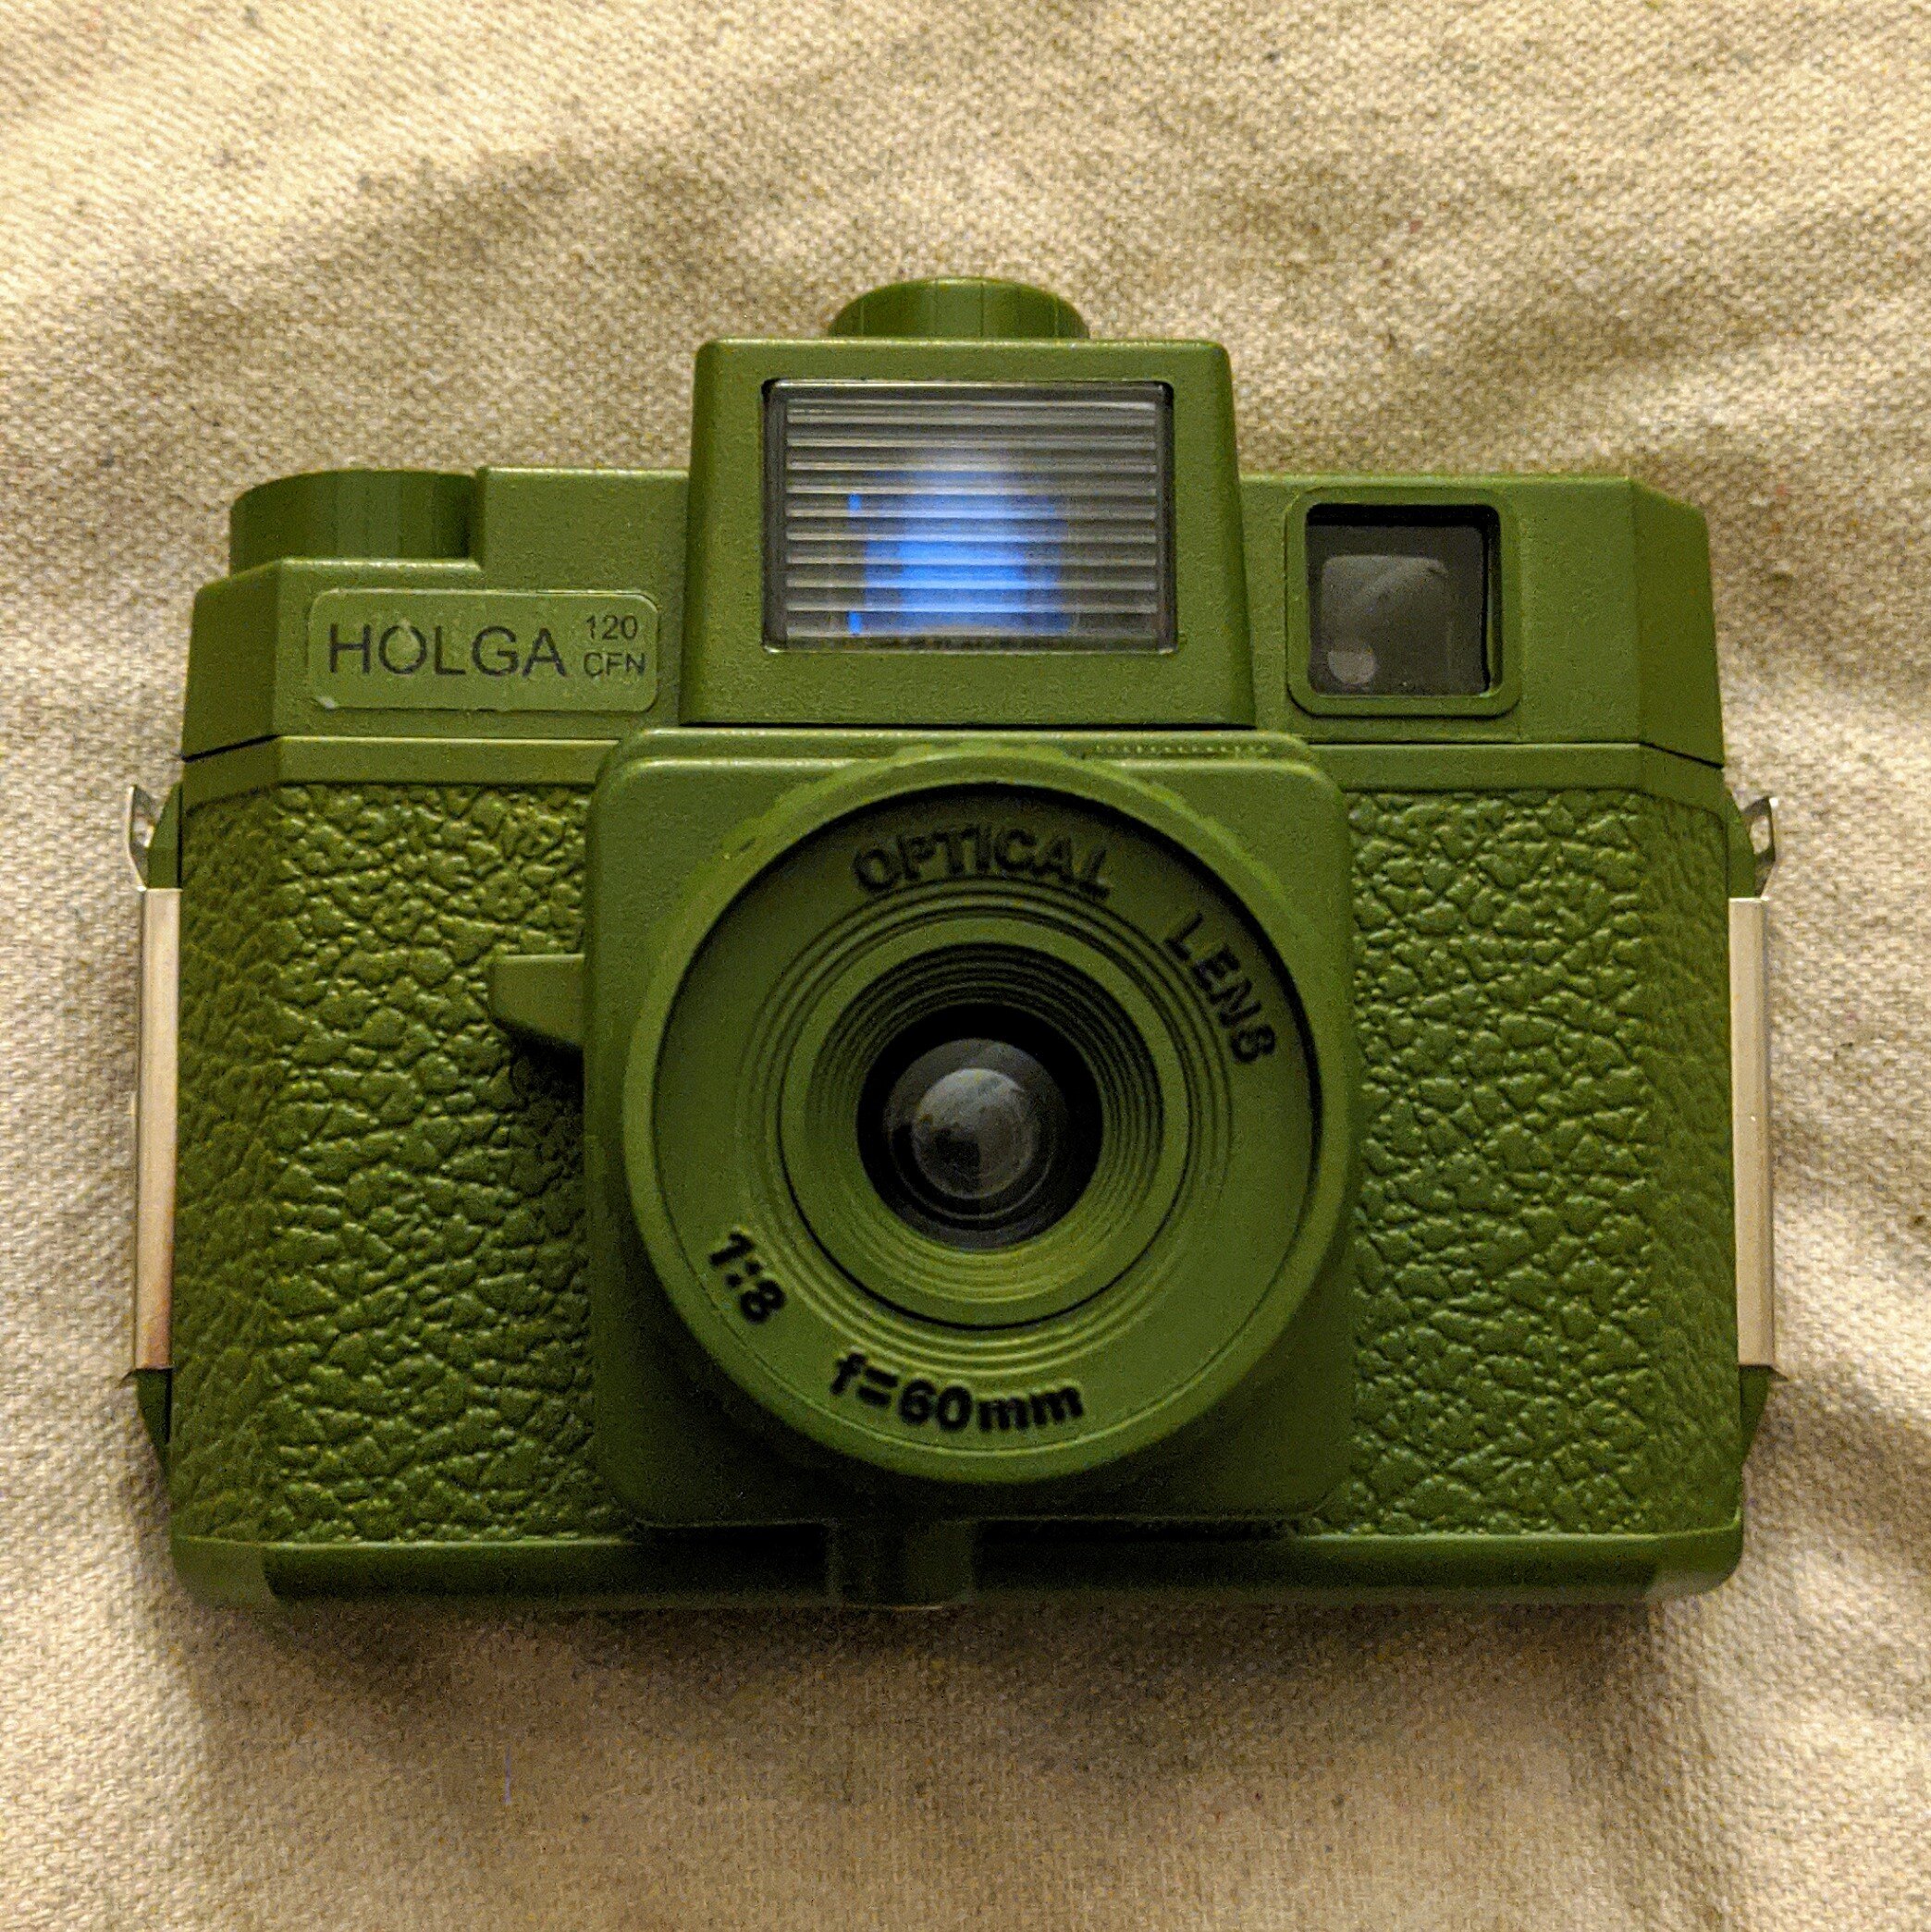
Yes, I have a bunch of these cameras. I am still wanting a Red/White one for the collection. Anyhoo, this is not your ordinary Holga. It’s been slightly, and fully reversibly modified to use 35mm film. Let me state, for the record, that this is not anything new. People have been stuffing 35mm film into Holgas since the camera’s inception. I do not hold claim to any new idea.
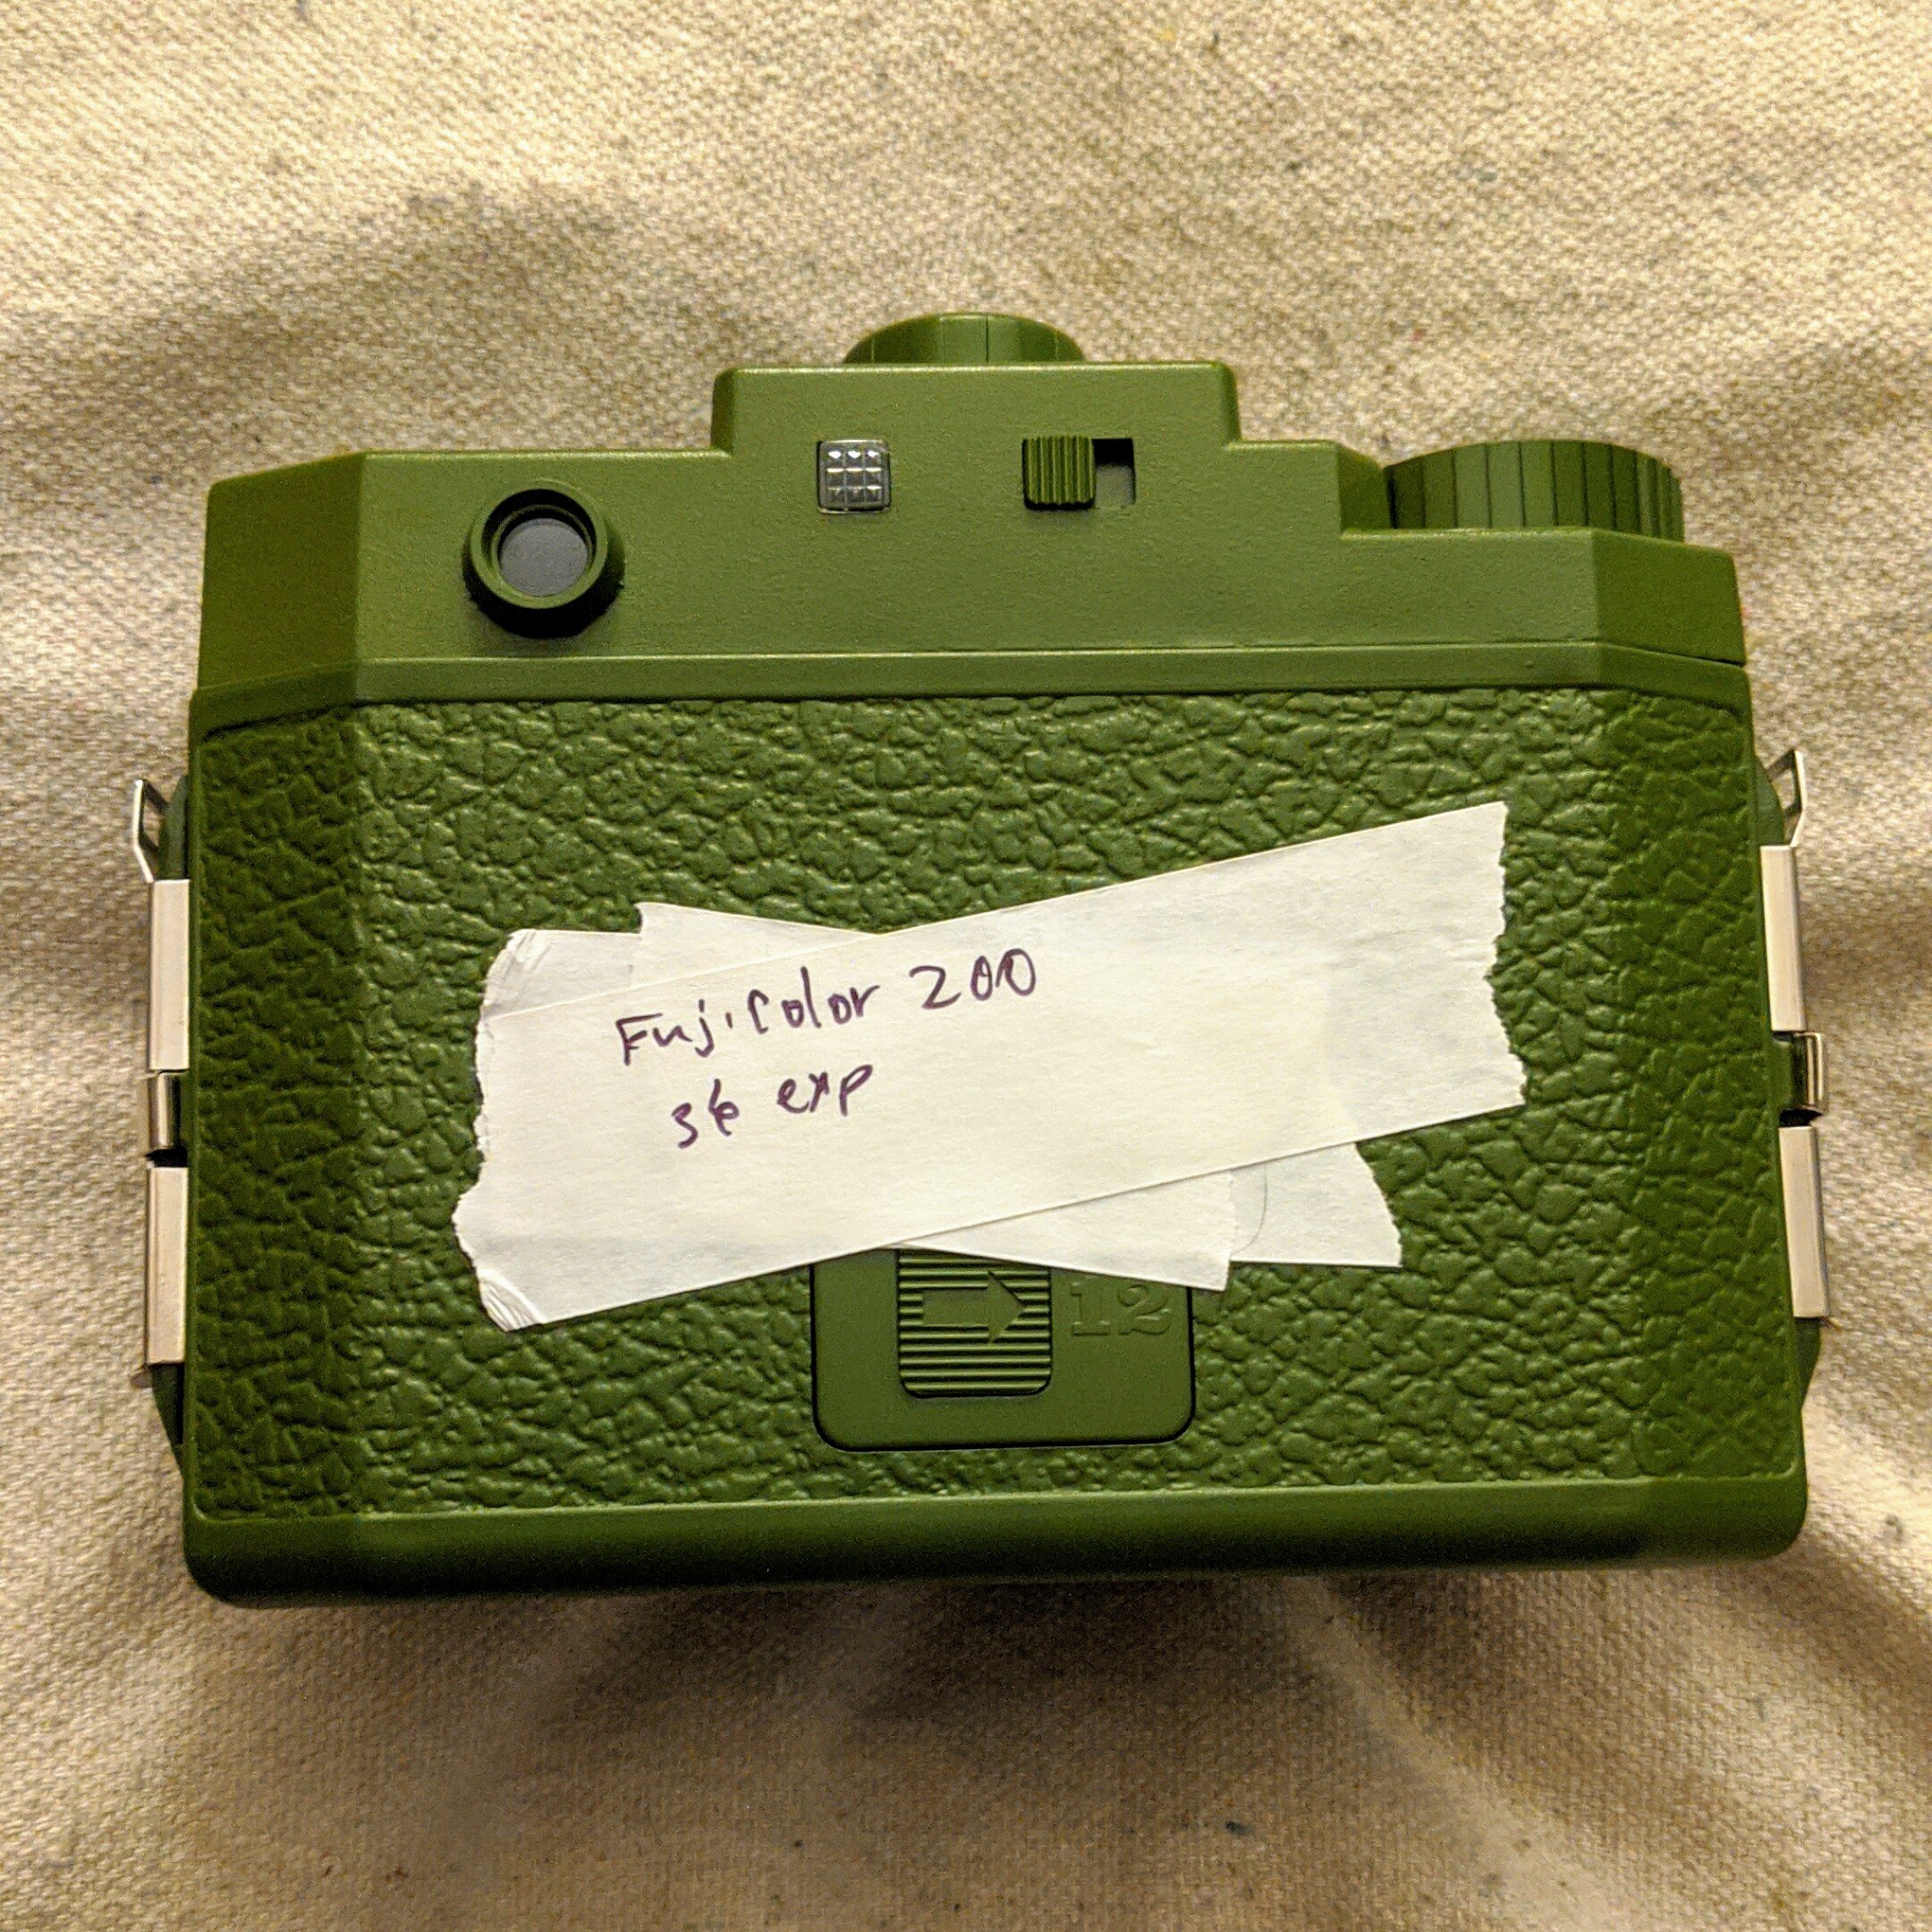
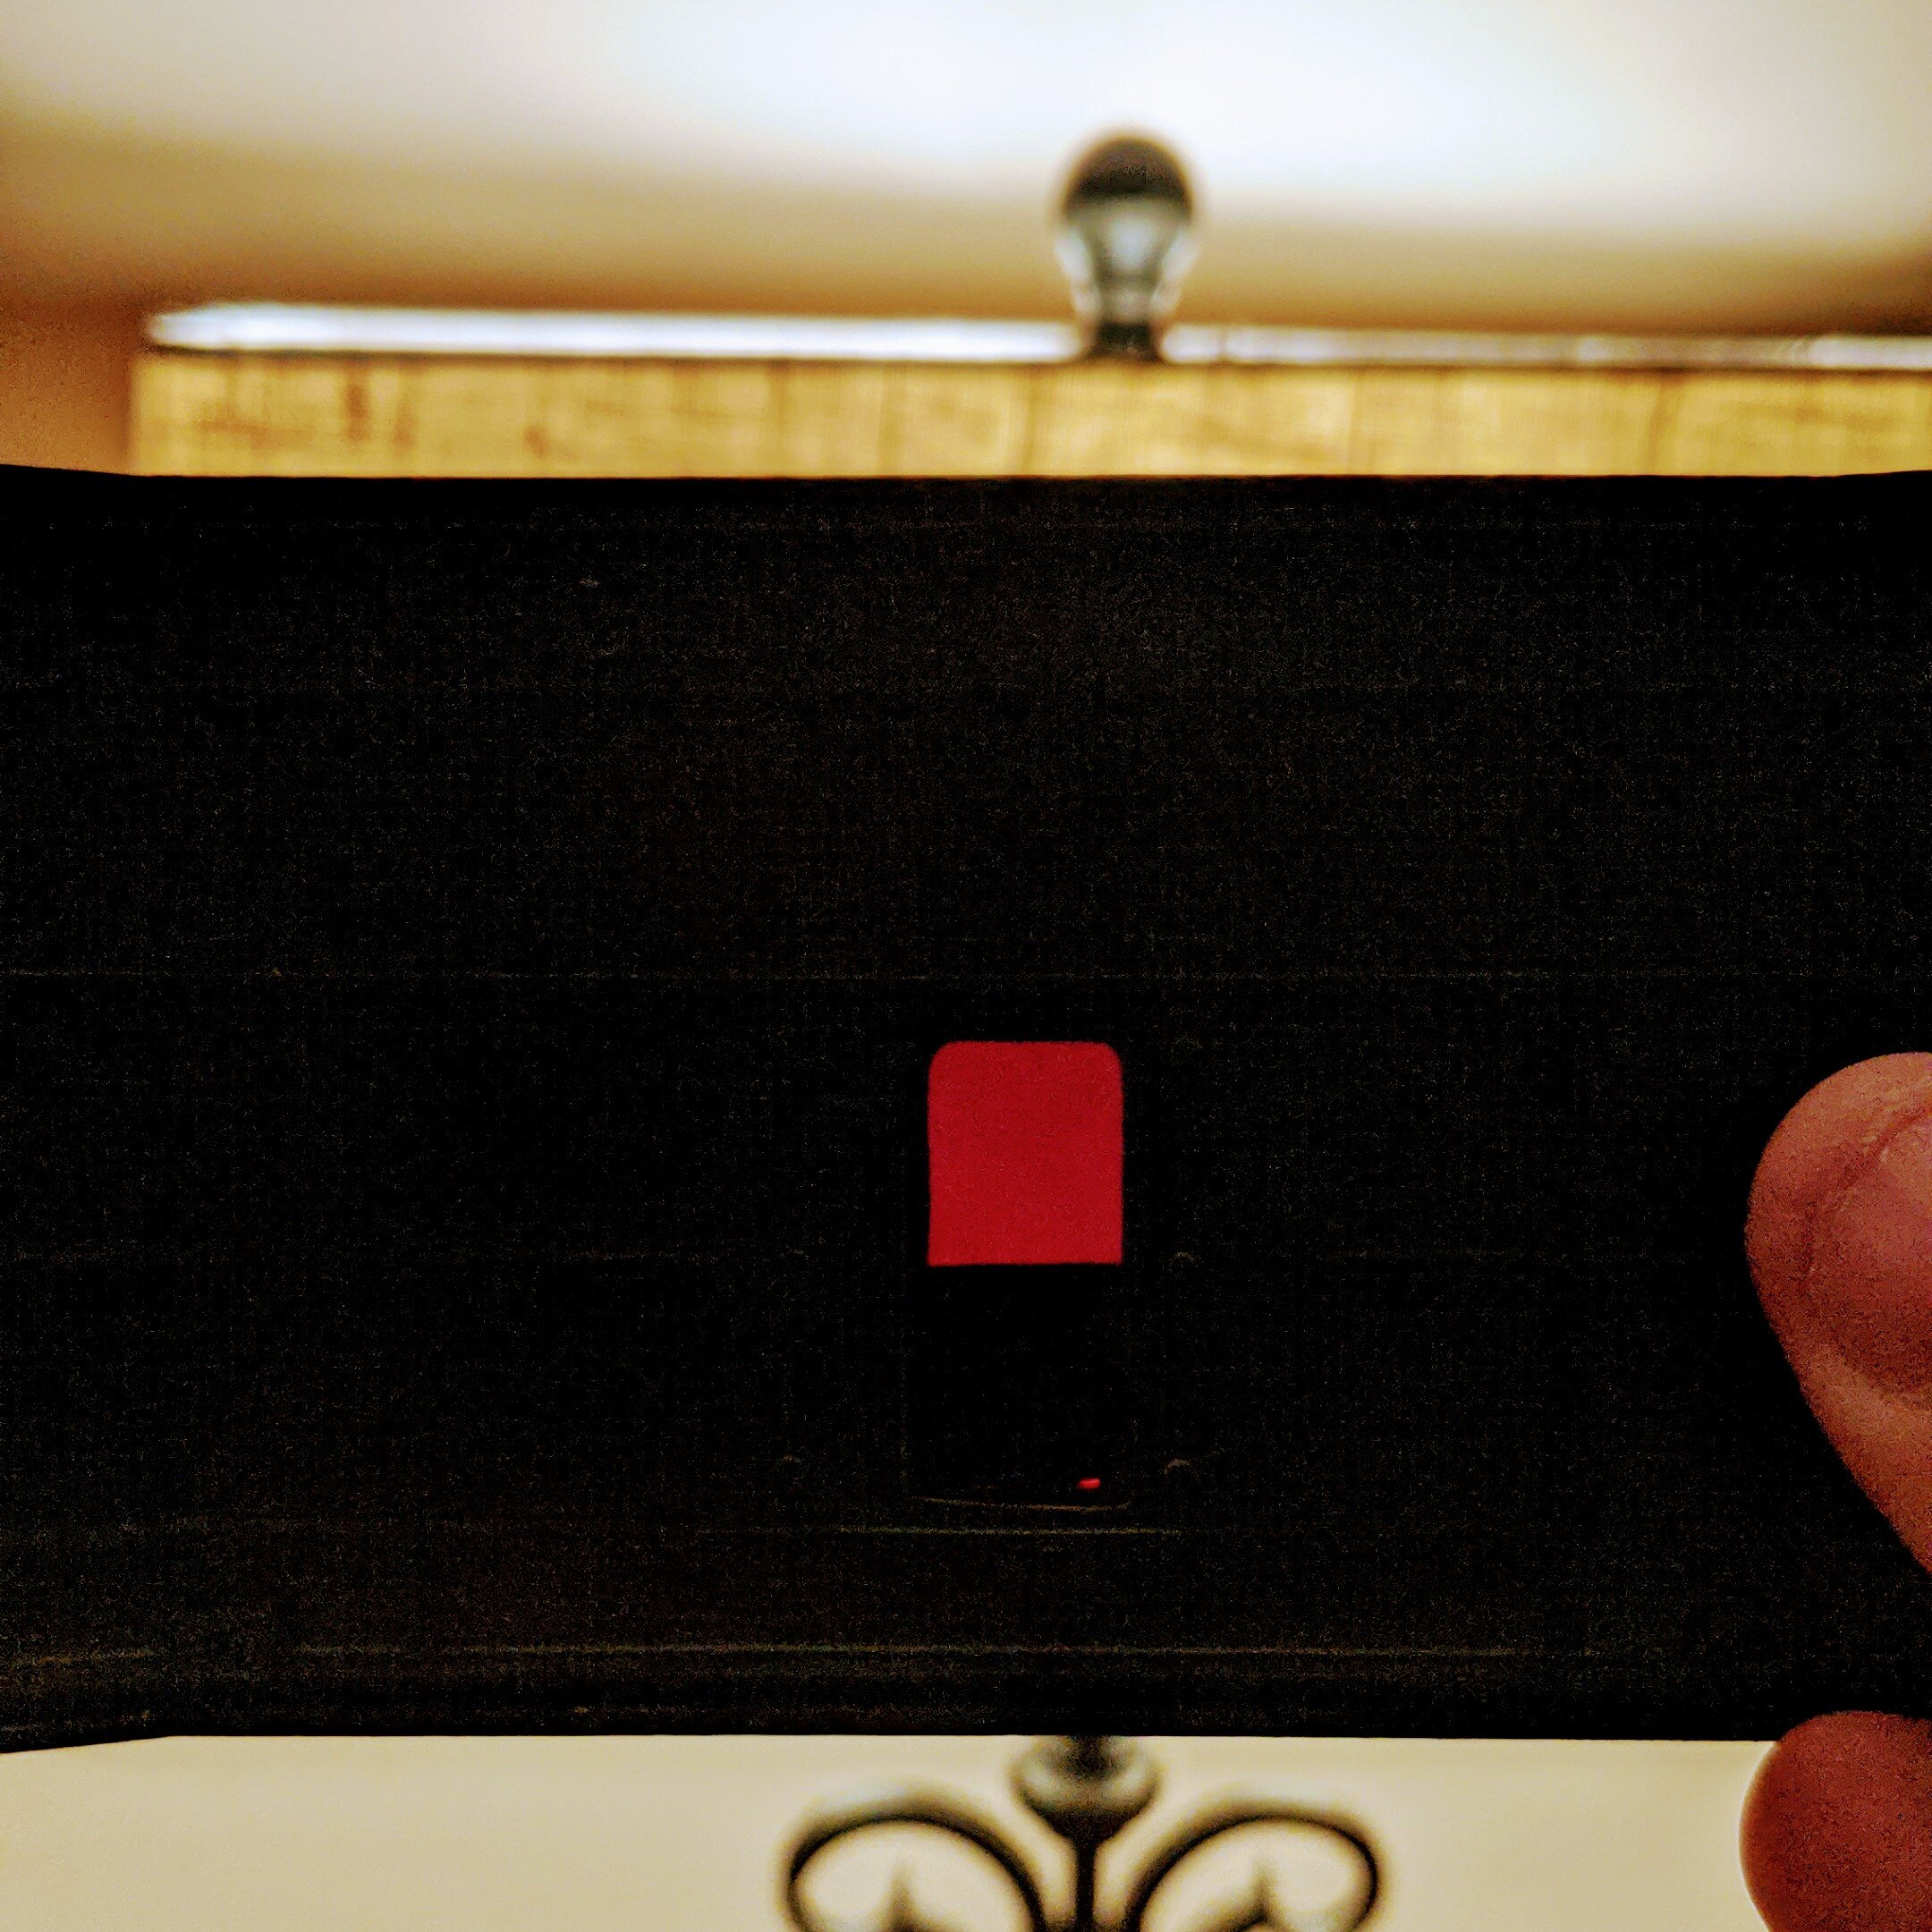
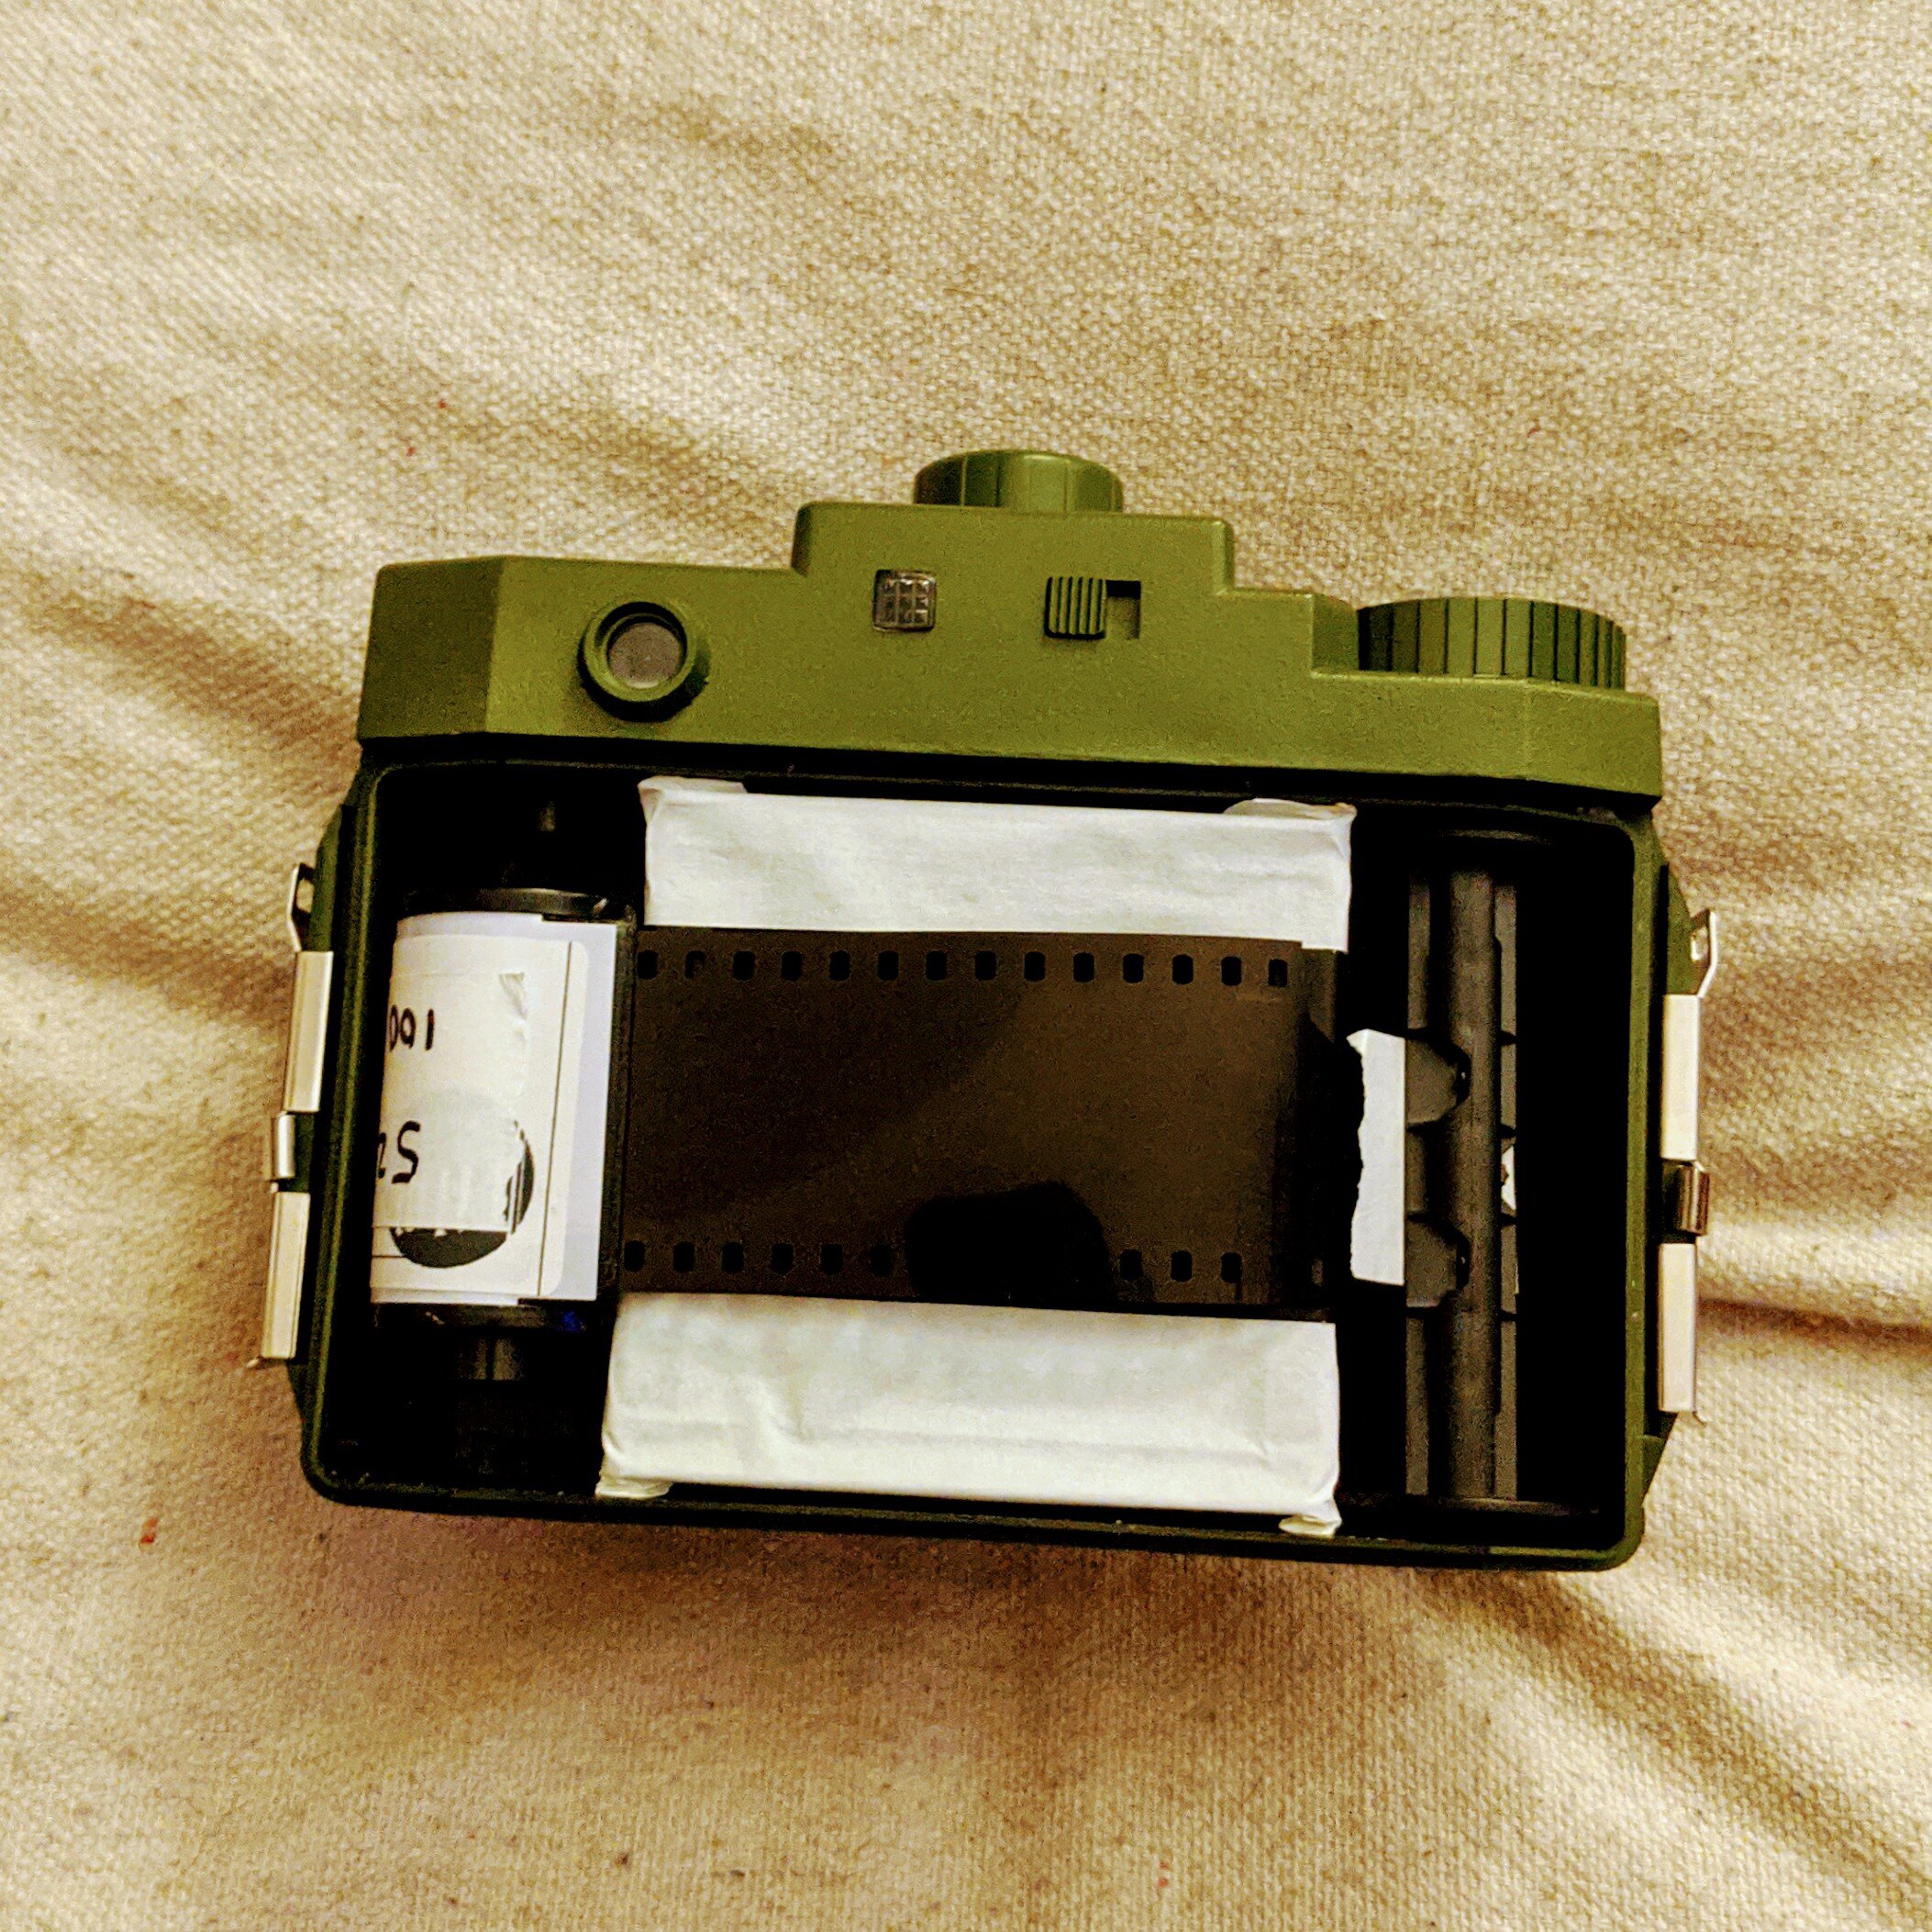
I also want to point out there really isn’t a need to do this as much as a desire to tinker. I started by removing the back and taping over the red window. I didn’t do a good job, really. Even several layers of tape let light through. I fixed this later, but know that for my test today, I had tons of light leaks in the form of a bunch of bright yellow squares on all of my images, and a neatly uniform light streak across the entire roll.
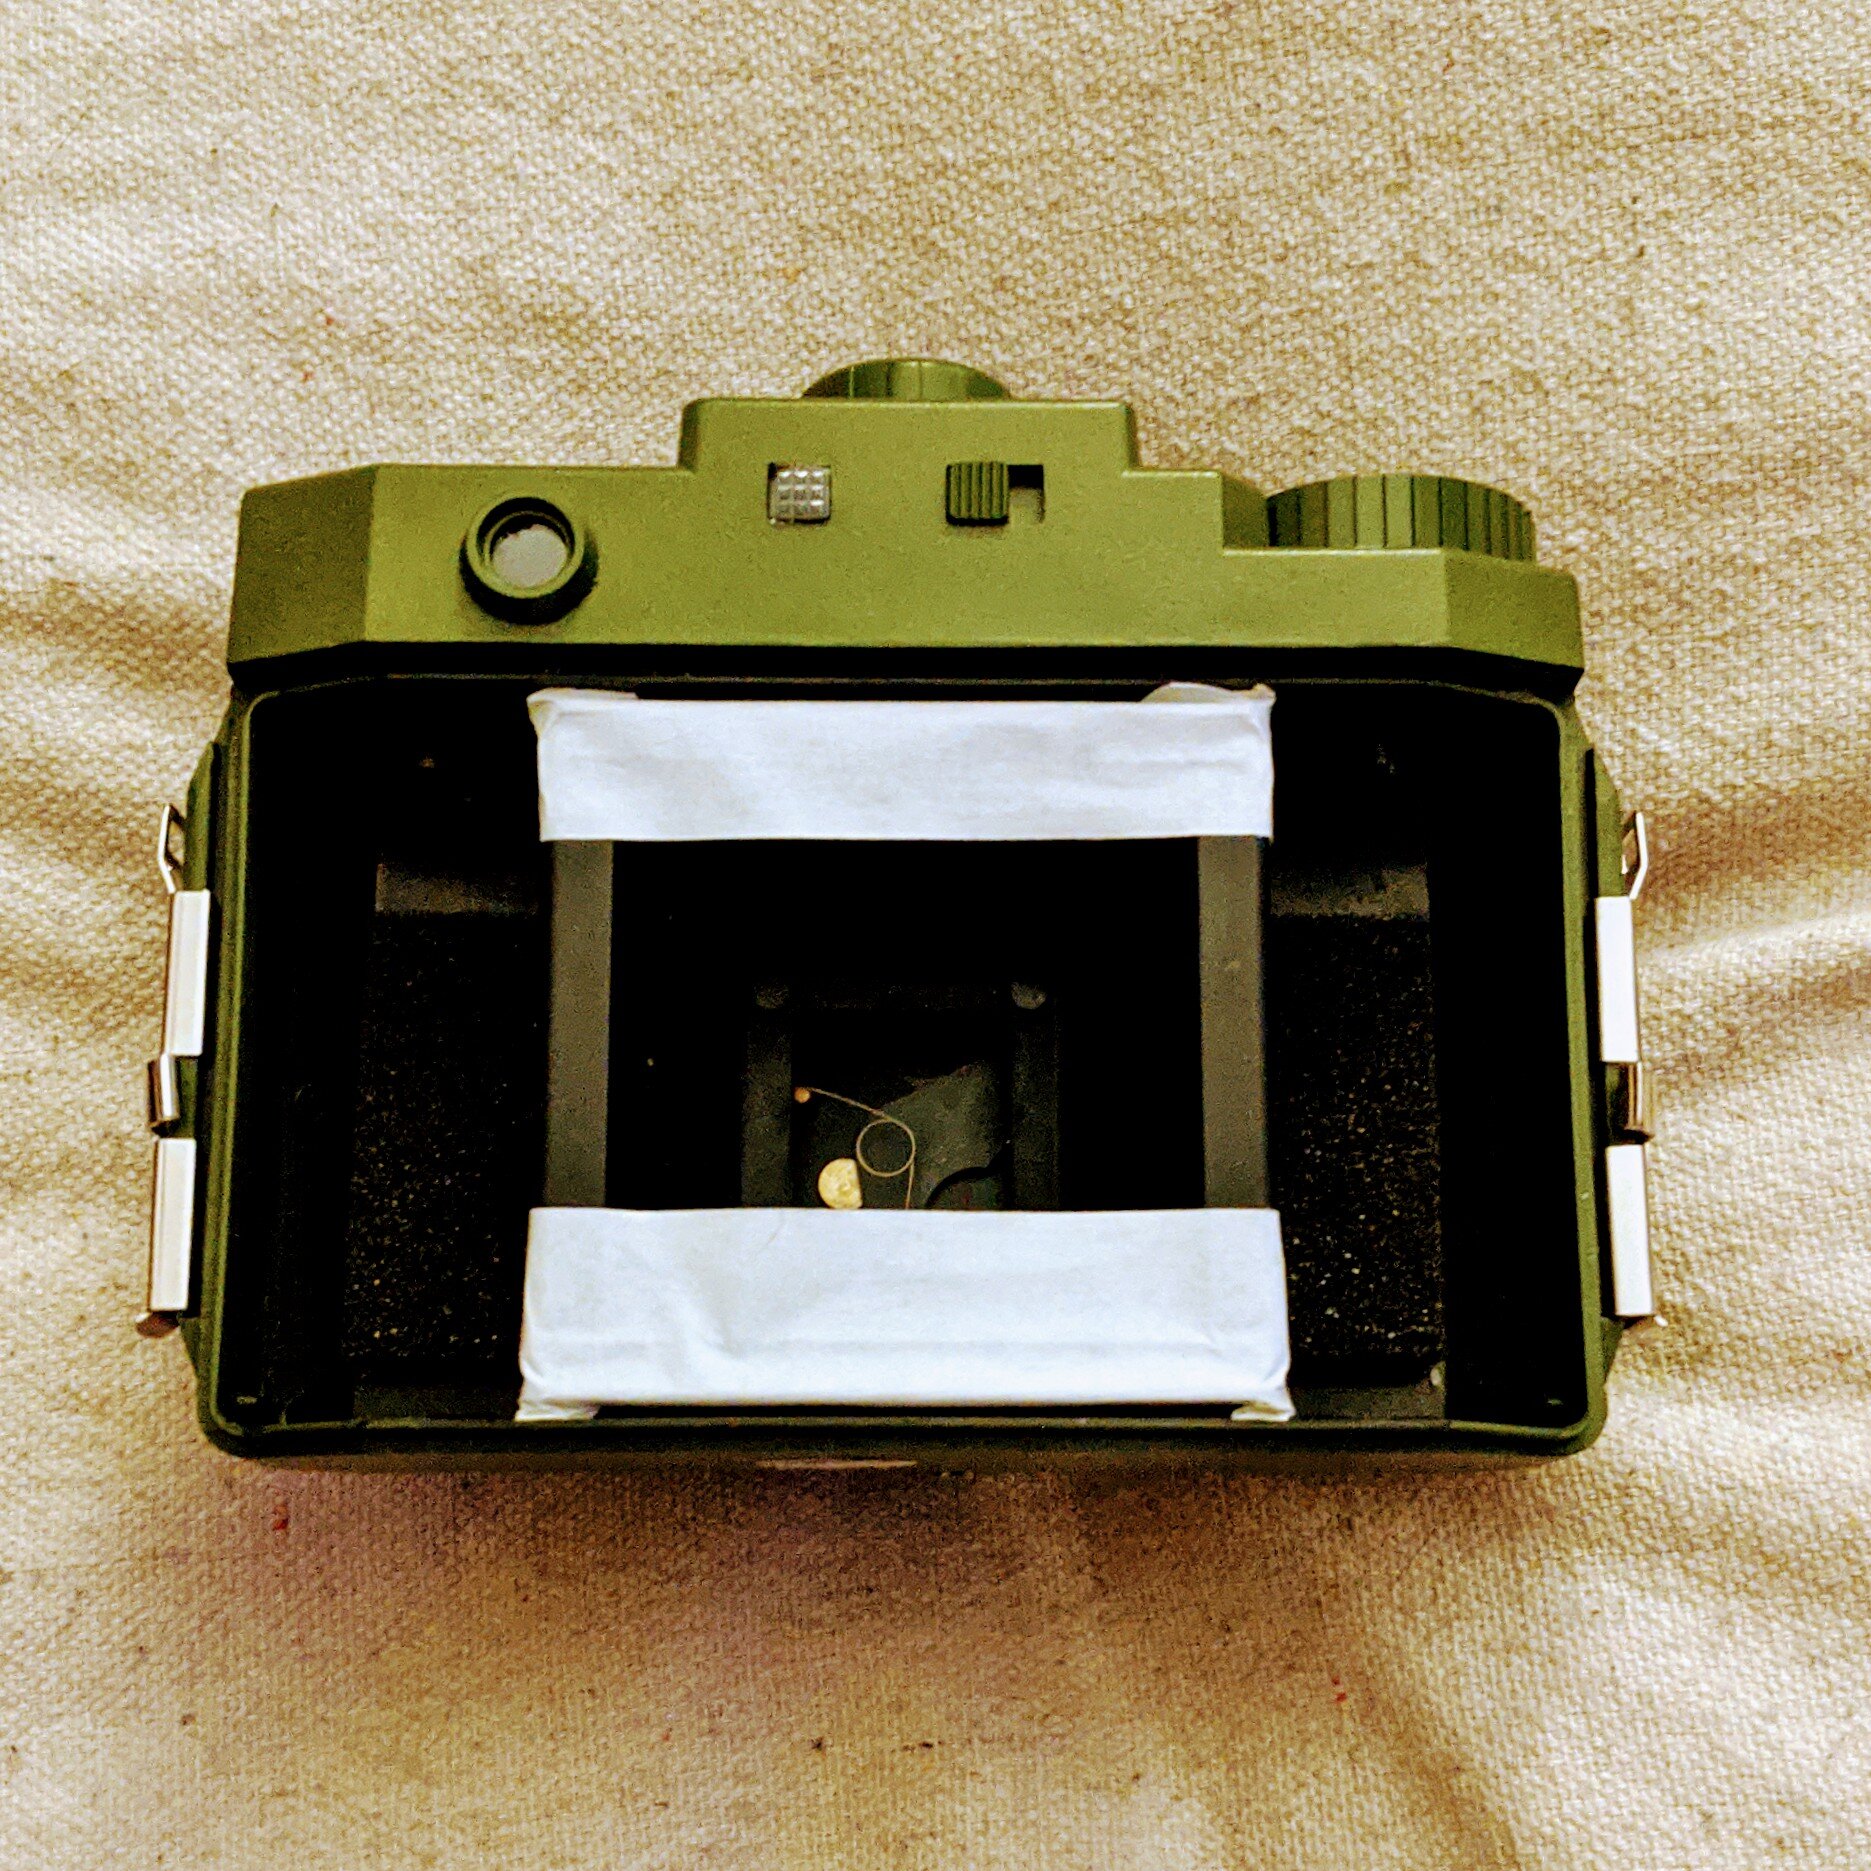
Next I masked off a section of the inner frame of the camera so that I had a sort of visual guide for the film. It works pretty well, although it’s not really needed. But any chance for me to use artists tape is a good thing. I love this stuff!
Since the film that usually goes in the Holga doesn’t come in a cartridge, I had to do some more taping. I taped the leader of a roll of Fujicolor 200 to the spool just about center of it. Once that was done, I inserted the film canister and spool into the camera and closed the back. I was nearly ready to shoot. Time to do some research on number of clicks per frame for a Holga.

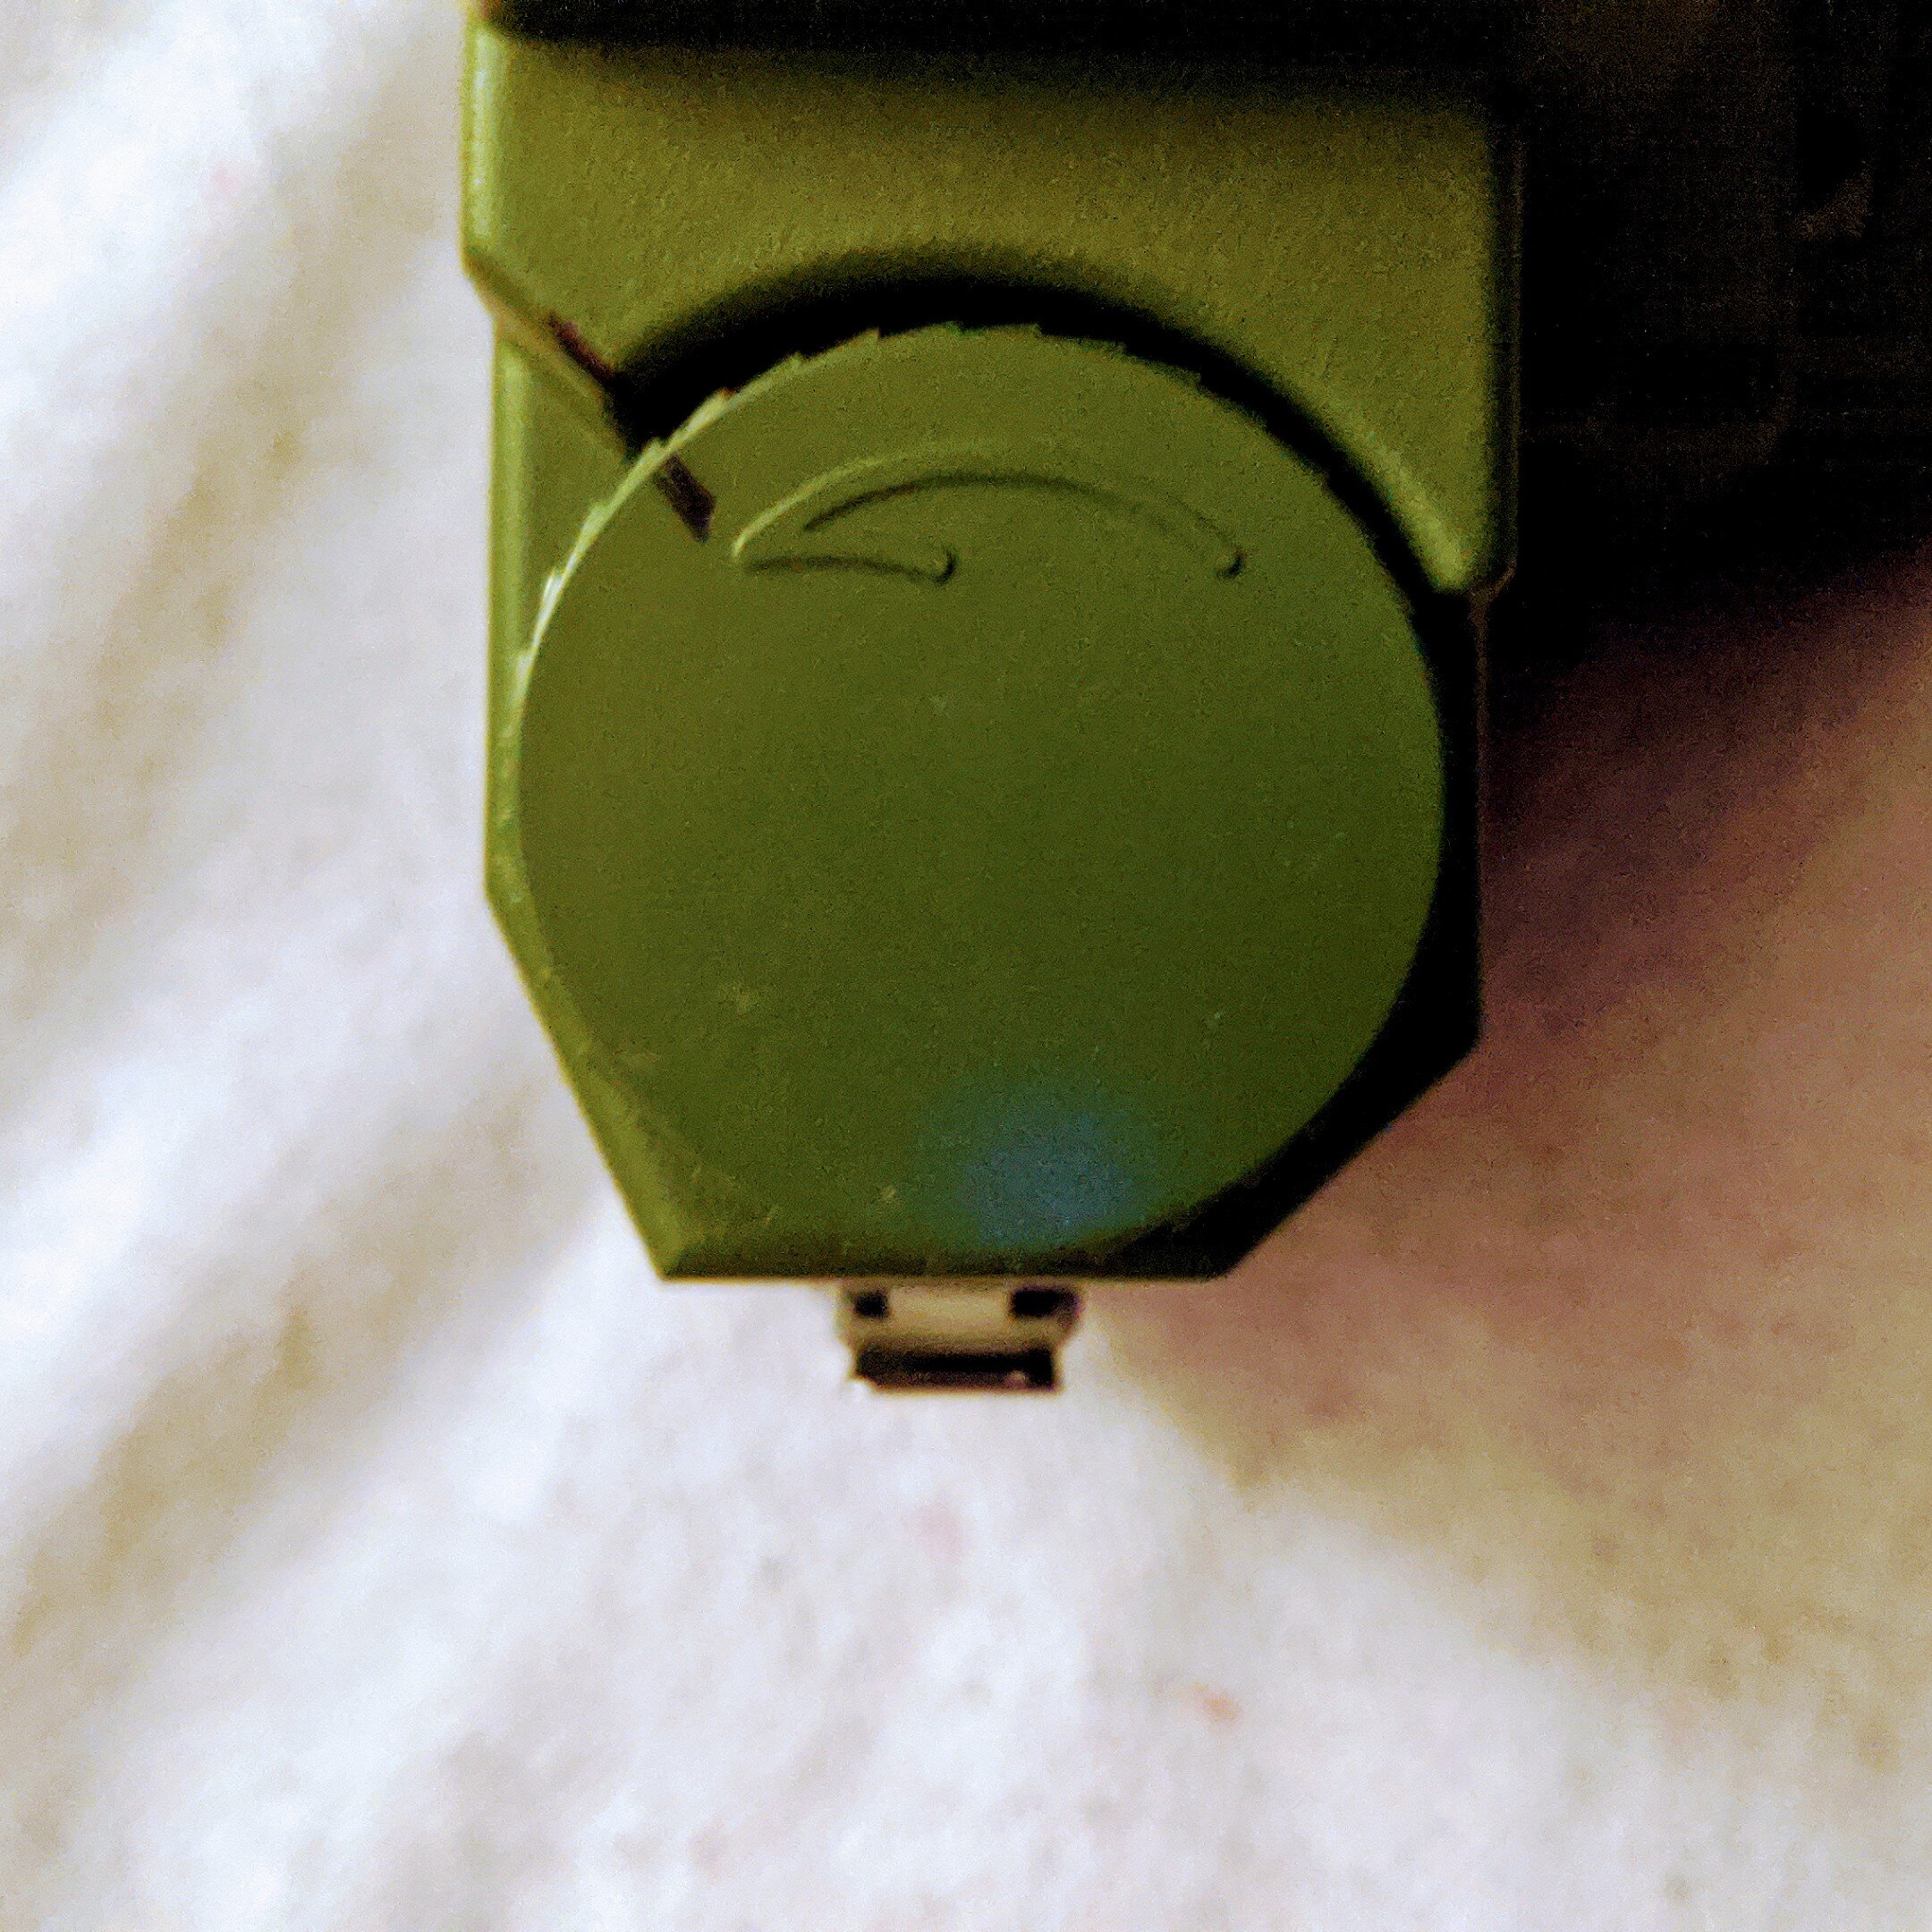
The number of clicks was a bit of research, testing, and more research. When turning the film advance wheel on the camera, it makes distinct clicks like a ratchet. Once complete rotation is about 24 clicks. That worked out to what quite a few folks on the Interwebs had suggested. However, you have to take into consideration the film tension as the film is wound around the spool. Initially it is very loose, but as the film is drawn around the spool it tightens up. This means that the first four frames or so are advanced a bit. 24, 26, 28, 28, 24, 24, 24…. Everything after the first four or five frames can be the stock 24. If you’re like me, you just let the first few overlap, but there is also a template out there on the web to mark the proper position of each frame/rotation on the advance wheel.
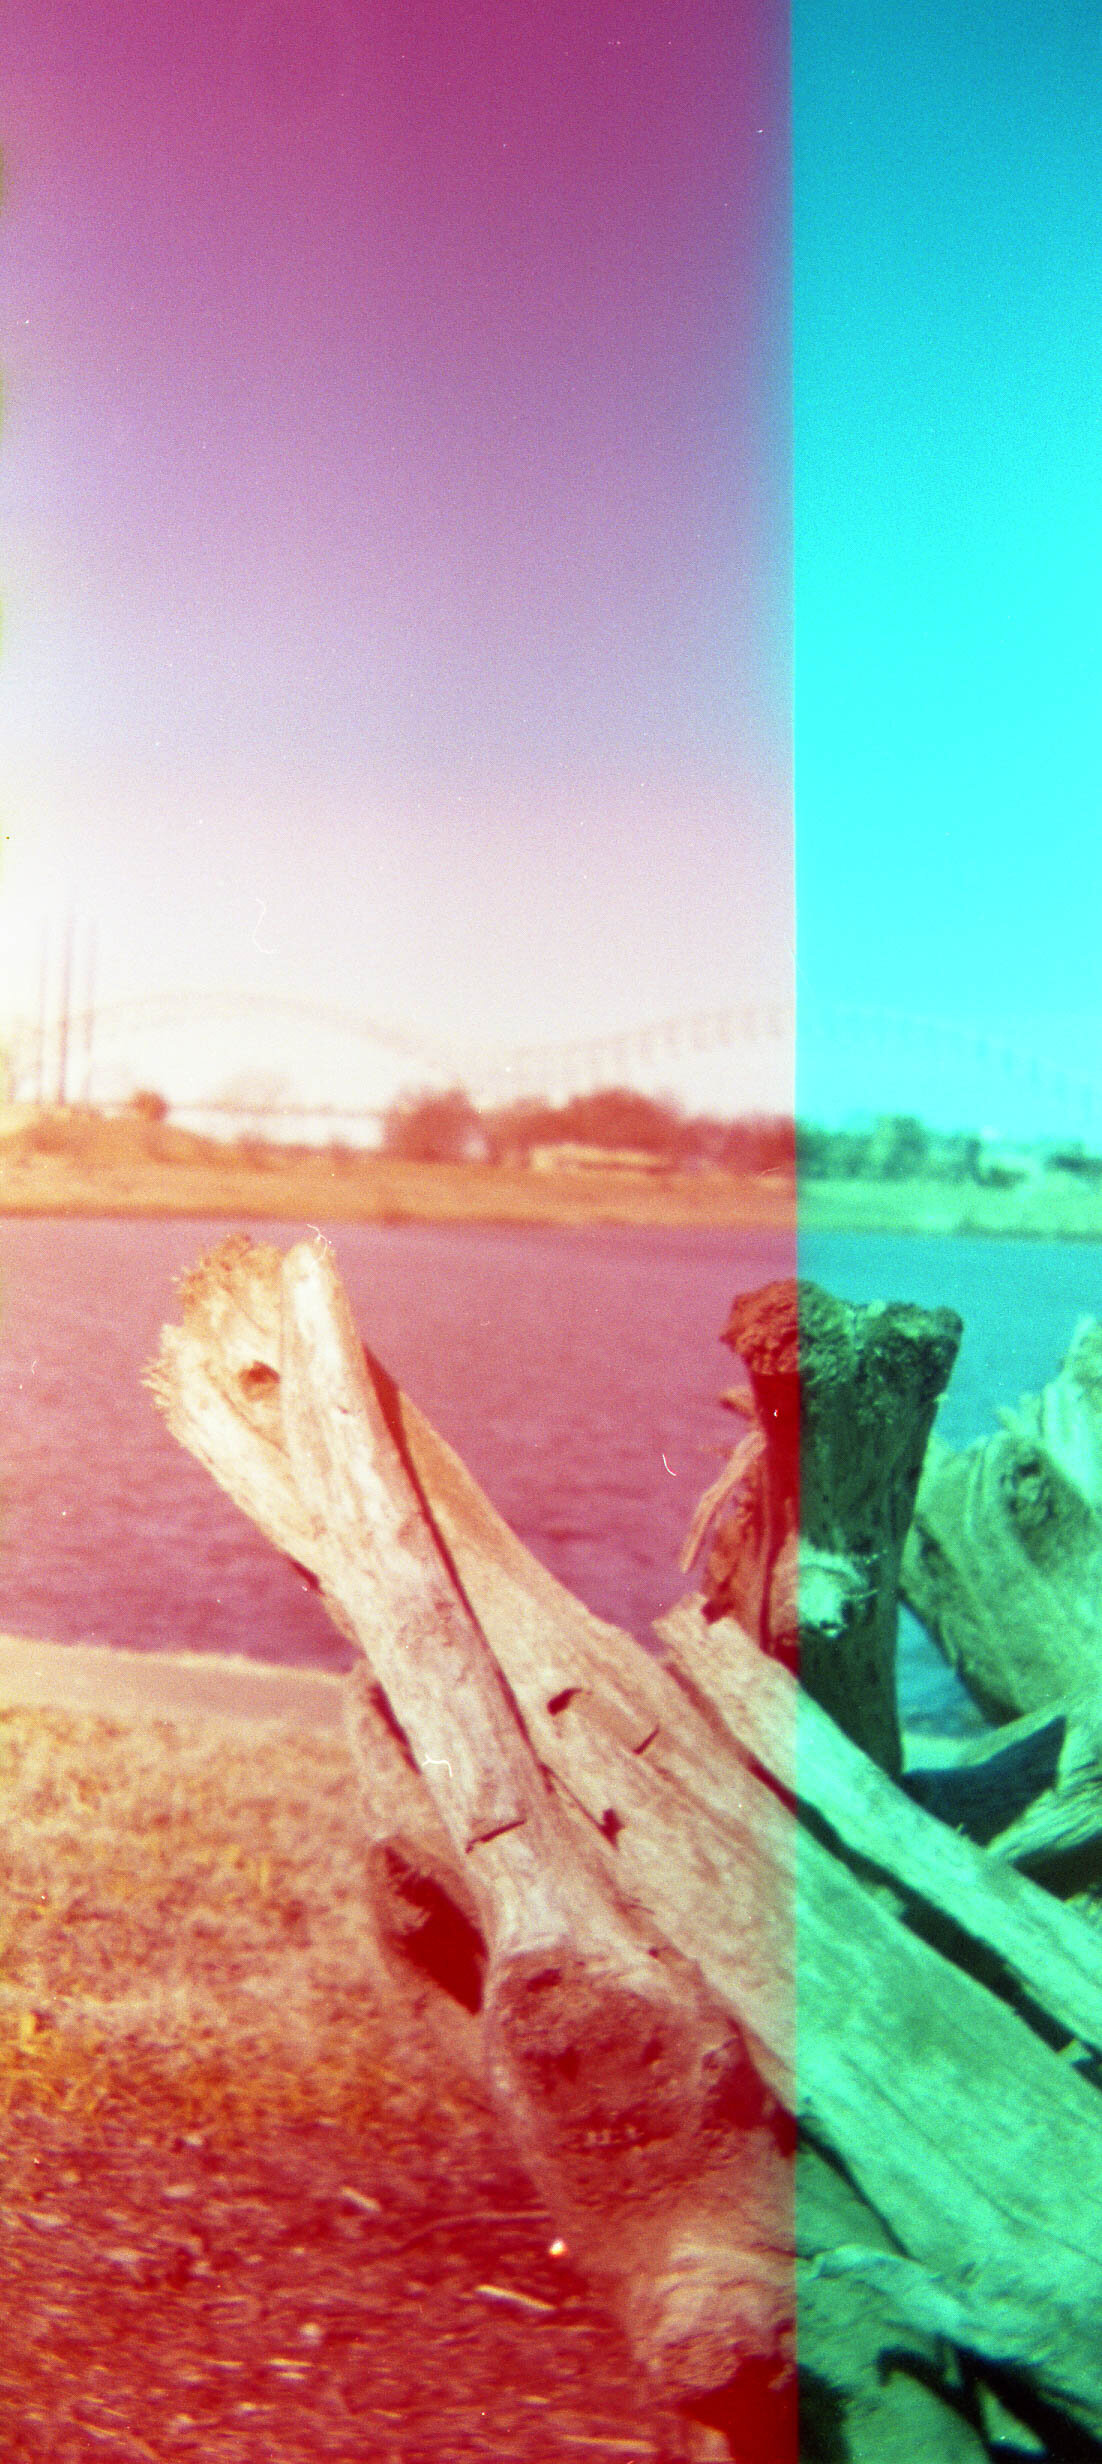
Out with the camera today, I was almost unsure how many shots I was going to get. It turns out, I ended up with more than 20 from a 36 exposure roll of film. I like those odds. Plus, the best part about it is they’re true 35mm panoramic photos. If you remember the 90s, there were some film cameras that boasted panoramic mode with a switch, but it really just put black bars on the top and bottom of the 35mm frame. Using the Holga with 35mm gives two distinct advantages. First, it’s shooting in the center of the lens which is generally the sharpest part of a meniscus lens. Second, it’s using the full 35mm film height — including sprockets — and the medium format width. A standard 35mm frame is 24x36mm , where a Holga wide shot is roughly 32x60mm.
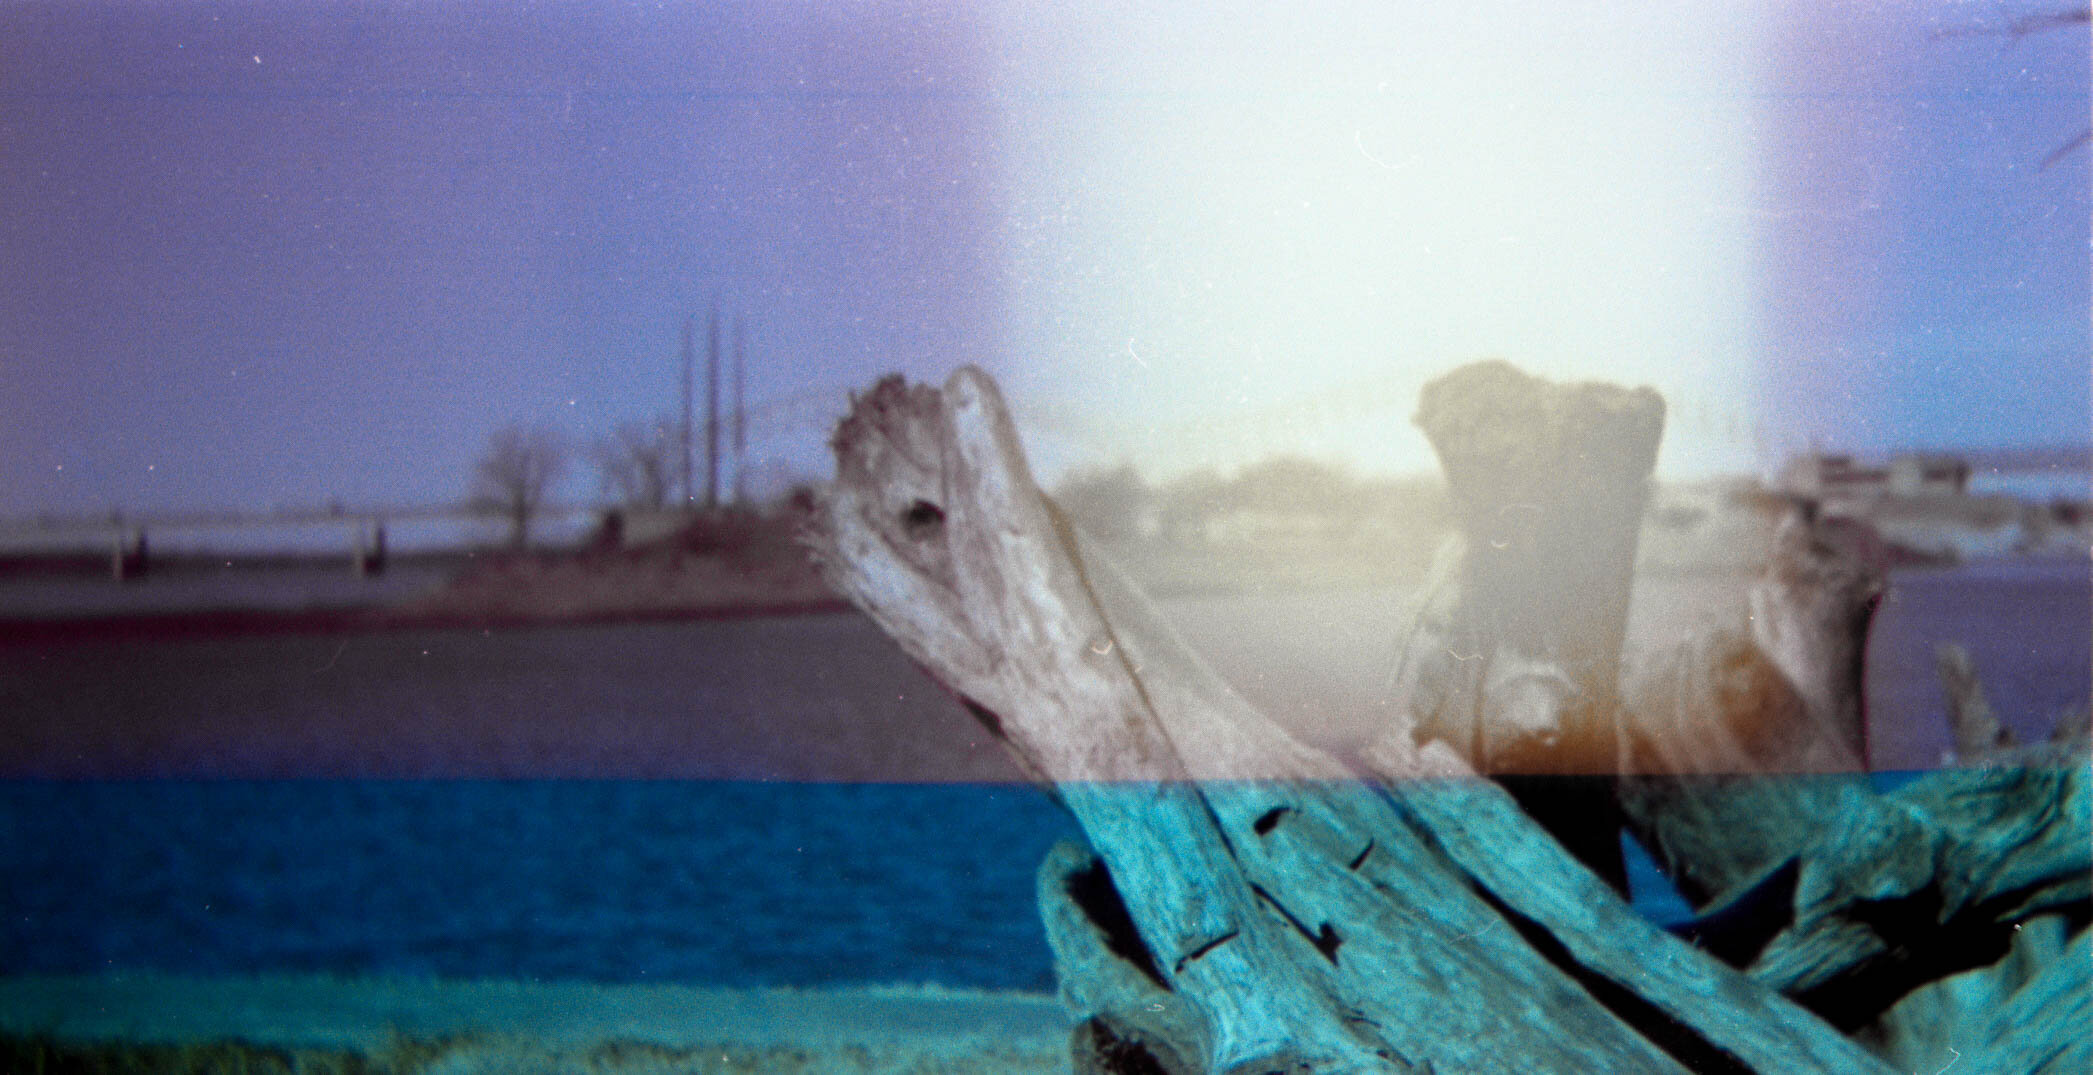
Yeah, so the light leaks. I have since fixed the window on the back of the camera to prevent light from actually getting in. Don’t get me wrong, I love crappy Holga photos, even the ones that mess up like these did. There’s something very liberating and exciting about Lomography. There is no pressure to make a perfect shot. It’s just an opportunity to go have fun and take some possibly cool photos to share with friends. So all these light leaks, weird scan lines, soft focus (my fault) and muted tones are part of shooting a toy camera.
But wait, there’s more! If you try this at home, which I am totally encouraging, you need a totally blacked out room or a film changing bag to unload the exposed film. It doesn’t have a paper backing like 120 film, so pulling the back off the camera once you’re done shooting the roll will fog the film and possibly ruin your day. There is a trick where you can use the paper backing from a previously exposed roll of 120 to re-roll your 35mm, but it’s a tedious thing that also has to be done in the dark. Choose your poison, really.
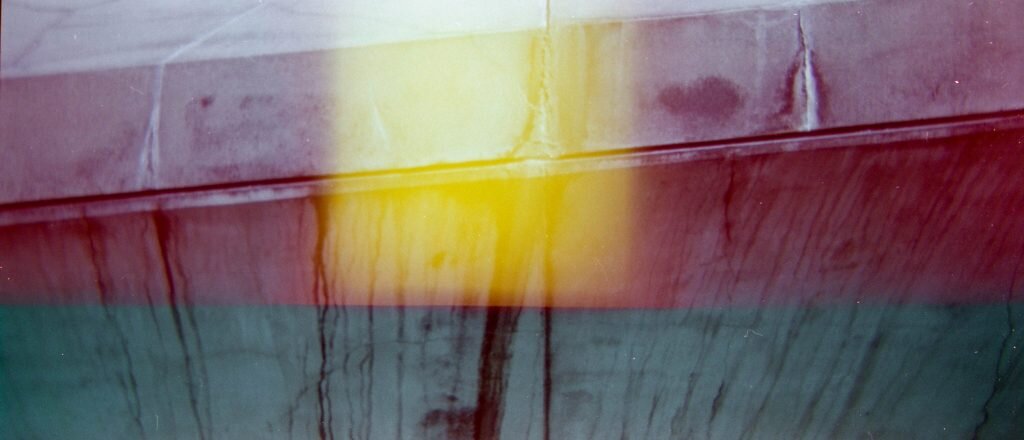
Yeah, I know these aren’t really panoramas as much as they are wide shots — larger than full-frame. But it’s still fun to pretend. Also, here’s a panorama from the camera because the first few shots run together.

I have reloaded the camera with a roll of Kodak 5248 Motion Picture film and will take it out tomorrow for another round of photos. I hope to have some less-leaky, more usable photos. For now, I hope you’ve enjoyed this little adventure of mine! Now go create your own!
Update: 1.8.2020 – ran a roll of 5248 through Olive Oil today. She still needs some tweaking to account for overlaps, but I’m kinda partial to the overlappy accidents.


Leave a Reply
You must be logged in to post a comment.