

I recently read an article by Riley Brandt about his Free and Open Source Software (foss) Workflow, and it piqued my interest. I have been a Linux user for 20 years, but I am also fairly comfortable with popular photography products on Mac and Windows. Accepting there was going to be a learning curve, I rebuilt my laptop with Linux and loaded some different apps, all so I can *cough* write something about it. So begins the Open Source Experiment.
The Operating System
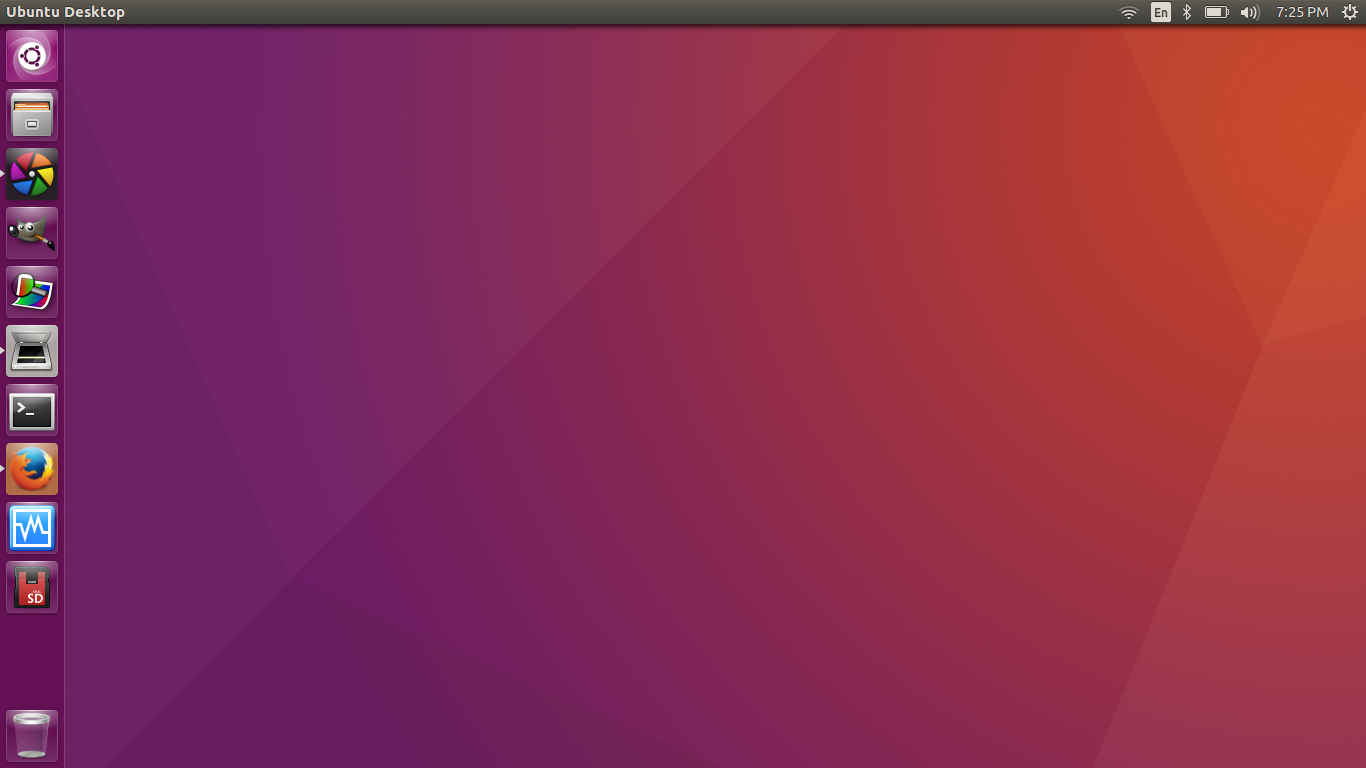 Most of the software you want to use for free can be run on Windows / Mac. But what fun is that ? Go big or go home right ? I wanted this to be a complete review in case anybody reading would want to give this a shot.I loaded Ubuntu Linux on my laptop because it’s the most usable from a newbie perspective. Most photographers probably aren’t Linux geeks, although they’d be epic awesomeness if they were, so I wanted something hands-free, and there’s nothing more hands free than booting to a Live CD and clicking “Install Ubuntu.”
Photo Editors – Mimicking the Mainstream
I’ll be honest, if you’re used to Lightroom and Photoshop, arguably the best products ever for photo editing, you’re going to find yourself a little disappointed. If you’re not ready to take this challenge head-on, I hope this will be an interesting insight for you anyway. However good these open source solutions are, they are not software projects with multiple decades of development and millions in R&D. They are written by a community of very bright and talented people and given away for free. That being said, these free software solutions can be used with success.
The GIMP
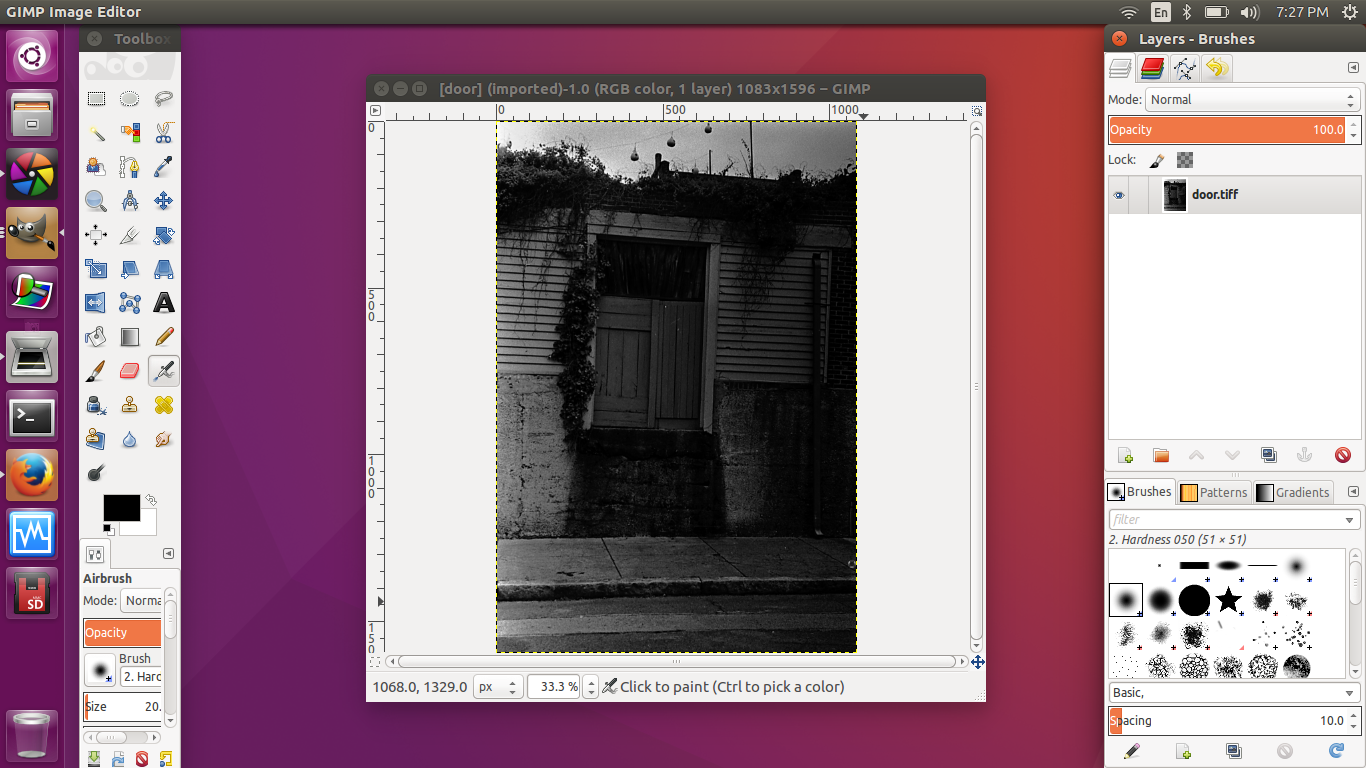 Get the Gimp. It’s the original Linux photo editor. It resembles Photoshop 6, and there is even a tweak (I highly recommend it) to give it Photoshop-style shortcuts. It does layers, filters, accepts brushes made for Photoshop, and even exports as PSD files so you can edit your work later if you find yourself in possession of Photoshop.
Darktable
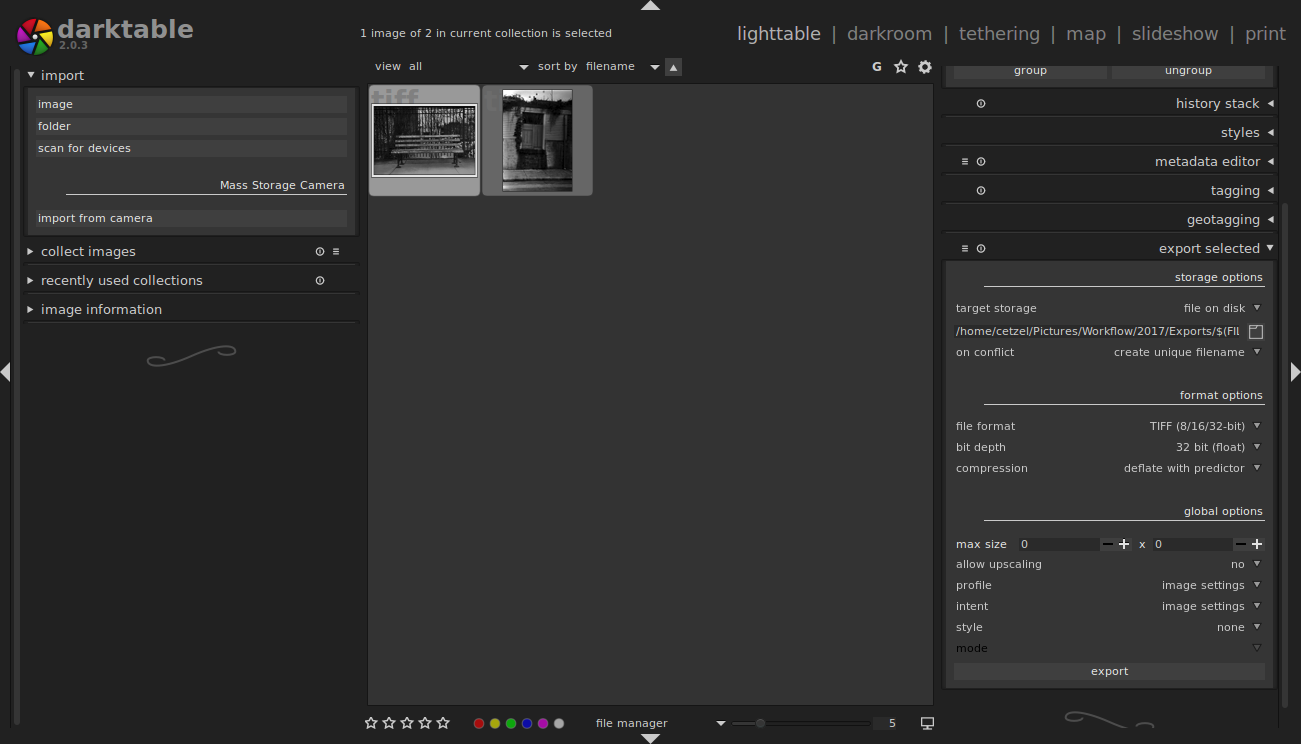 Darktable is the RAW photo editor I chose. There are a couple FOSS RAW editors, but I’m used to Lightroom and this one is the easiest for me to transition to. It works a lot like Lightroom in that the lighttable is where the photos are imported, meta data is modified, and the finished photos are exported, and the darktable is where the photos are edited. As expected, it has exposure settings, contrast, color adjustments, and even presets. For my photo editing, it is more than suitable.
iScan by Epson
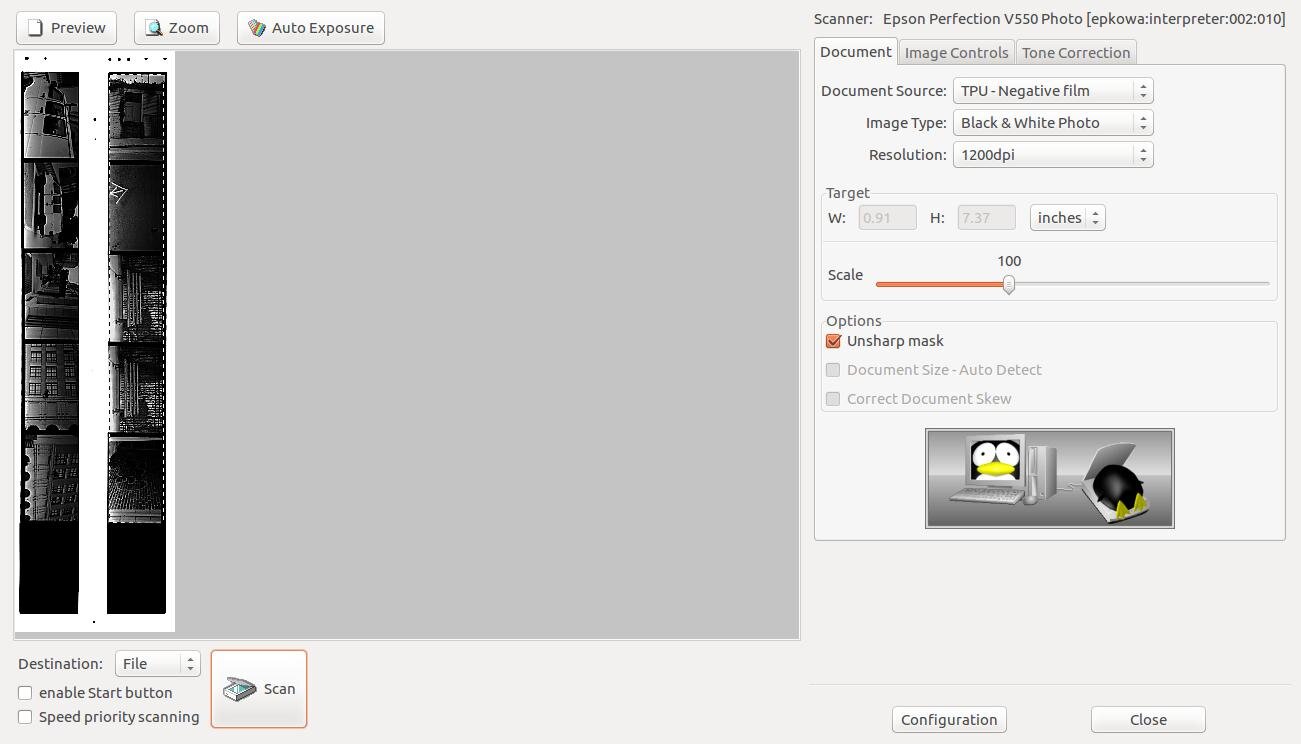 I use an Epson V550 scanner for my film negatives. In Windows I used Epson’s native software with ICE support –although I didn’t utilize ICE much– but the version for Linux is a bit pared down. It allows me to scan my negatives and has basic correction settings, but it doesn’t account for the negative-holder, making it an extra couple of steps to get the negatives into a workable format. However, it is good to know that Epson takes Linux somewhat seriously, offering their iScan software for the platform.
First Pass and Thoughts
 My first pass went this way. After installing the software, I created /home/cetzel/Pictures/Workflow/2017/{Scans,Exports}. There’s also a script I’m working on to import my RAF files from the Fuji X100T cards, but I may try Rapid Photo Downloader again now that I’m more familiar with my software.So I scanned two 5-frame negative strips, but the iScan software doesn’t recognize the individual frames — or I haven’t found that setting — so I had to import them into the Gimp and cut out the frames I wanted to keep. Although a little inconvenient, it does scan faster, and I tend to only cut out the photos I find interesting. So it’s not a bad trade-off. After importing into the Gimp, I used the heal tool to remove scratches/dust from the scan, and saved it out as a TIFF. I did this because the version of Darktable I’m using doesn’t have a heal tool. In Darktable I’m able to modify exposure, highlights and shadows, and even correct aberrations. Exporting from there, I upload to Aragonseye.com / Flickr.com just like I would in any other OS.
 I am not disappointed in the results, mostly. I hope iScan has a hidden feature to chop negatives by frame, or maybe I’ll dig a little more for a mature scanner application. Darktable’s learning curve is not to great if you’ve used Lightroom. The Gimp is nice as long as you use Riley Brandt’s menurc tweak. Otherwise, it’s dark waters to wade in to get over the curve. Those who have used neither free nor proprietary software would still benefit from Riley’s menurc tweak, in case you make your way to the paid applications later.Lastly, if I haven’t stressed this: OpenSource is badass, but pros probably should stick to pro software. I am a hobbyist photog, and it’s no skin off my teeth whether I use Lightroom or Darktable, because I’m just doing this for my own enjoyment.I’ll spend the next 30 days using only this configuration, and I’ll report any epiphanies, software upgrades, tweaks, pitfalls, tears and joys. If nothing else, I hope this will give some good subject matter for those of you that enjoy reading my site. Perhaps one or two of you might take the jump to Linux! 😀
Leave a Reply