A couple months ago I bought a cyanotype kit for the kids. I had ulterior motives, though. I wanted to try printing from negatives. Unfortunately I don’t have the equipment for darkroom printing, nor do I have any large negatives since I throw them away after I scan them.
The easiest and cheapest way around this is to use cyanotype printing. All it requires is some sunlight, a couple chemicals, and a large transfer. To do the transfer, I used some clear laser printer transparency. By picking the images I wanted to print and inverting them in photoshop, I was able to create 8×10 negatives. Don’t get me wrong, aren’t negative quality, but they work for this purpose .
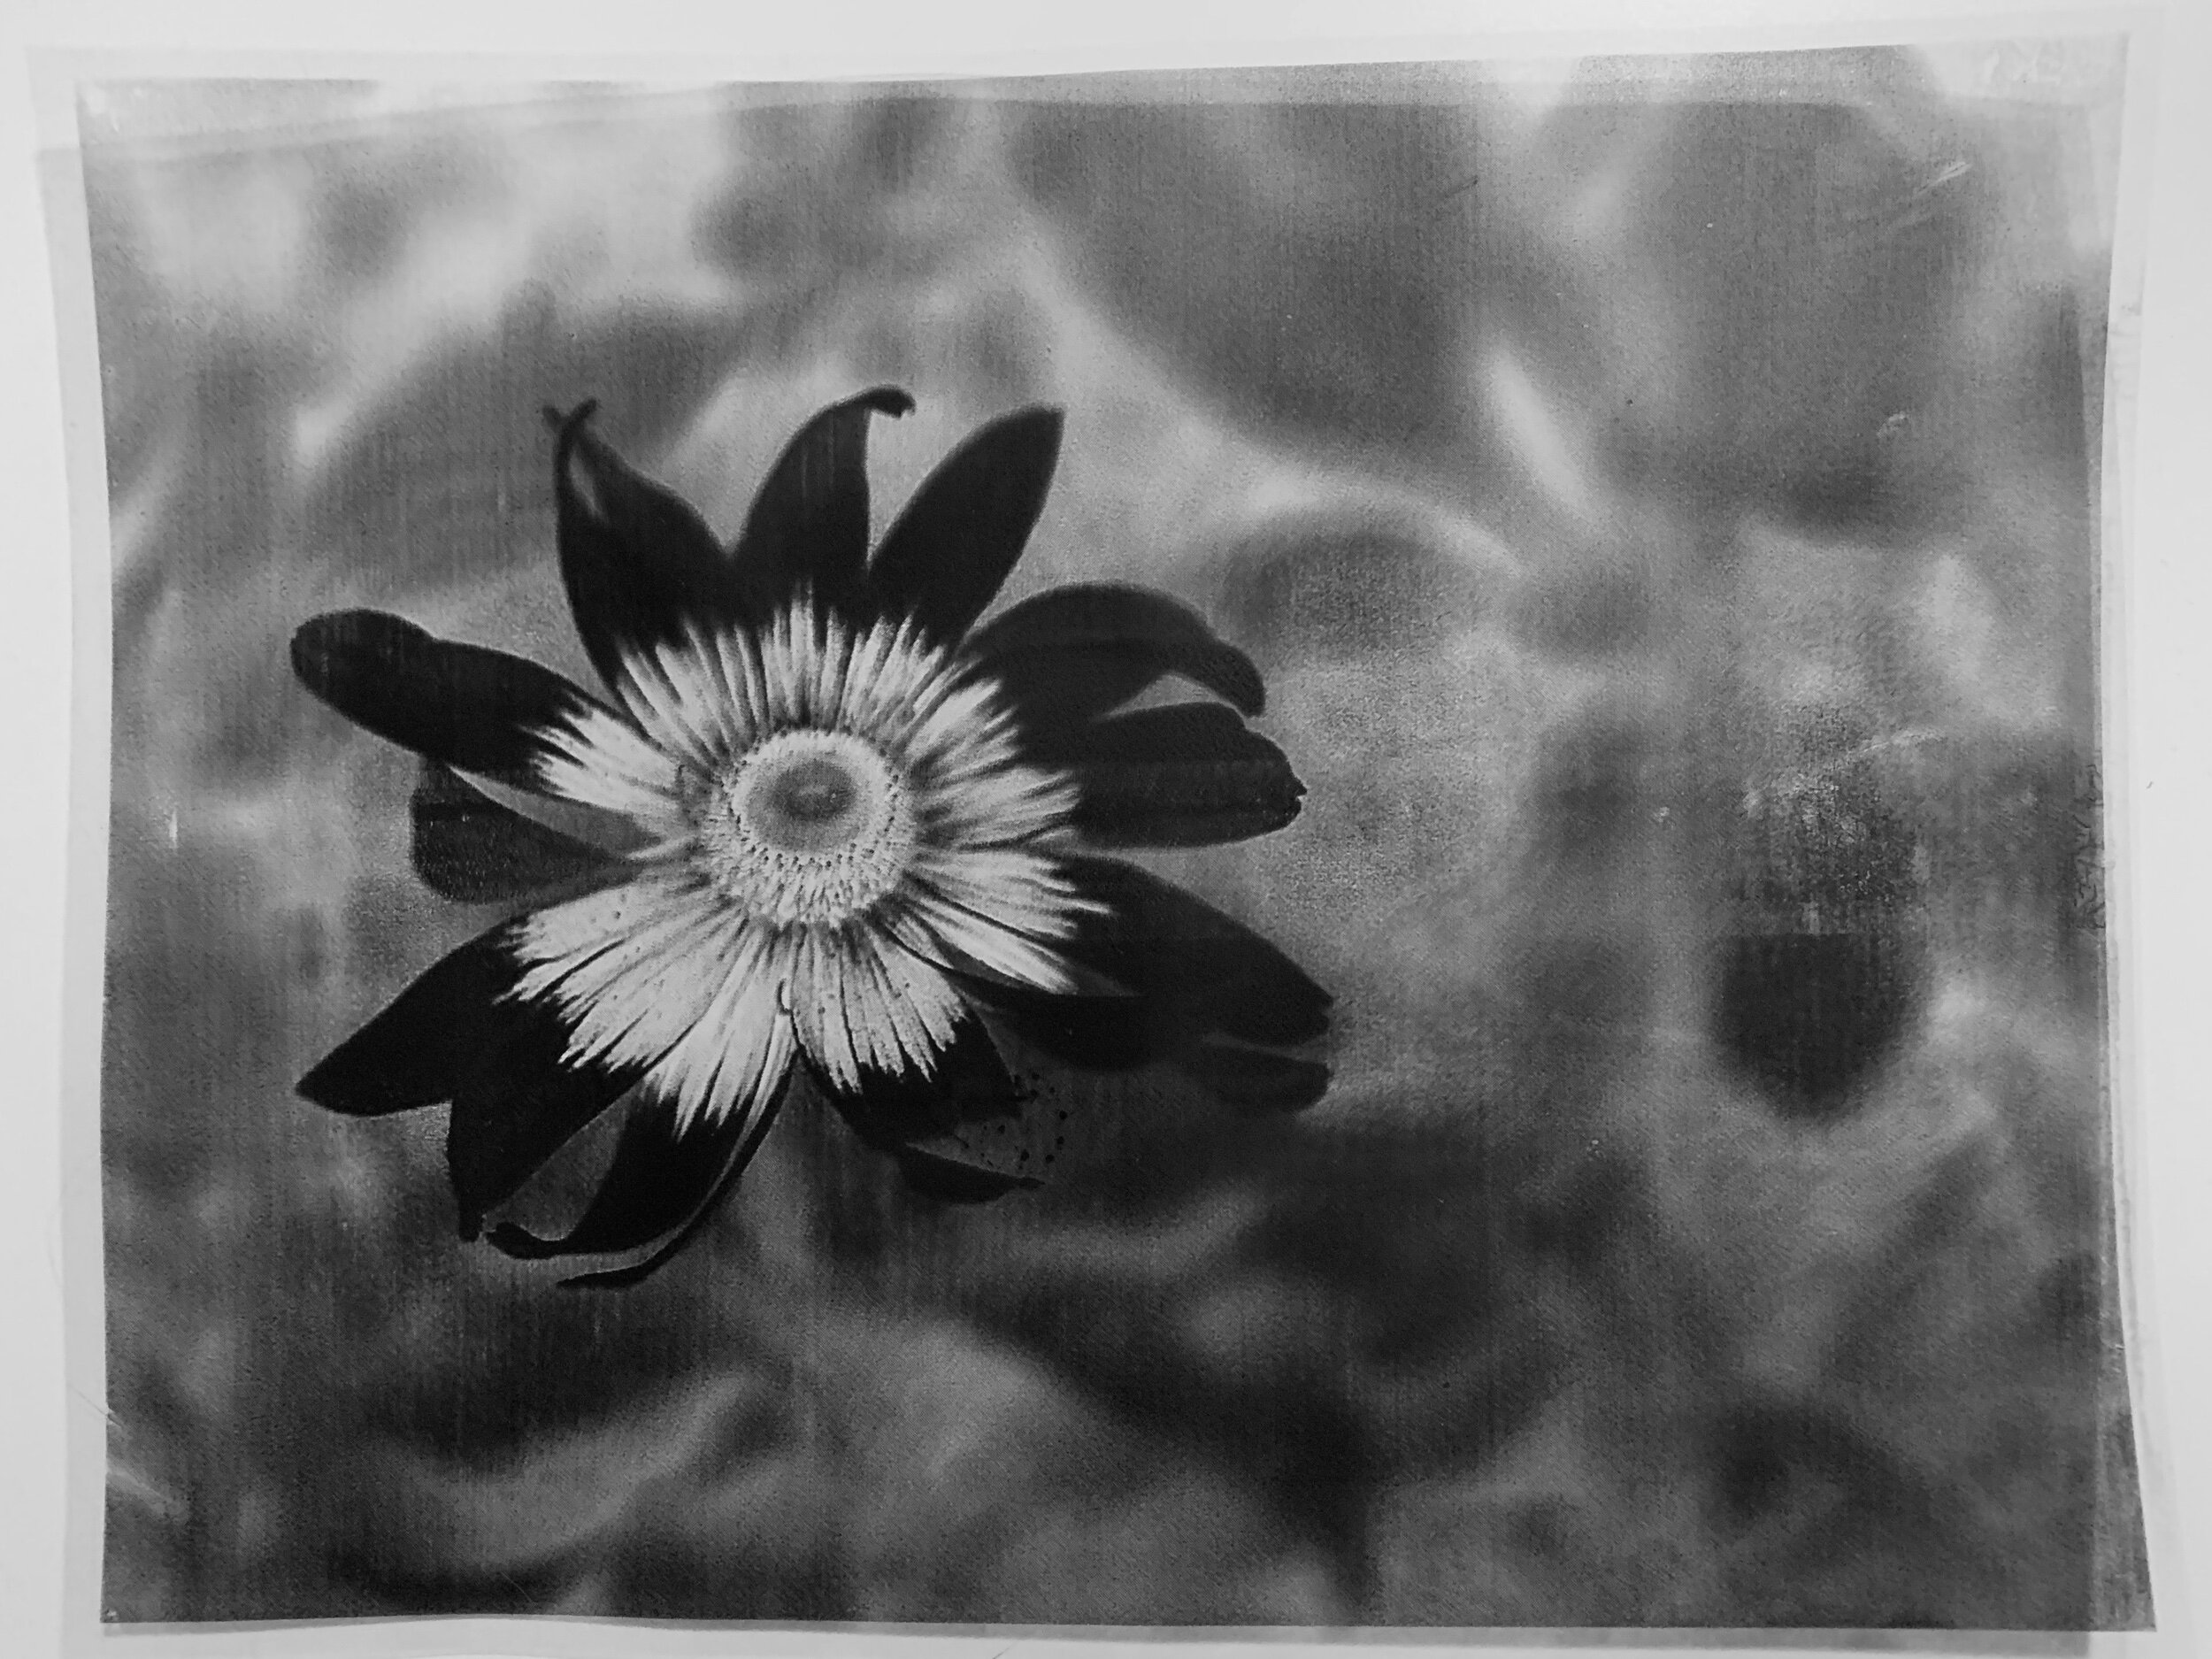
Laser printer transparency “negative”
The prep work for the cyanotype consists of mixing two chemicals together in a small amount and brushing a coat of it into watercolor paper or fabric. After the paper dries (in the dark) it turns yellow and is UV sensitive.
taking a dry sheet, I laid the transparency on top of it and converted it with a piece of picture frame glass to keep it pressed against the paper. The average time was about 7 minutes in full sun.
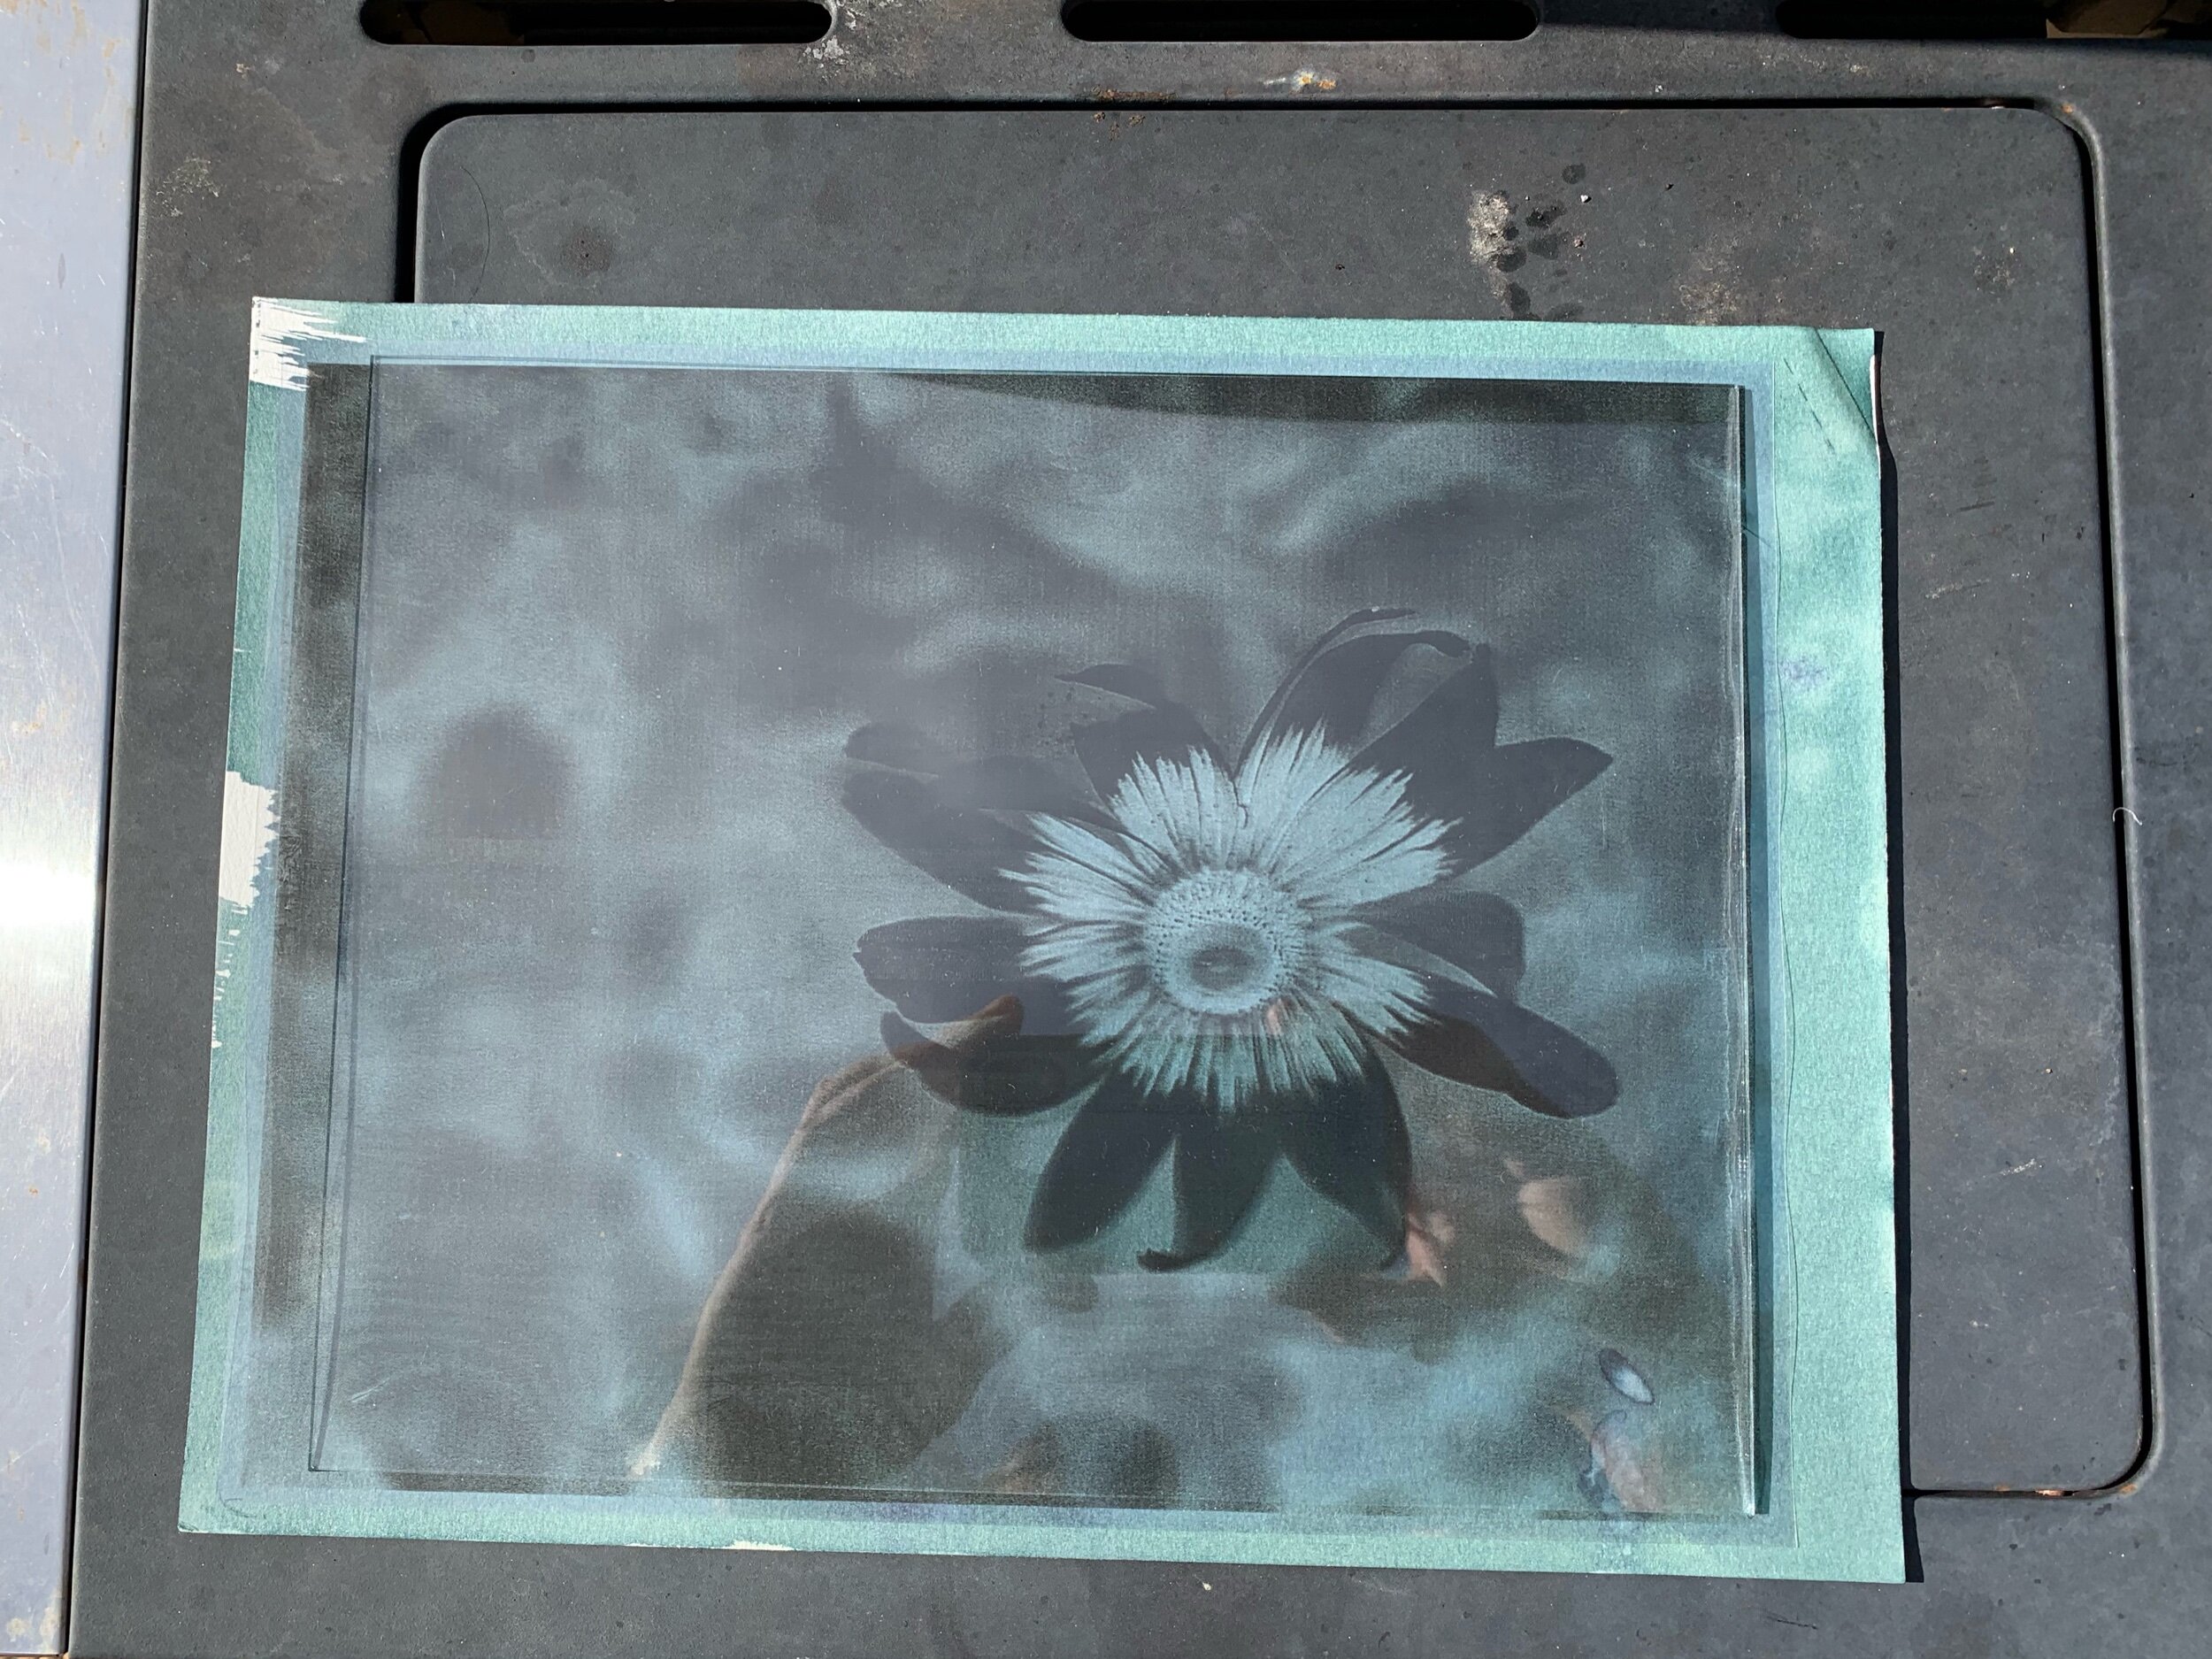
Exposing the paper to sunlight
After the exposure, it was time to rinse. I filled the sink with a little water and added some hydrogen peroxide as an oxidizer to speed up development. You can see that in the video below. It takes about 30 seconds to develop and then a couple hours to dry completely.
The finished product was pretty decent. Mostly the transparencies turned out ok, but a couple had streaks. This was mostly because adhering toner carbon powder to plastic isn’t a perfect science.
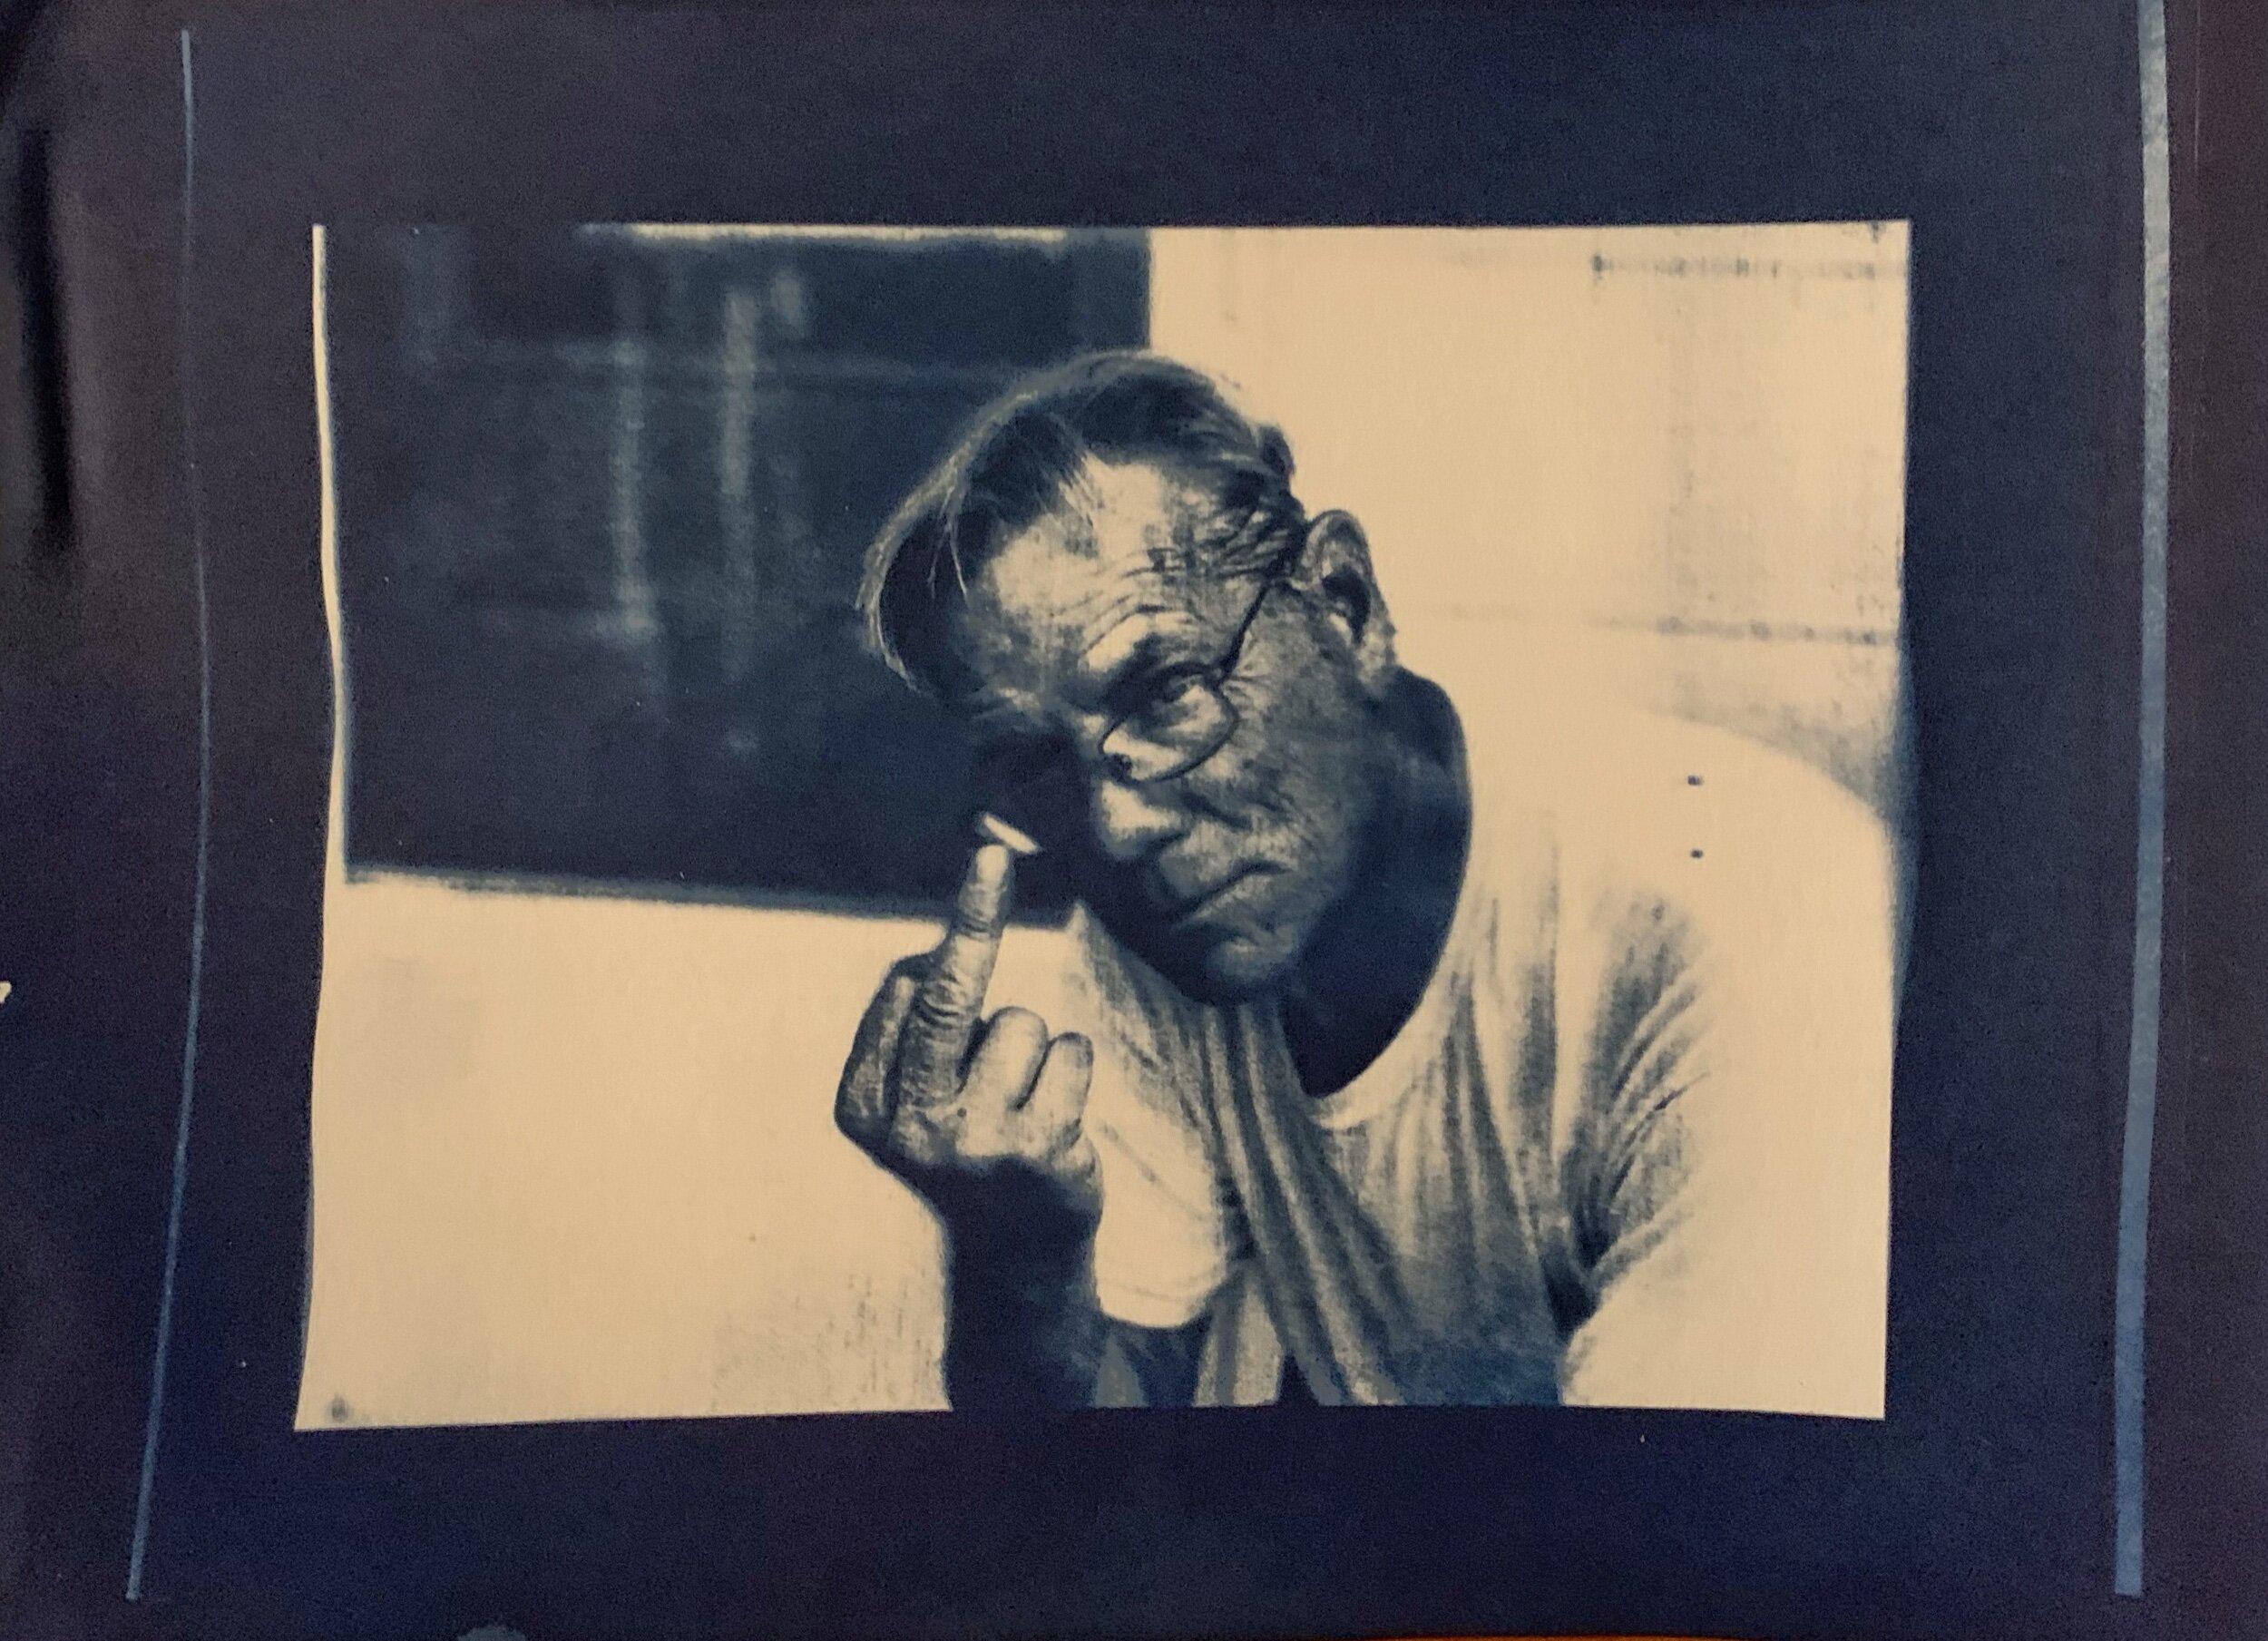
Crotchety old coot hates getting his picture taken.
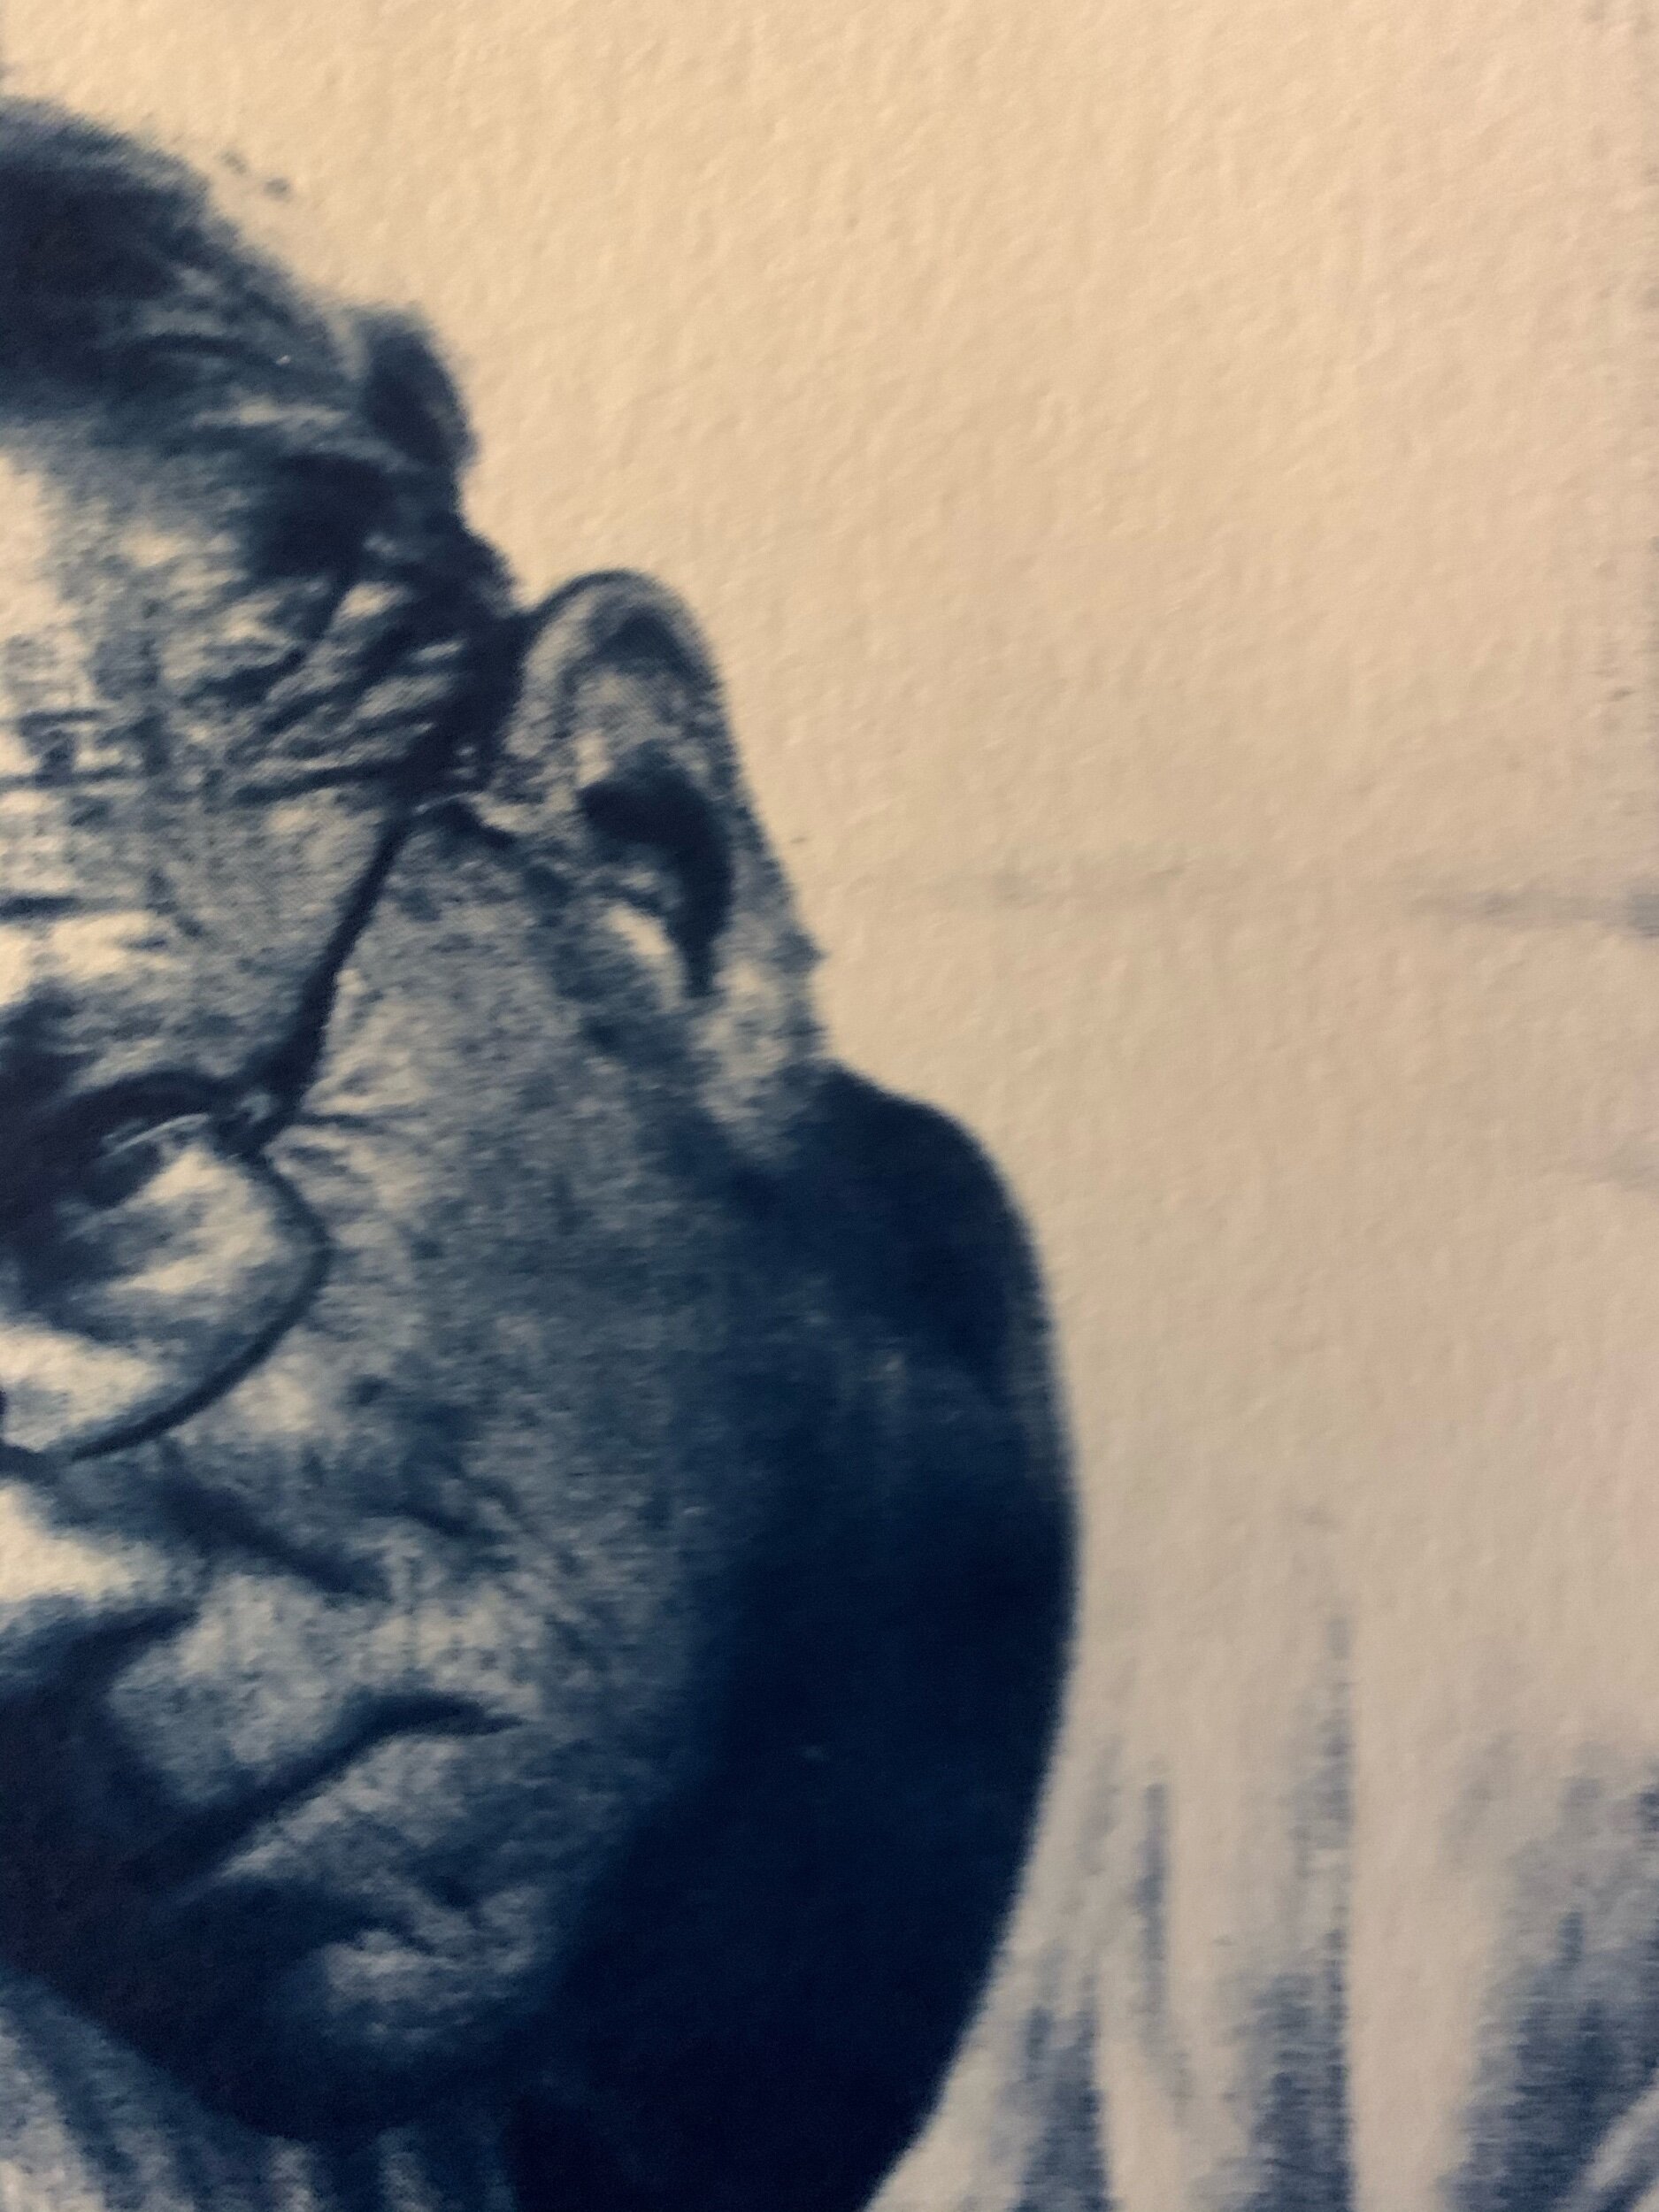
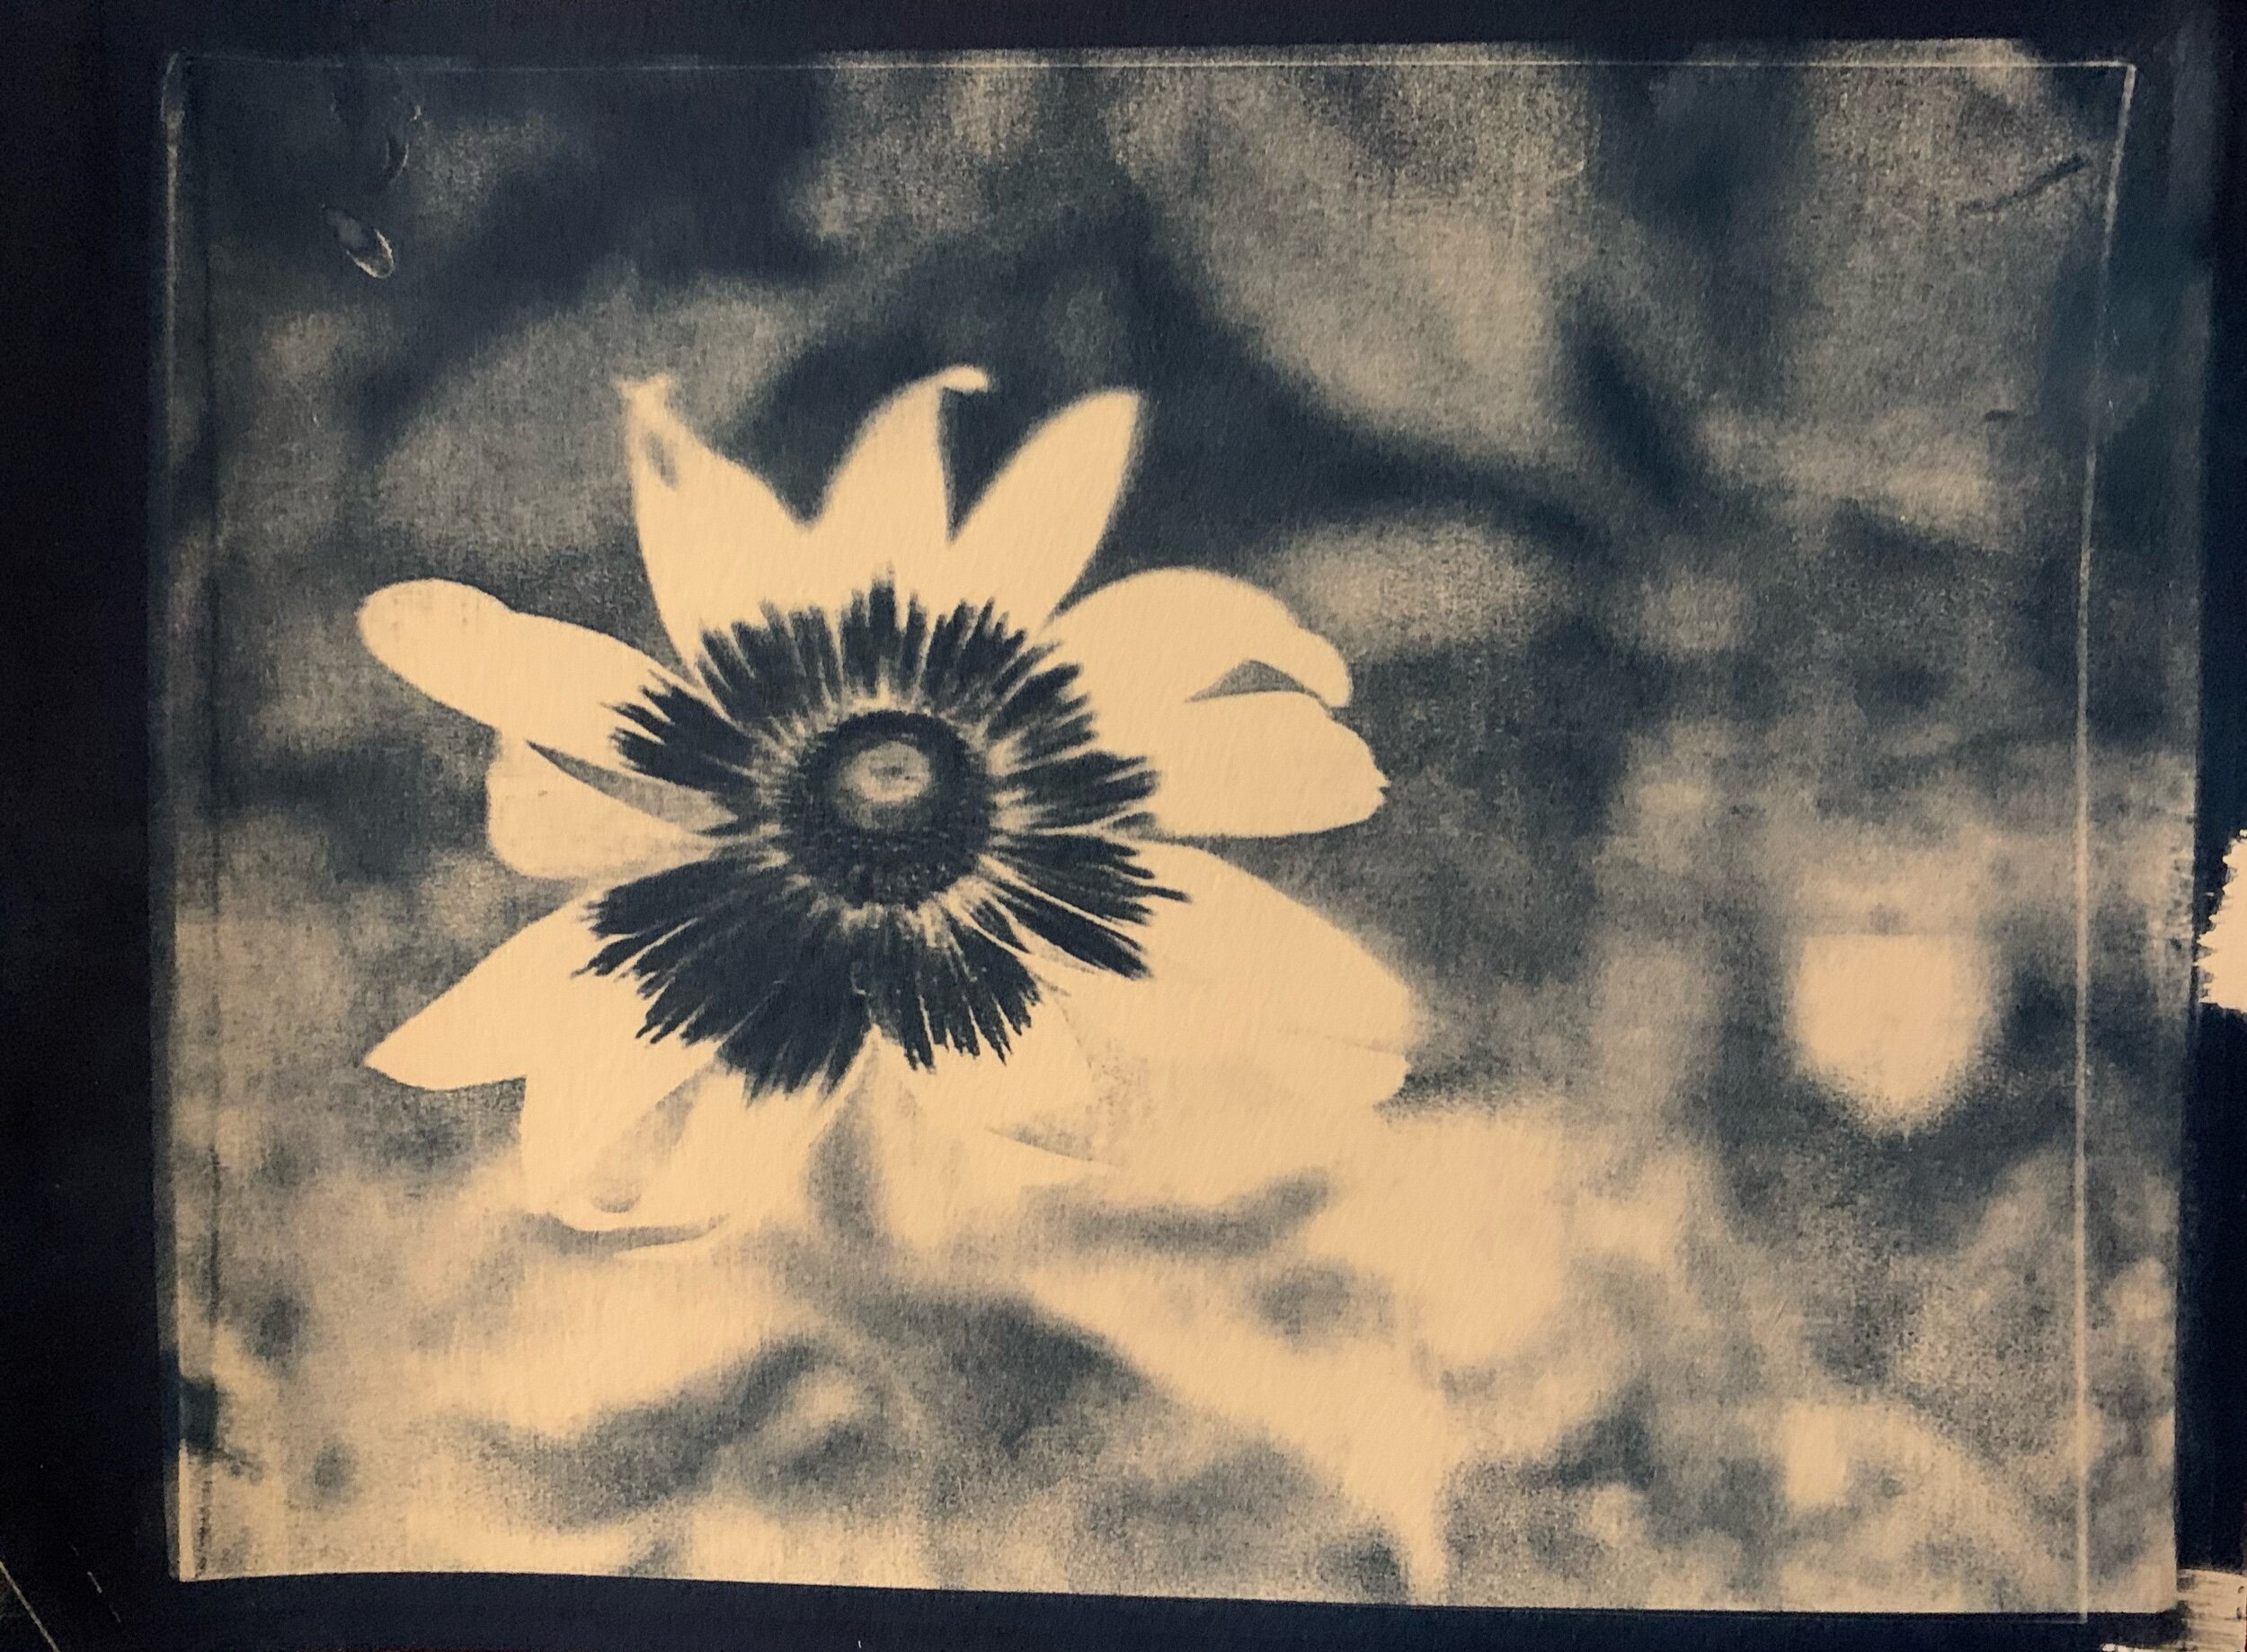
Full crop of a cyanotype print. Excellent detail for watercolor paper and laser printing transparency.
Overall it was a fun process and I encourage anyone itching to dip your toes in the water of darkroom printing to give this a try first. You don’t need a film camera either. Take a photo on your phone or digital camera, Desaturate and invert it in an image editor, and print to transparency.

Fleur

Gizmo from Gremlins – taken with a digital camera and transferred.
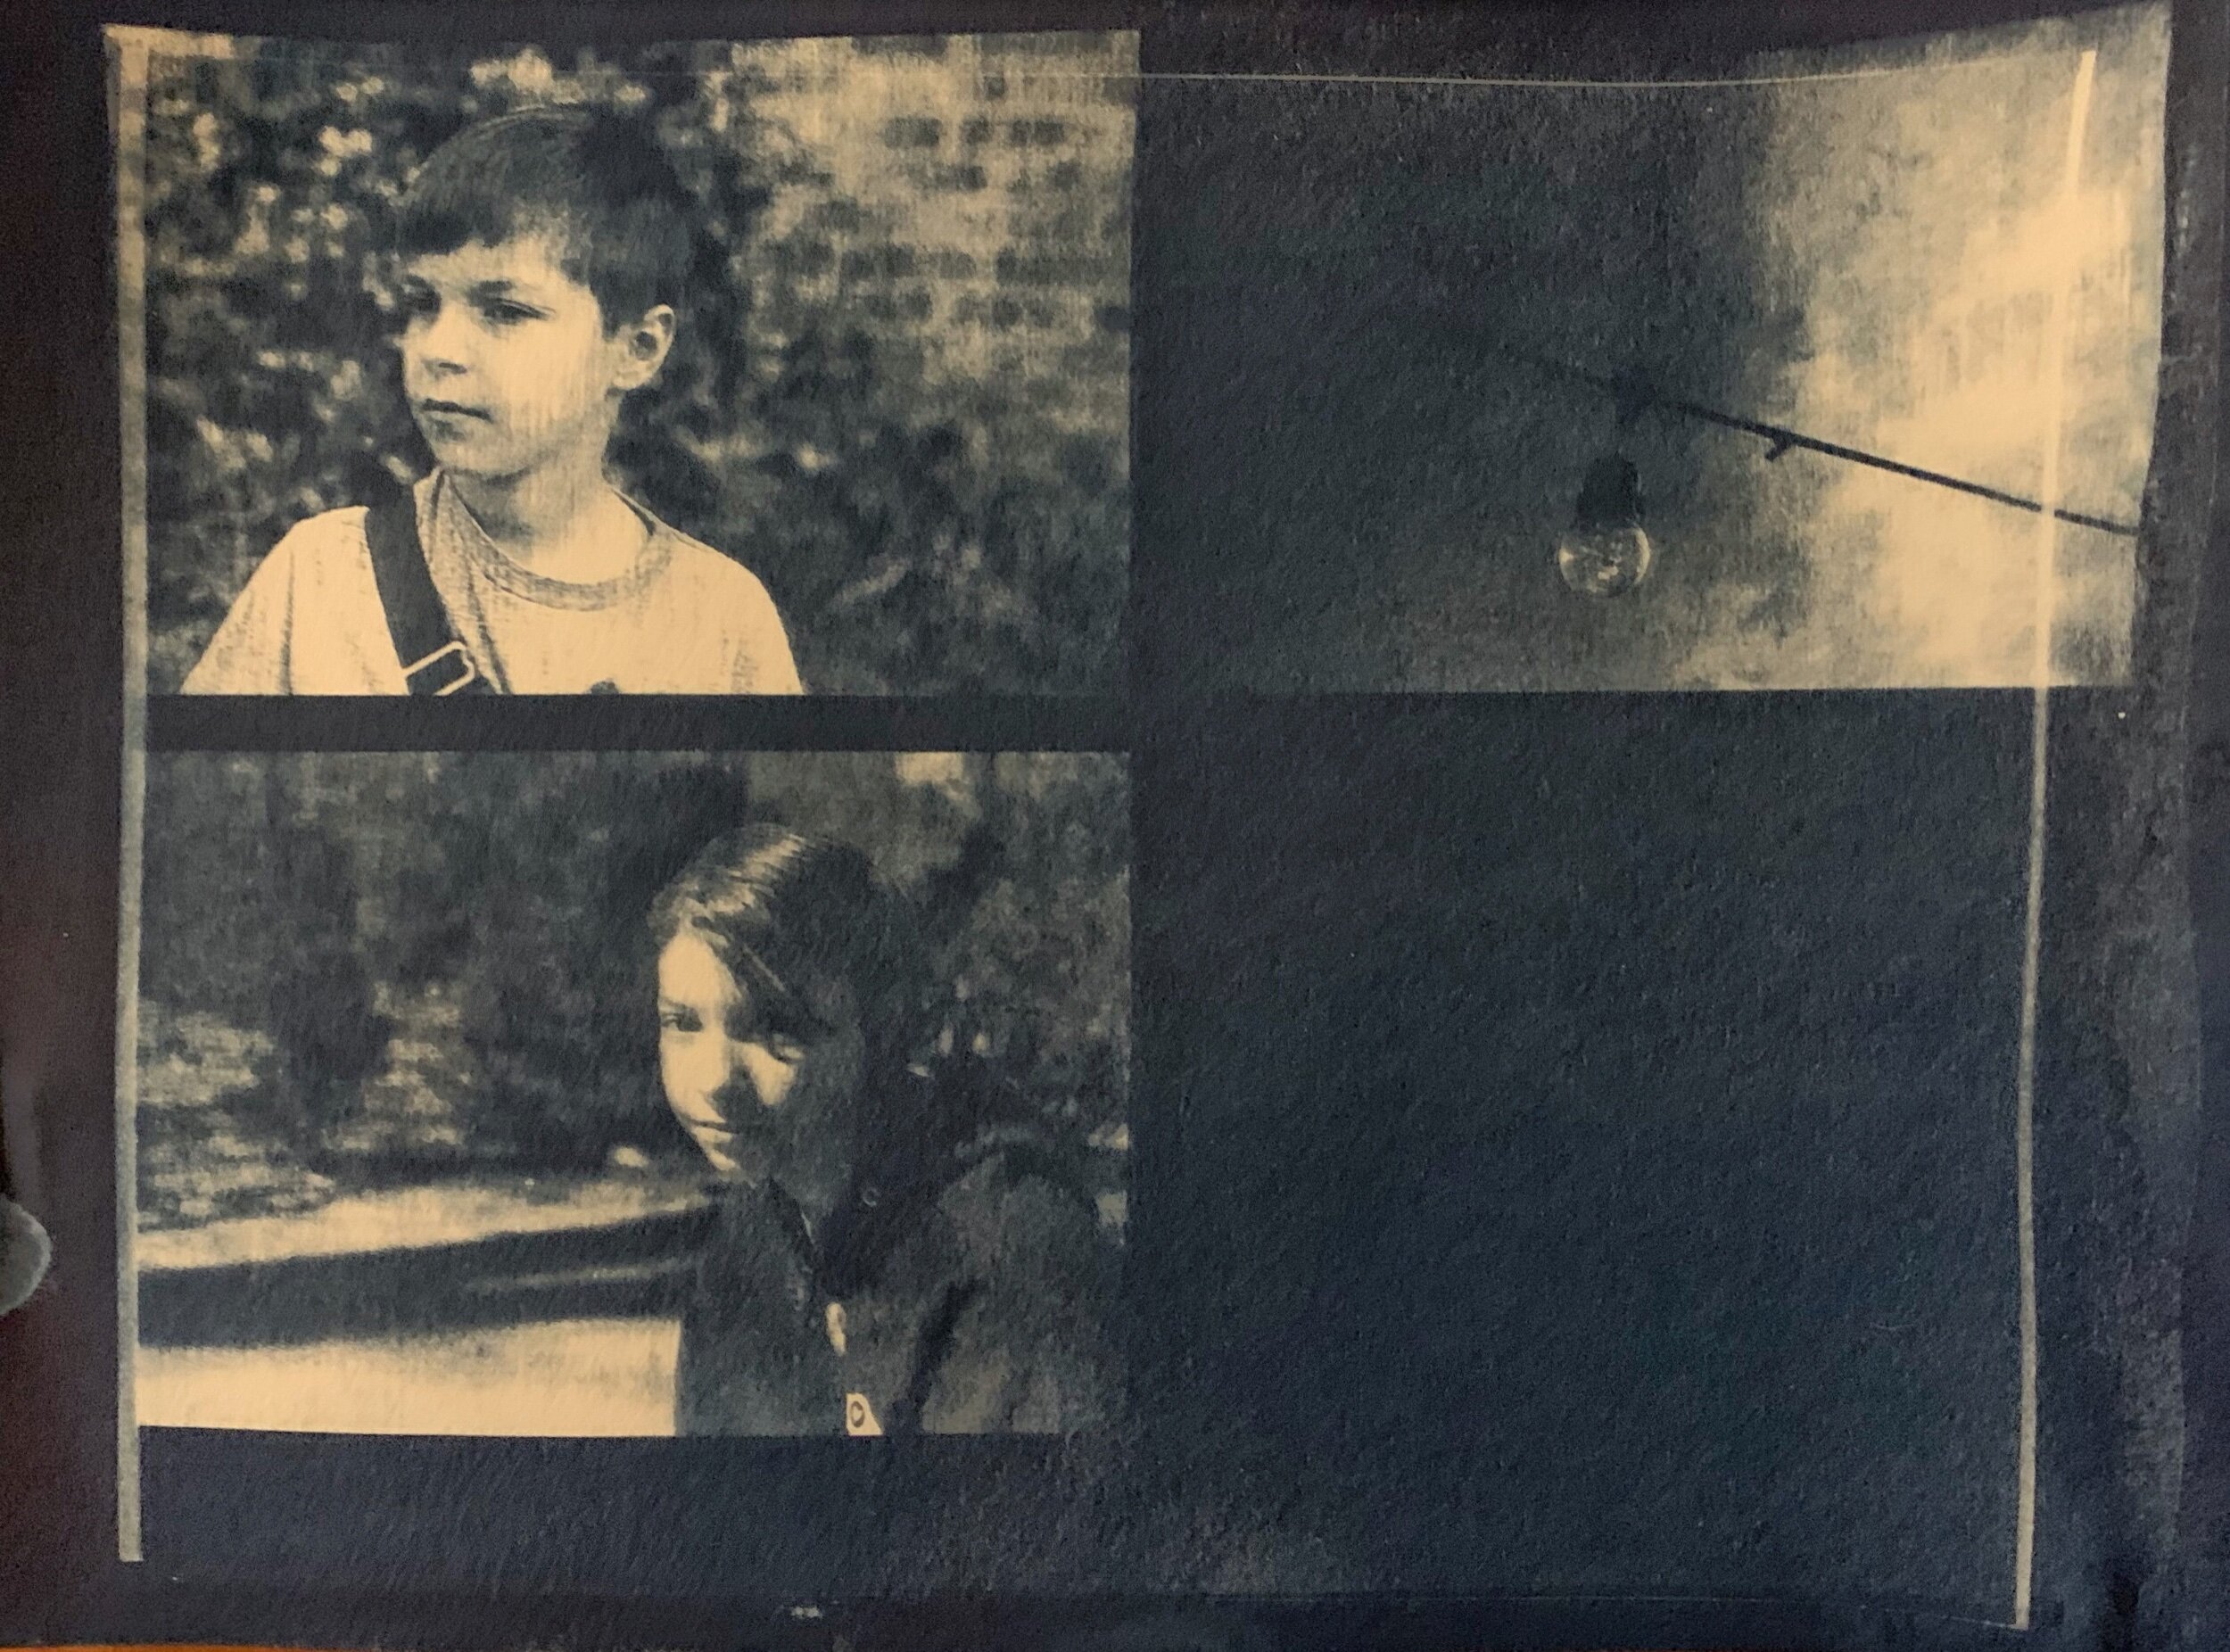
Save paper by putting multiple images on one transparency
So this is probably my last post for 2020. Like everyone else, I’m glad to see it go and look forward to the adventures of 2021. Be sure to follow me on Instagram for the Frugal Film Project ‘21 collective, and I’ll be reviewing at least 12 more cameras and many more assorted films throughout the year!
Happy New Year!